


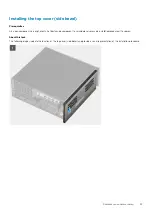


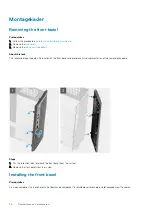
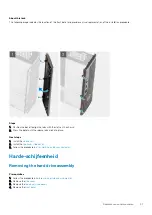


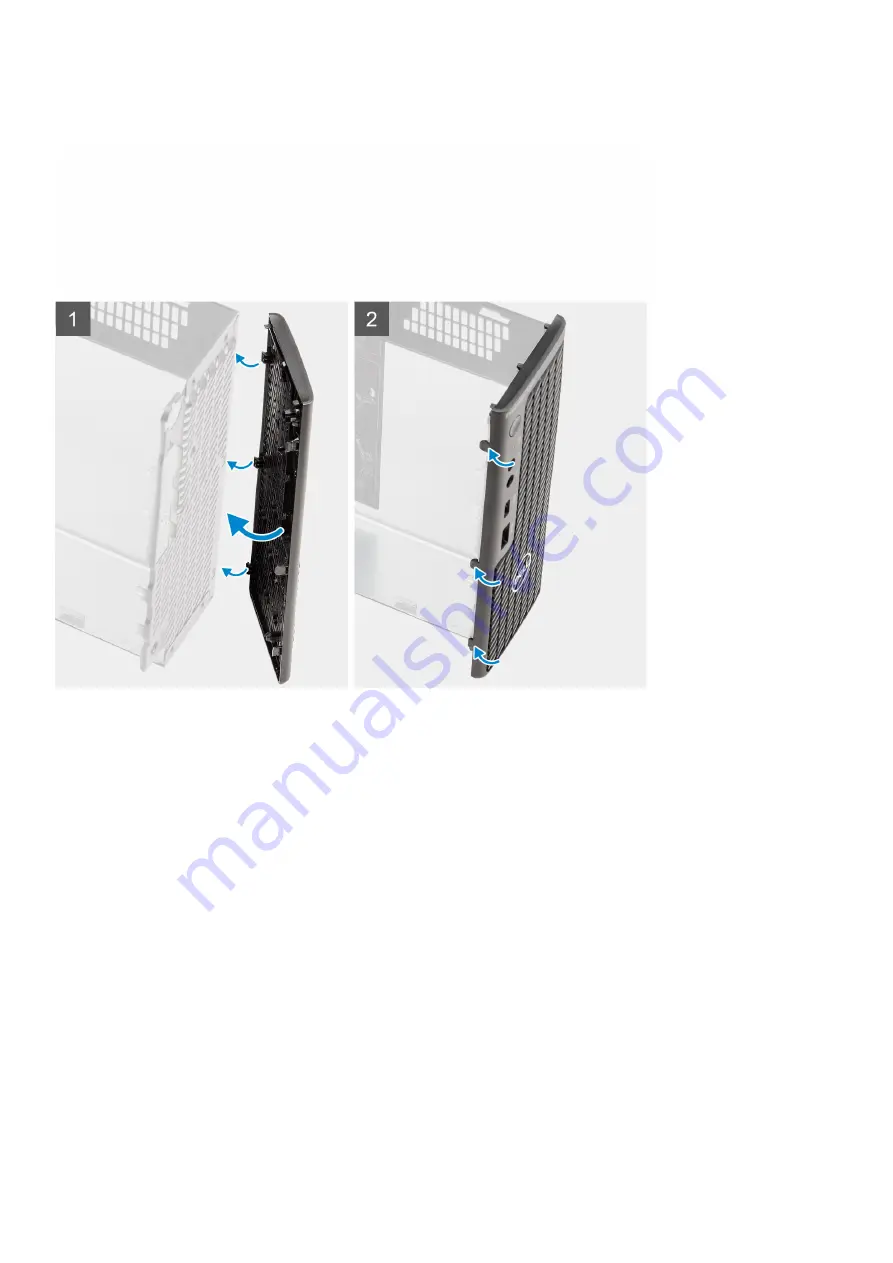
About this task
The following image indicates the location of the front bezel and provides a visual representation of the installation procedure.
Steps
1. Position the bezel to align the tabs with the slots on the chassis.
2. Press the bezel until the release tabs click into place.
Next steps
1. Install the
.
2. Install the
3. Follow the procedure in
after working inside your computer
.
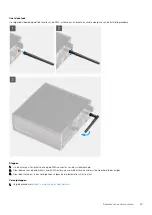
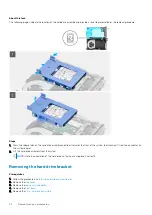
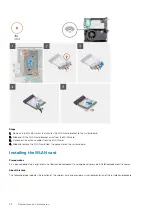
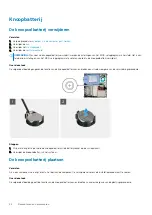
Harde-schijfeenheid
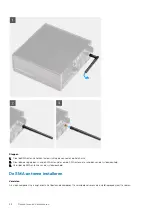
Removing the hard drive assembly
Prerequisites
1. Follow the procedure in
before working inside your computer
2. Remove the
3. Remove the
.
4. Remove the
.
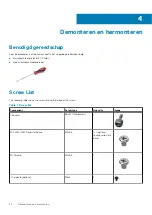
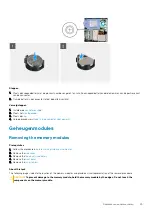
Demonteren en hermonteren
31
Содержание D16S
Страница 5: ...Hoofdstuk 6 Hulp verkrijgen en contact opnemen met Dell 78 Inhoudsopgave 5 ...
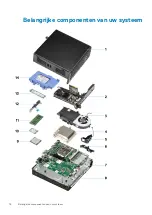
Страница 17: ...3 Belangrijke componenten van uw systeem 17 ...
Страница 18: ...Belangrijke componenten van uw systeem 18 Belangrijke componenten van uw systeem ...
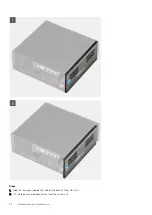
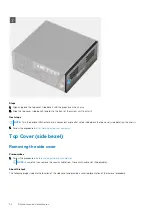
Страница 25: ...Steps 1 Loosen the thumbscrew 6x32 that secures the side cover to the system Demonteren en hermonteren 25 ...
Страница 52: ...52 Demonteren en hermonteren ...
Страница 58: ...Figure 6 Heat sink shipped with system configuration shipped with 65 W CPU 58 Demonteren en hermonteren ...
Страница 65: ...Demonteren en hermonteren 65 ...
Страница 67: ...Demonteren en hermonteren 67 ...


