4K Video Multiviewer User Manual
Model: AGS-P-100-4K
Страница 1: ...4K Video Multiviewer User Manual Model AGS P 100 4K ...
Страница 2: ...ons 4 2 2 Installation Steps 4 Chapter 3 Control Methods 3 1 IR Remote Control 5 3 1 1 Introduction 5 3 1 2 IR Remote Controller 5 3 1 3 Operation Instruction 6 3 2 Front Panel Control 9 Chapter 4 FAQ 4 1 There is no picture in the output 10 4 2 How to select the layout template 10 4 3 4K HDMI output display malfunction 11 4 4 VGA output windows appears black border 11 4 5 HD resolution output wit...
Страница 3: ...ve humidity and temperature extremes Do not place this product in any wet area Maintenance All the maintenance work should be completed by professionals Repairing is not allowed without permission in order to avoid the risk of electric shock Installation The device should be installed on the stable work surface Standard rack cabinet and chassis are recommended Safety Precautions 1 Please do not op...
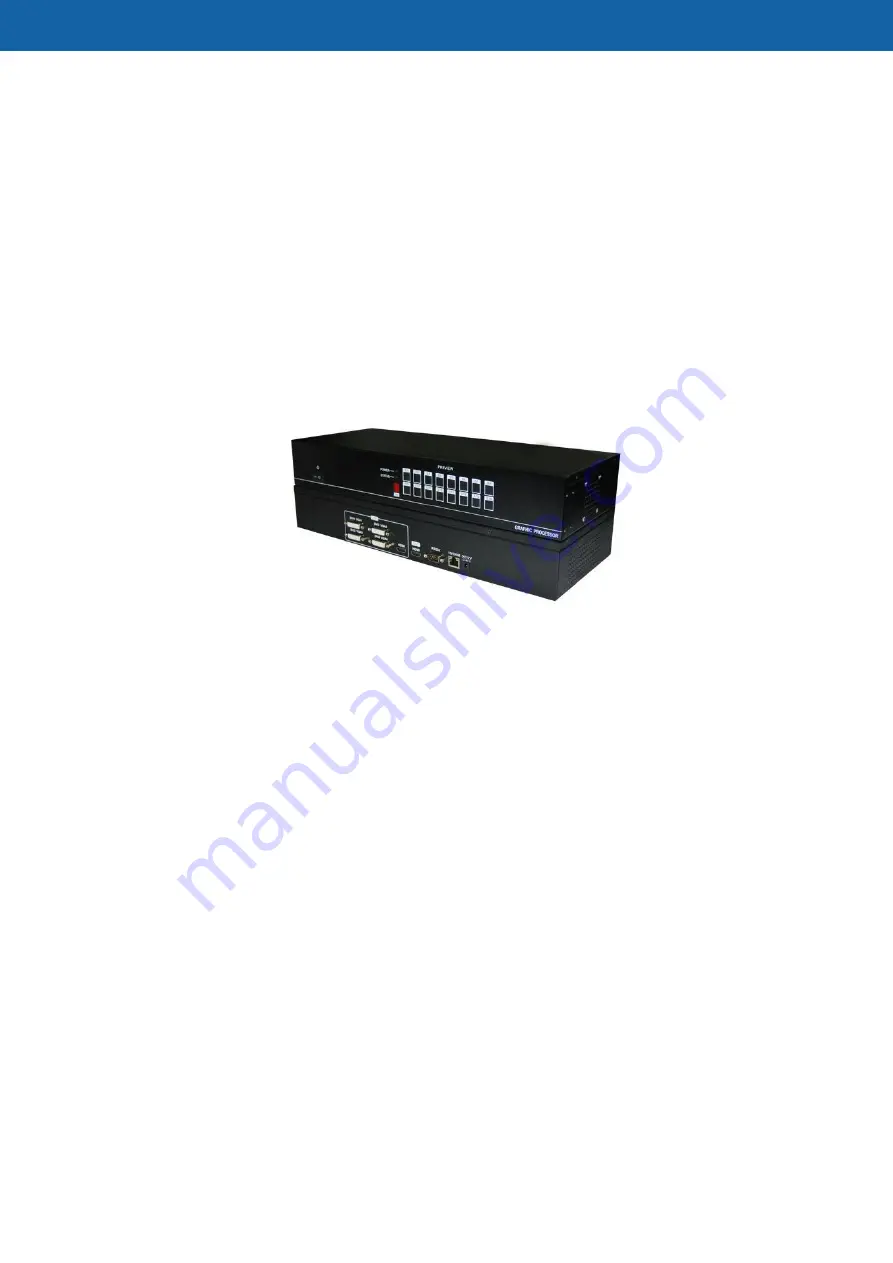
Страница 4: ...ay four windows on a single screen in different display modes The performance is demonstrably superior to the industry standard Features Support four DVI VGA HDMI 1080p and one 4K HDMI signal inputs Support one 4K HDMI output Automatic matching all kinds of 4K LCD display devices Compatible with multiple signal formats EDID management ESD protection Support 24 7 operation Rugged compact and hardwa...
Страница 5: ...splay system applications that require the capability to simultaneously display multiple video sources on one screen Such as Video Conferencing Distance Learning Usability Labs Control Rooms Command Centers Lecture Hall House of Worship Corporate Lobby Displays Mission critical Operations Centers Debriefing Centers ...
Страница 6: ...ps The AGS P 100 4K Multiviewer is easy to install The installation steps are as follows Step1 Connect the signal source devices to the input connectors respectively Step 2 Connect the display device to the HDMI 4K output connector through HDMI cable Step 3 Connect the AC adapter to the power port and plug the power cable to the adapter Step 4 Make sure all the connection is fine and then supply p...
Страница 7: ...ton Instructions 0 9 10 20 30 The numerical pushbuttons Under the idle state users can call the scene by pressing the numerical pushbuttons directly The scene number is represented by the two digit number and is fulfilled from the lowest digit If the scene is not available the NO SCENE notice will appear As shown in Figure 6 Figure 6 Up Down Pushbuttons Under the idle state users can call the prev...
Страница 8: ...ene F2 To select the layout templates Press the F2 button and select the layout by pressing the up or down buttons Audio No function Back No function Close No function 3 1 3 Operation Instruction 1 Select Window Layout Step1 Press the F2 button and the SET LAYOUT will appear As shown in Figure 7 Step2 Select the target layout template by pressing the up or down buttons Step3 Press the Set button t...
Страница 9: ...sing the ESC button Figure 8 3 Save the Scene Step1 Press the F1 button and the SCENE SAVE will appear As shown in Figure 9 Figure 9 Step2 Enter the scene number by pressing the numerical buttons The scene number is represented by the two digit number and is fulfilled from the lowest digit Users can also add or deduct the number by pressing the up or down buttons Step3 Press the Set button to make...
Страница 10: ... Set button and the operation will come to effect immediately As shown in Figure 11 Figure 11 5 Select the Resolution Step 1 Press the Video button and the SET RESOLUTION will appear As shown in Figure 12 Step 2 Select the resolution by pressing up or down buttons Step 3 Press the Set button to make the operation effective ...
Страница 11: ... Figure 13 Operation Instructions Save the Scene Under the idle state Step1 Press the F1 button on the remote controller Step2 Press one of the S1 S16 panel buttons that you would like to save as the scene number Step 3 Press the Set button to make the operation effective Call the Scene Press the panel buttons that you have marked as the scene number and then the corresponding scene will show imme...
Страница 12: ... the up or down buttons The device comes with five standard layout templates As shown below Instructions Full Screen Display Users can choose one of the signal sources to display VGA DVI or HDMI 4K signals are available Quad Equal Screen Display Display up to four 1080p signals When paired with the DVI I to DVI D and VGA splitter cables users can choose any four DVI VGA signals to display Three Sc...
Страница 13: ...lution to 3840 2160 30Hz or 1080p 4 4 VGA output windows appears black border The VGA signal output with different resolutions may generate the black border around the windows In this situation please follow the below steps to eliminate the black border Step1 Press the left or right buttons to select the window that appears black border As shown in Figure 15 Setp2 Press the View button and the win...
Страница 14: ...12 Figure 16 4 5 HD resolution output without picture Please make sure the refresh rate of the signal source is 60Hz If not please change it to 60Hz ...