33
Chapter 5
Web User Interface
This chapter discusses how you can utilize the Web User Interface to configure various settings of
your device.
5.1
Network Connection and Device Search
To use the web user interface, you will have to first connect iCast 10NDI to a network via the LAN
port. This section shows you how to connect iCast 10NDI to the network with or without a DHCP
server, and describes ways to acquire the device’s IP address.
Default Fixed IP
When new from the factory, the iCast 10NDI is supplied with a default fixed IP address (192.168.1.201)
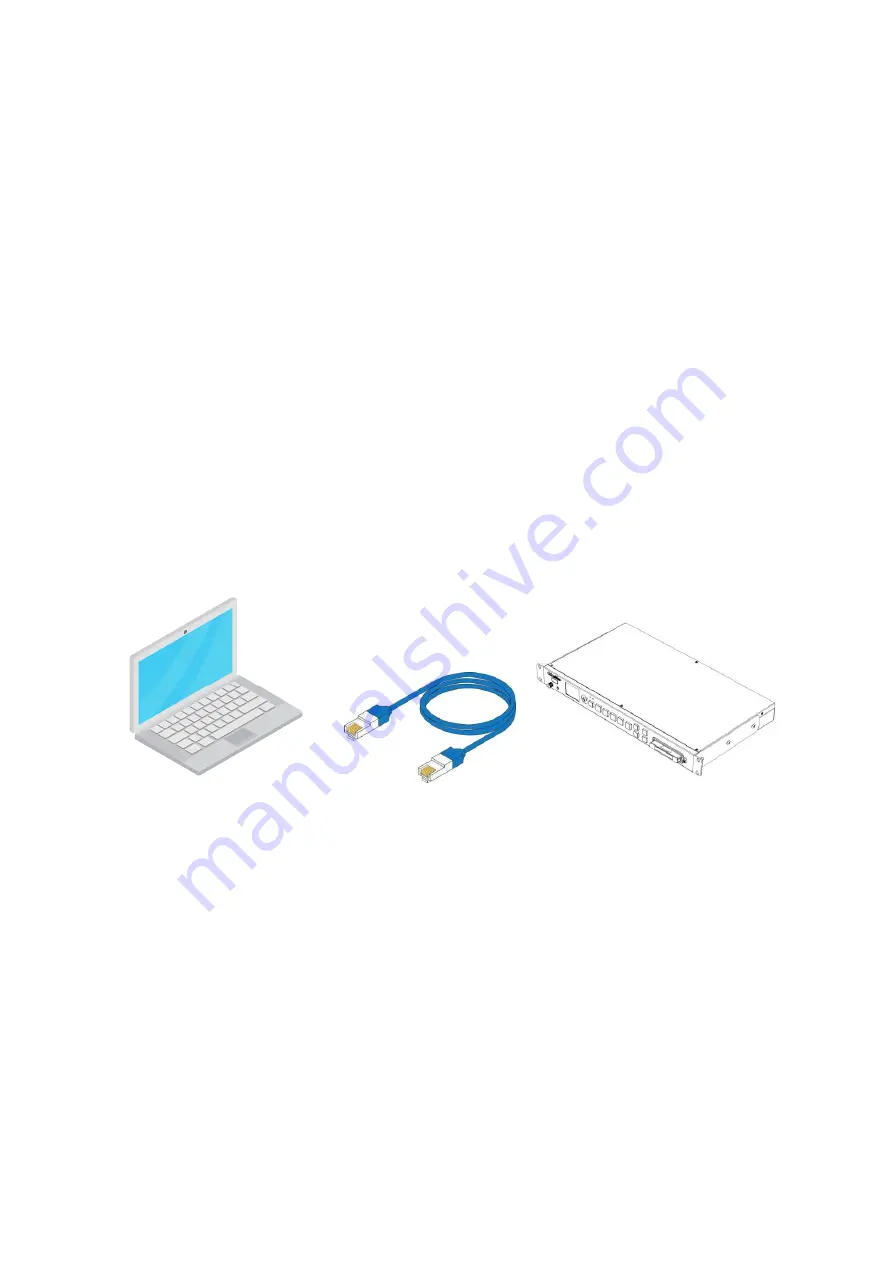
which allows you to establish point-to-point connection with your laptop/PC. The following setup
should allow you to log in to the web user interface and initially configure the device’s various settings.
System Requirements:
An RJ-45 Ethernet cable
Windows 7/8/10 laptop or PC
iCast 10NDI
IP Finder utility program (downloaded from the product page to the laptop)
Follow the procedure below to log in to the web user interface:
1.
Physically connect the Windows laptop’s Ethernet port to the iCast 10NDI’s LAN port via an
Ethernet cable.
2.
Turn on the laptop and set it to static IP setup within the Windows Network and
Sharing Centre. In our example, the computer is given the following IP settings so that
the computer matches the same IP range as the switcher.
Содержание iCast 10NDI
Страница 1: ...1 STREAMING SWITCHER 5 CHANNEL ALL IN ONE iCast 10NDI Instruction Manual...
Страница 10: ...10 1 2 System Diagram...
Страница 11: ...11...
Страница 35: ...35 7 Enter the login credentials Username admin Password 000000 to log in to the web UI shown below...
Страница 60: ...60 5 7 Multiview Connect an HDMI monitor to the Multiview port then select a layout for the Multiview screen...
Страница 73: ...73...
Страница 91: ...91 Appendix 4 Dimensions All measurements in millimeters mm...
Страница 94: ...94 Notes...
Страница 95: ...95 Notes...


