


RAPID CONFIGURATION
1
Auto Setup (Optional)
At the end of the
Auto Learn
procedure, you have the possibility to follow the
Auto
Setup
procedure to set up the reading parameters.
1. Enter
the
Auto Setup
function (F3) by pressing the X-PRESS™ push button.
2. Hold the push button pressed until the F3 LED is on.
3. Release the button to enter the
Auto Setup
function.
4. Once entered, if a barcode label is positioned in front of the scanline, the
scanner automatically performs the optimal setup of the reading parameters for
that specific barcode.
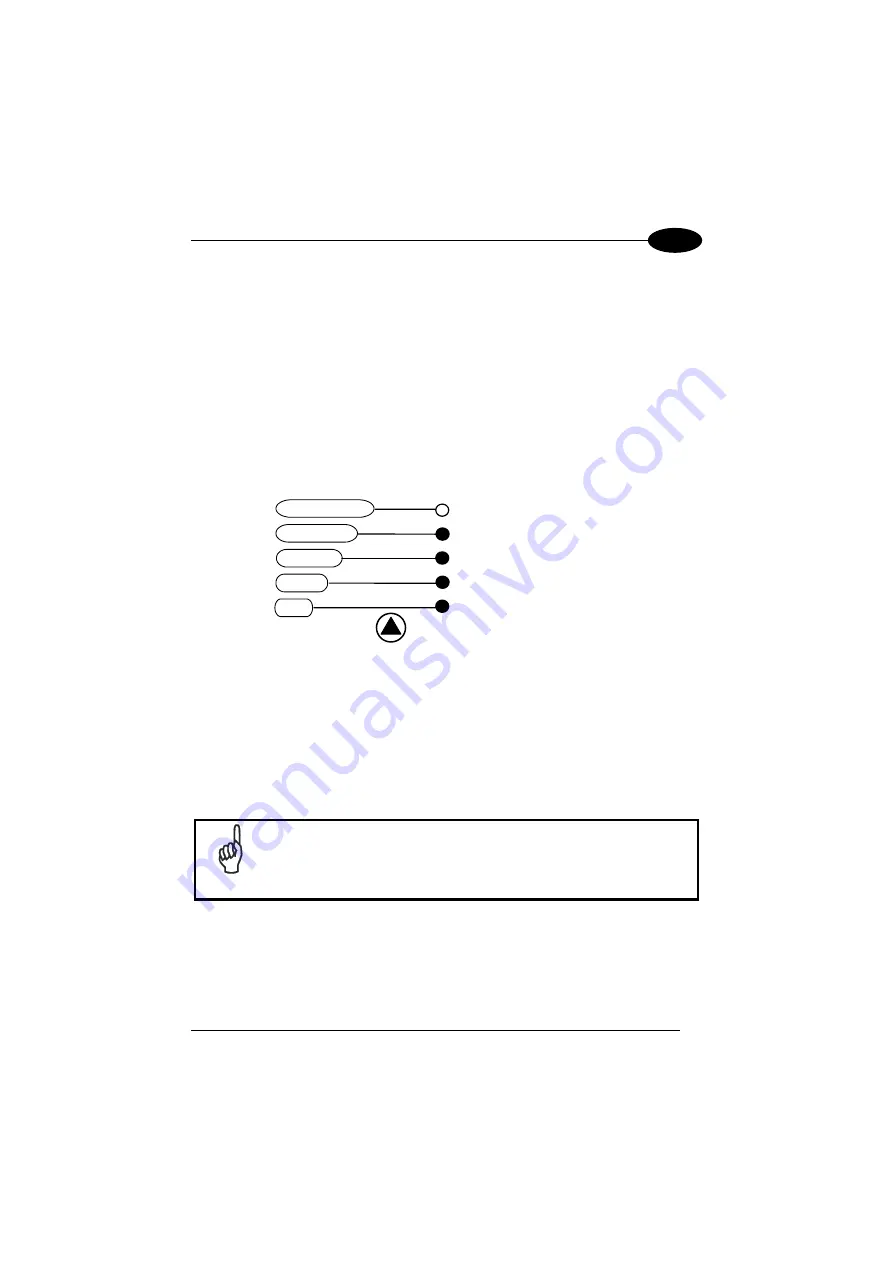
F4
F3
F2
F1
F0
READY
GOOD
TRIGGER
COM
STATUS
AutoSetup
AutoLearn
Test Mode
Exit
Figure 6 – X-PRESS™ Interface: Auto Learn
Function
The procedure is as follows:
A)
place
the desired barcode on
the scanline.
B)
enter
the AutoSetup function
(the laser turns on and the GOOD
LED blinks to indicate the ongoing
process)
C)
wait
until the GOOD LED
stays steady on (indicating the
reader has detected the barcode)
This procedure ends either when the barcode is successfully decoded or after a timeout
of about 7 (seven) seconds.
The scanner will restart at the end of the process, and then the optimized reading
parameters for that barcode are automatically configured in scanner memory.
NOTE
If your application has been configured using X-PRESS™, go to
STEP 5.
7
Содержание DS2400N
Страница 1: ...DS2400N REFERENCE MANUAL ...
Страница 5: ...GLOSSARY 70 INDEX 74 v ...
Страница 10: ...x ...
Страница 20: ...DS2400N 1 b Operating mode selection and definition c Digital Outputs configuration 10 ...
Страница 49: ...INSTALLATION 3 Figure 23 ID NET Network Connections with isolated power blocks 39 ...
Страница 50: ...DS2400N 3 Figure 24 ID NET Network Connections with Common Power Branch Network 40 ...
Страница 51: ...INSTALLATION 3 Figure 25 ID NET Network Connections with Common Power Star Network 41 ...


