X64 Xcelera-HS PX8 User's Manual
Troubleshooting Problems
•
25
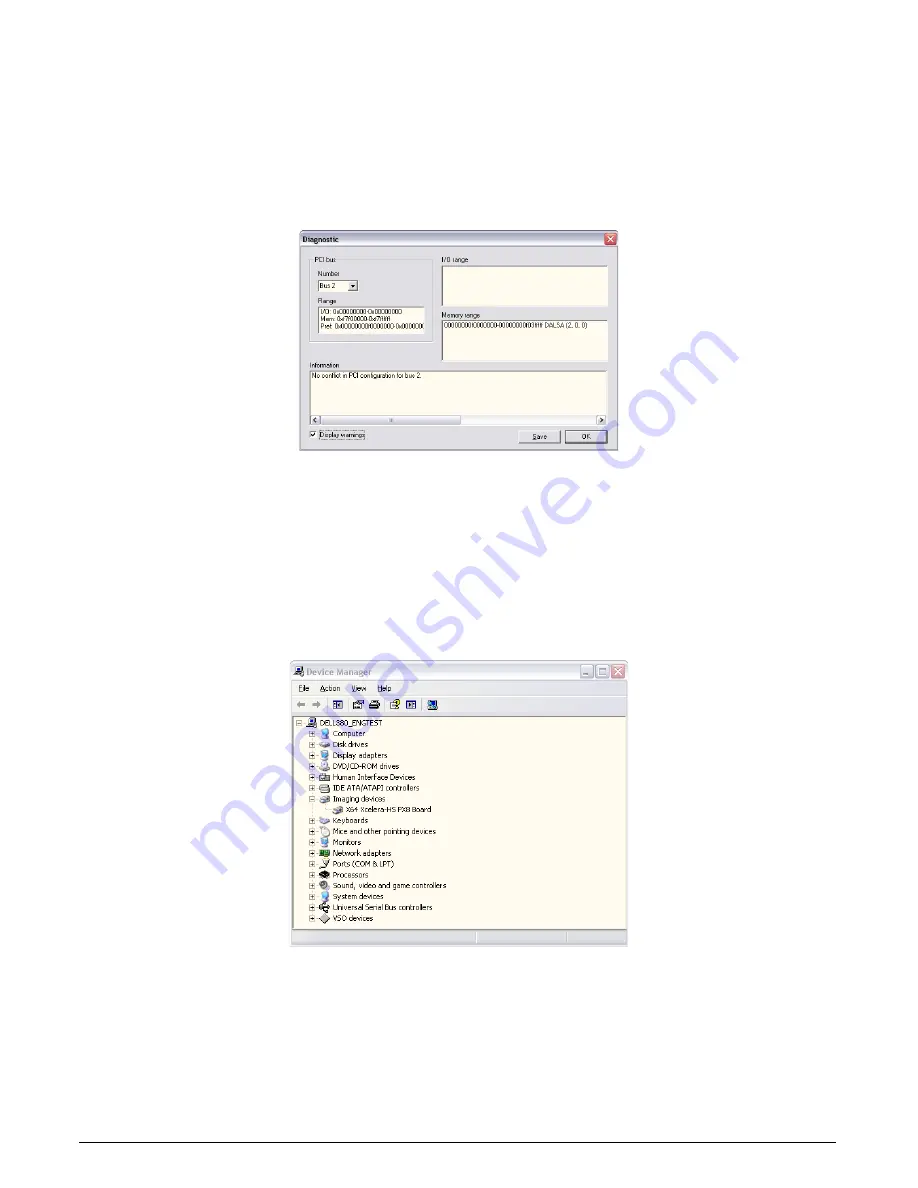
Clicking on the Diagnostic button opens a new window with the diagnostic report. From the PCI
Bus Number drop menu select the bus number that the X64 Xcelera-HS PX8 is installed in—in this
example the slot is bus 1.
The window now shows the I/O and memory ranges used by each device on the selected PCI bus.
The information display box will detail any PCI conflicts. If there is a problem, click on the Save
button. A file named ‘pcidiag.txt’ is created (in the Sapera\bin directory) with a dump of the PCI
configuration registers. Email this file when requested by the Teledyne DALSA Technical Support
group along with a full description of your computer.
Figure 8: PCI Diagnostic Program – PCI bus info
Windows Device Manager
An alternative method to confirm that the X64 Xcelera-HS PX8 board and drive is installed correctly
is to use the Windows Device manager tool. Use the Start Menu shortcut Start • Settings •
Control Panel • System • Hardware • Device Manager. As shown in the following screen
images, look for X64 Xcelera-HS PX8 board under “Imaging Devices”. Double-click and look at the
device status. You should see “This device is working properly.” Go to “Resources” tab and make
certain that the device is mapped and has an interrupt assigned to it, without any conflicts.
Figure 9: Using Windows Device Manager


