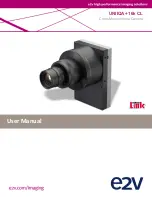
Linea Lite GigE Series Camera
Linea Lite GigE Camera Quick Start
•
19
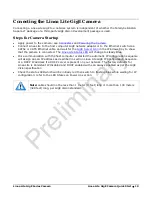
Conecting the Linea Lite GigE Camera
Connecting a Linea Lite GigE to a network system is independent of whether the Teledyne DALSA
Sapera LT package or a third-party GigE Vision development package is used.
Steps for Camera Startup
•
Apply power to the camera: see
•
Connect Linea Lite to the host computer GigE network adapter or to the Ethernet switch via a
CAT5e or CAT6 Ethernet cable and wait for the
that the camera is connected. The
•
Once communication with the host computer is started the automatic IP configuration sequence
will assign an LLA IP address as described in section Linea Lite GigE IP Configuration Sequence,
or a DHCP IP address if a DHCP server is present on your network. The factory defaults for
Linea Lite is Persistent IP disabled and DHCP enabled with LLA always enabled as per the GigE
Vision specification
•
Check the status LED which will be initially red then switch to flashing blue while waiting for IP
configuration; refer to the LED States on Power Up section.
Note:
cable should not be less than 1 meter (3 feet) long or more than 100 meters
(328 feet) long, per GigE Vision standard.
Preliminary


