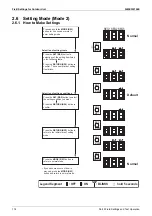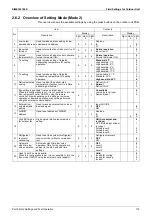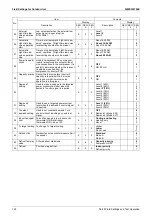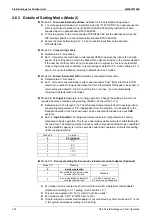
Field Settings for Outdoor Unit
SiME332106E
108
Part 5 Field Settings and Test Operation
Note(s)
2. Field Settings for Outdoor Unit
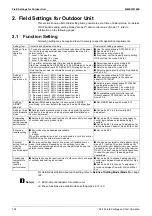
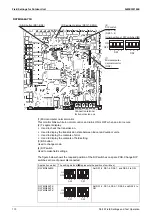
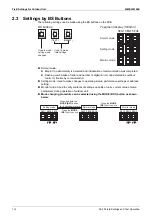
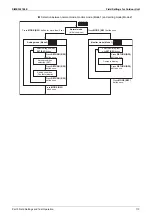
This section shows a list of field setting items possible to set at time of initial startup. For details
of DIP switch setting, setting mode ("mode 2") and monitor mode ("mode 1"), refer to
information on the following pages.
2.1 Function Setting
Following setting may be required to set to comply to specific application requirements.
For detailed description about each setting, refer to
Details of Setting Mode (Mode 2)
on page
1. External control adaptor for outdoor unit.
2. These functions are available when setting mode 2-11 to 0.
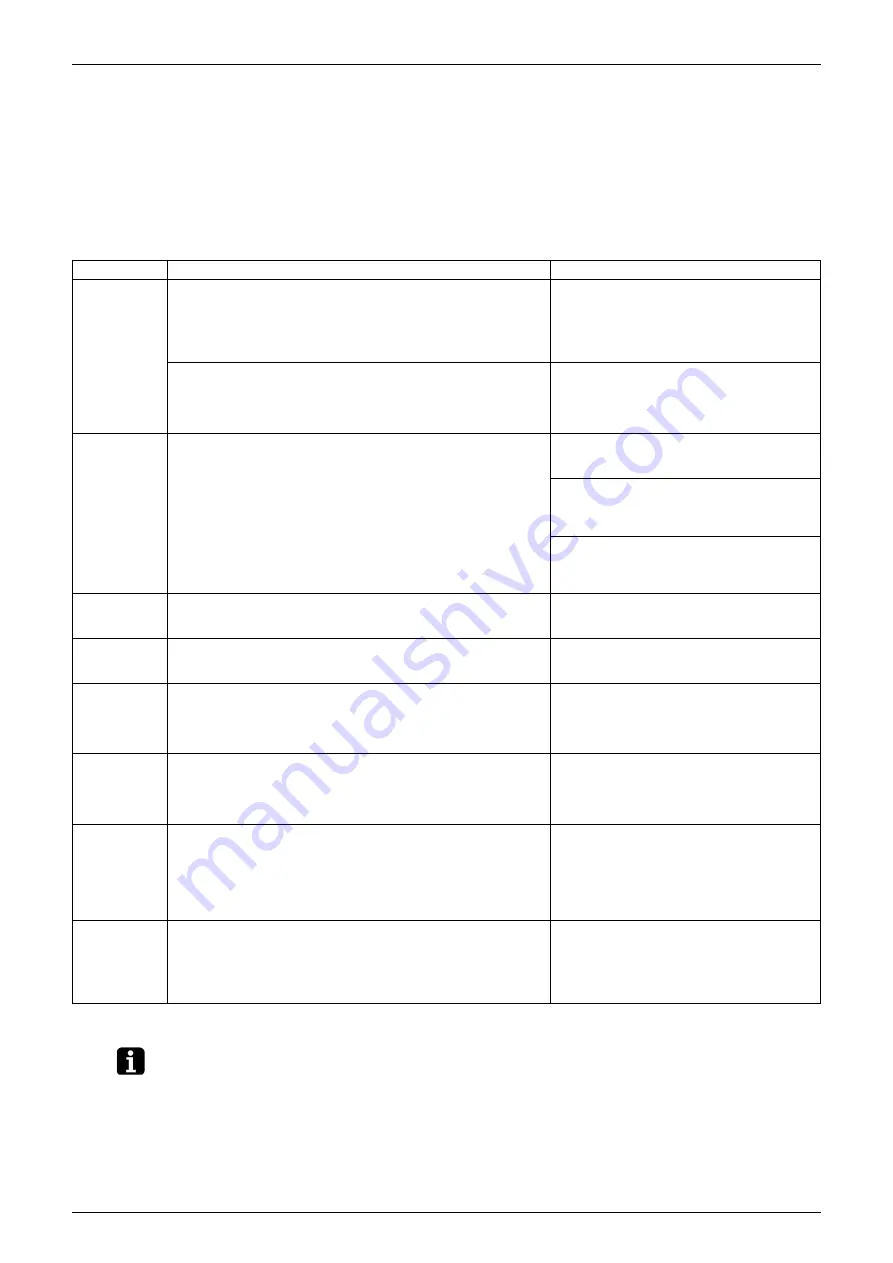
Setting item
Contents and objective of setting
Overview of setting procedure
Setting of low
noise
operation
(
2)
A.To reduce operation noise level through reduction of the upper
limit of the fan using external input (use outdoor fan step 8 for
normal control).
1. Level 1: fan step 8 or less.
2. Level 2: fan step 7Y or less.
3. Level 3: fan step 6 or less.
Use the optional board DTA104A61 (
1).
Set mode 2-12 to 1.
Choose level by mode 2-25.
If required, set the Capacity priority setting
ON by setting the mode 2-29 to 1.
B.To perform automatic night-time low noise operation.
Start time: selectable from 8:00 PM to 12:00 AM (step by 2 hours).
End time: selectable from 6:00 AM to 8:00 AM (step by 1 hour).
(Note that the set time is estimated according to outdoor air
temperature.)
Select required level by mode 2-22.
Select start time with mode 2-26.
Select end time with mode 2-27.
Select capacity priority setting if required by
mode 2-29-1.
Setting of
demand
operation (
2)
1. Demand 1 Level 1: 60% of rated capacity or less
2. Demand 1 Level 2: 65% of rated capacity or less
3. Demand 1 Level 3: 70% of rated capacity or less
4. Demand 1 Level 4: 75% of rated capacity or less
5. Demand 1 Level 5: 80% of rated capacity or less
6. Demand 1 Level 6: 85% of rated capacity or less
7. Demand 1 Level 7: 90% of rated capacity or less
8. Demand 1 Level 8: 95% of rated capacity or less
9. Demand 2 Level 1: 40% of rated capacity or less
10. Demand 2 Level 2: 50% of rated capacity or less
11. Demand 2 Level 3: 55% of rated capacity or less
12. Demand 3: Forced thermostat off
Use the optional board DTA104A61.
Wire external signal(s) to the optional
adaptor DTA104A61.
Activate input optional board DTA104A61
by setting the mode 2-12 to 1.
Select level of demand 1 by mode 2-30.
Select level of demand 2 by mode 2-31.
If constant demand control is required
(without adaptor DTA104A61), set level by
mode 2-32.
Setting of
AIRNET
address
Make AIRNET address when it is connected to AIRNET
monitoring, or to view detail in the map on Service Checker type
III.
Set AIRNET address with mode 2-13.
Setting of high
static pressure
mode
Set high static pressure mode in order to operate the system
with duct to the outdoor unit (used at concealed installation on
floors or balconies).
Set mode 2-18 to 0 (Automatic ESP
adjustment).
Evaporating
temperature
setting (cooling
performance)
Setting to choose the reaction time of outdoor control on change
of outdoor and cooling indoor load.
Set mode 2-8 to choose cooling capacity
control logic between standard and high
sensible.
Set mode 2-81 to choose Te adjustment at
start up between Powerful, Quick, Mild or Eco.
Eco mode
invalid setting
Eco mode may be deemed unavailable.
0: Valid
1: Invalid
When this configuration is set, it is not possible to turn this control
ON/OFF using the external control adaptor.
Set mode 2-23.
Eco level
setting for Eco
mode by
external
control adaptor
You may set the Eco level of Eco mode to Standard/Low or
make it unavailable. Depending on the settings, low noise
operation or demand operation may not be performed using the
external control adaptor.
You need an external control adaptor. Using
mode 2-11, define if Eco level will be set by
the external control adaptor low noise level or
demand level. If you short-circuit the terminal
(TeS1), Eco level can be set to Standard/Low.
In case of open circuit, the setting will be
unavailable.
Condensing
temperature
setting
(heating
performance)
Setting to choose the reaction time of outdoor control on change
of outdoor and heating indoor load.
Set mode 2-9 to choose heating capacity
control logic between fixed, automatic or high
sensible.
Set mode 2-82 to choose Tc adjustment
at start up between Powerful, Quick, Mild or
Eco.
Содержание VRV RXYMQ-A Series
Страница 1: ...Service Manual RXYMQ A Series Heat Pump 50 60 Hz SiME332106E...
Страница 283: ...SiME332106E Check Part 6 Service Diagnosis 277 PCB and Circuit Diagram U V W L3B L2B L1B P1 P2 N32...
Страница 296: ...SiME332106E 290 Part 7 Appendix 1 Wiring Diagrams 291 1 1 Outdoor Unit 291 1 2 VRV Indoor Unit 293 Part 7 Appendix...
Страница 297: ...SiME332106E Wiring Diagrams Part 7 Appendix 291 1 Wiring Diagrams 1 1 Outdoor Unit RXYMQ4AVMK C 3D133942...
Страница 298: ...Wiring Diagrams SiME332106E 292 Part 7 Appendix RXYMQ4 5 6AYFK C 3D133944A...
Страница 303: ...SiME332106E Wiring Diagrams Part 7 Appendix 297 FXMQ40 50 63 80 100ARV1 3D127112 04 59...

