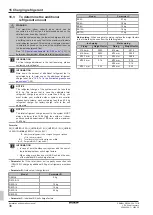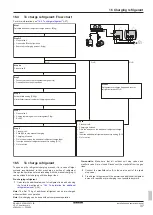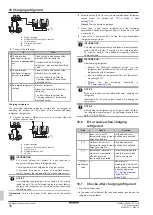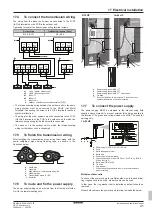
15 Piping installation
Installation and operation manual
28
REMA5+REYA8~20A7Y1B
VRV 5 heat recovery
4P684060-1 – 2022.02
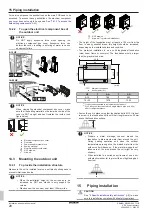
For service purposes, the pushbuttons on the main PCB need to be
accessed. To access these pushbuttons, the electrical component
box cover does not need to be opened. See
14.2.2
To open the electrical component box of
the outdoor unit
NOTICE
Do NOT apply excessive force when opening the
electronic component box cover. Excessive force can
deform the cover, resulting in entering of water to cause
equipment failure.
5~12 HP
2×
SW8
14~20 HP
6×
SW8
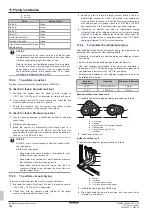
NOTICE
When closing the electrical component box cover, make
sure that the sealing material on the lower back side of the
cover is NOT caught and bent towards the inside (see
figure below).
a
b
c
d
e
a
Electrical component box cover
b
Front side
c
Power supply terminal block
d
Sealing material
e
Moisture and dirt could enter
NOT allowed
Allowed
14.3
Mounting the outdoor unit
14.3.1
To provide the installation structure
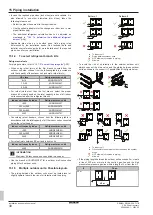
Make sure the unit is installed level on a sufficiently strong base to
prevent vibration and noise.
NOTICE
▪ When the installation height of the unit needs to be
increased, do NOT use stands to only support the
corners.
▪ Stands under the unit must be at least 100 mm wide.
≥100 mm
≥100 mm
*
NOT allowed
Allowed (* = preferred installation)
▪ The height of the foundation must at least be 150 mm from the
floor. In heavy snowfall areas, this height should be increased,
depending on the installation place and condition.
▪ The preferred installation is on a solid longitudinal foundation
(steel beam frame or concrete). The foundation must be larger
than the grey marked area.
729
≤613
≥929
≥
AB
AA
a
(mm)
Minimum foundation
a
Anchor point (4×)
HP
AA
AB
5~12
766
992
14~20
1076
1302
(a)
1 indoor unit connected to a single branch pipe port.
(b)
2 to 5 indoor units connected to a single branch pipe port, 40 m
after 1
st
refrigerant branch.
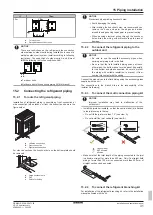
▪ Fasten the unit in place using four foundation bolts M12. It is best
to screw in the foundation bolts until their length remains 20 mm
above the foundation surface.
20 mm
NOTICE
▪ Prepare a water drainage channel around the
foundation to drain waste water from around the unit.
During heating operation and when the outdoor
temperatures are negative, the drained water from the
outdoor unit will freeze up. If the water drainage is not
taken care of, the area around the unit might be very
slippery.
▪ When installed in a corrosive environment, use a nut
with plastic washer (a) to protect the nut tightening part
from rust.
a
15
Piping installation
CAUTION
See
"2 Specific installer safety instructions"
8] to make
sure this installation complies with all safety regulations.


