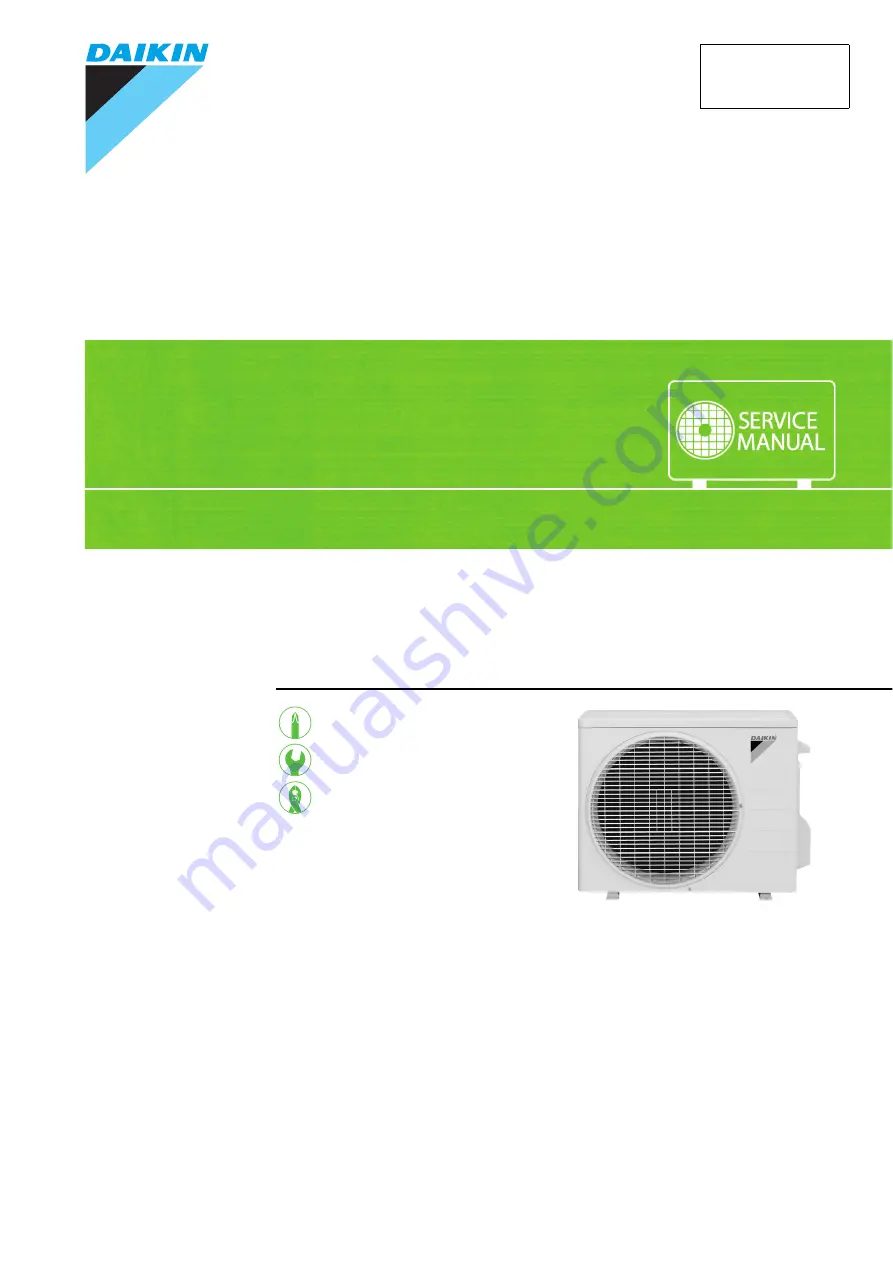
manualshive.com logo in svg
background image

REMOVAL

PROCEDURE

S E R V I C E   M A N U A L

Outdoor Unit

Inverter

Pair Type

9000/12000 Btu/h Class

Si001418E

Содержание RX09N5VL

Страница 1: ...REMOVAL PROCEDURE S E R V I C E M A N U A L Outdoor Unit Inverter Pair Type 9000 12000 Btu h Class Si001418E...

Страница 2: ...Service Manual Removal Procedure Outdoor Unit zHeat Pump RX09N5VL RX12N5VL...

Страница 3: ...2 2 Outdoor Fan Fan Motor 4 3 Electrical Box PCB 6 4 Thermistor ASSY 11 5 Sound Blankets 15 6 Reactor Electronic Expansion Valve Coil Partition Plate 16 7 Four Way Valve 18 8 Compressor 20 Note The i...

Страница 4: ...ng off all power supplies before disassembling work Step Procedure Points 1 Remove the 3 screws and remove the top panel 2 Remove the 4 screws of the front panel 3 4 Unfasten the 3 left side hooks and...

Страница 5: ...Si001418E Outer Panels Removal Procedure 3 5 6 Rotate the discharge grille to the left to unfasten the 6 hooks Remove the discharge grille Step Procedure Points Discharge grille R20818...

Страница 6: ...edure Points 1 Disconnect the connector S70 and pull out the clamp S70 fan motor 2 Release the fan motor lead wire from the groove 3 4 Remove the nut of the outdoor fan Remove the outdoor fan Nut size...

Страница 7: ...tor fixing frame When reassembling fit the lower hooks into the bottom frame 6 Open the 3 hooks and release the fan motor lead wire 7 Remove the 3 screws from the fan motor 8 Remove the fan motor Step...

Страница 8: ...er supplies before disassembling work Step Procedure Points 1 Remove the electrical box 1 black front 2 white front 3 red front 1 Disconnect the 3 connectors from the terminal board 2 Remove the screw...

Страница 9: ...eactor When reassembling you can reconnect the 2 connectors for the reactor in either way regardless of the color 5 Disconnect the connector S30 S30 compressor motor 6 Disconnect the connector S40 S40...

Страница 10: ...i001418E 8 Removal Procedure 7 Disconnect the connector S20 S20 electronic expansion valve coil 8 Disconnect the connector S90 S90 thermistors 9 Pull out the clamp Step Procedure Points S20 R20834 S90...

Страница 11: ...rical box 11 Slide the electrical box to the right and lift up to remove it There are 2 hooks at the bottom and the top back of the electrical box 2 Remove the PCB 1 Remove earth ground screw Step Pro...

Страница 12: ...rical Box PCB Si001418E 10 Removal Procedure 2 3 Remove the 3 screws of the PCB Unfasten the 2 spacers and the 2 hooks from the PCB 4 Remove the PCB Step Procedure Points Hook Spacer Hook R20841 PCB R...

Страница 13: ...e to wait for 10 minutes or more after turning off all power supplies before disassembling work Step Procedure Points 1 Remove the screw 2 Slide the stop valve cover downward and remove it When reasse...

Страница 14: ...ire fixture 4 Remove the 7 screws on the terminal board and disconnect the connecting wire and the power supply wire 5 Remove the 3 screws of the right side panel Step Procedure Points Wire fixture R2...

Страница 15: ...panel to unfasten the hook 8 Remove the right side panel 9 10 Cut the clamp Pull out the outdoor heat exchanger thermistor Be careful not to lose the clip for the thermistor Step Procedure Points Hoo...

Страница 16: ...e 11 Pull out the discharge pipe temperature thermistor and remove the thermistor ASSY Be careful not to lose the fixture for the thermistor Step Procedure Points Discharge pipe temperature thermistor...

Страница 17: ...Step Procedure Points 1 Remove the sound blanket top The design of sound blanket varies depending on the model Since the piping ports on the sound blanket are torn easily remove the blanket carefully...

Страница 18: ...ion Plate Warning Be sure to wait for 10 minutes or more after turning off all power supplies before disassembling work Step Procedure Points 1 Remove the 2 screws of the reactor 2 Slide upward the re...

Страница 19: ...tition Plate Removal Procedure 17 4 Remove the 2 screws of the partition plate 5 Lift up the partition plate and remove it When reassembling fit the hook on the bottom frame Step Procedure Points Part...

Страница 20: ...sure that the refrigerant gas is empty in the circuit Be sure to apply nitrogen replacement when heating up the brazed part Do not use a metal saw for cutting pipes by all means because the sawdust c...

Страница 21: ...ompressor lead wires and the overload protector 5 6 7 Remove the sheet of putty Heat up and disconnect the every brazed part of the four way valve Remove the four way valve Step Procedure Points Termi...

Страница 22: ...refrigerant gas Restore the piping by non oxidation brazing Note Before working make sure that the refrigerant gas is empty in the circuit Be sure to apply nitrogen replacement when heating up the bra...

Страница 23: ...art of the discharge side pipe and disconnect it Heat up the brazed part of the suction side pipe and disconnect it Remove the 2 nuts of the compressor Lift up the compressor and remove it Step Proced...

Страница 24: ...Revision History Month Year Version Revised contents 10 2014 Si001418E First edition...

Страница 25: ...ries supplied or specified by Daikin Ask a qualified installer or contractor to install those parts and accessories Use of unauthorised parts and accessories or improper installation of parts and acce...

Отзывы: