137
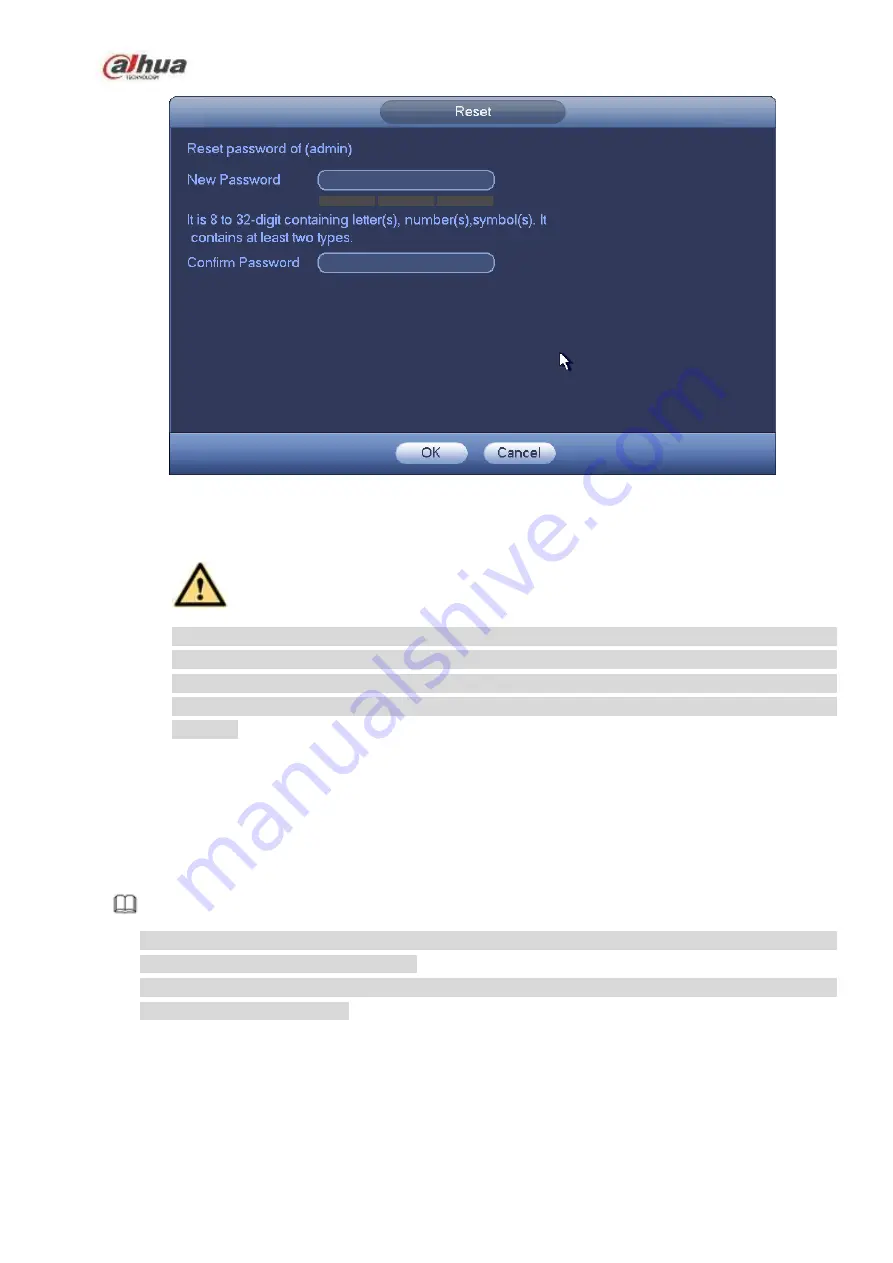
Figure 4-9
Step 5 Input new password and then confirm.
WARNING
STRONG PASSWORD RECOMMENDED-For your device own safety, please create a
strong password of your own choosing. The password shall be at least 8-digit containing
at least two types of the following categories: letters, numbers and symbols. We also
recommend you change your password periodically especially in the high security
system.
Step 6 Click OK button to complete the setup.
4.1.4
Quick Settings
After you successfully initialize the device, it goes to startup wizard. Here you can quickly configure your
device. It includes smart add, general setup, basic network setup, camera registration, P2P, and schedule
interface.
Note
Once the power is off during the quick settings process, you need to go through startup wizard again
when the device boot up the next time.
After completing all items on the startup wizard, the startup wizard automatically hides when the
device boot up the next time.
Please follow the steps listed below.
Boot up the device and complete the device initialization. Device goes to startup wizard. See Figure 4-10.
Enable smart add function, device can automatically search and add the remote device on the LAN.
Refer to chapter 4.1.4.4 Smart add for detailed information.
Select auto check, device automatically checks there is new applications or not every day.
Содержание NVR1A-4P Series
Страница 1: ...Dahua Network Video Recorder User s Manual V 4 3 0 ...
Страница 138: ...124 Figure 3 5 3 6 6 NVR42N Series Please refer to Figure 3 6 for connection sample Figure 3 6 ...
Страница 142: ...128 Figure 3 11 3 6 12 NVR42V 8P Series Please refer to Figure 3 12 for connection sample ...
Страница 143: ...129 Figure 3 12 ...
Страница 157: ...143 Figure 4 15 Step 2 Click device display edit interface See Figure 4 16 ...
Страница 220: ...206 Figure 4 93 Figure 4 94 ...
Страница 240: ...226 Figure 4 110 Figure 4 111 Figure 4 112 ...
Страница 251: ...237 Figure 4 123 Figure 4 124 ...
Страница 253: ...239 Figure 4 126 Click draw button to draw the zone See Figure 4 127 ...
Страница 257: ...243 Figure 4 130 Click Draw button to draw a zone See Figure 4 131 Figure 4 131 ...
Страница 262: ...248 Figure 4 136 Click draw button to draw the zone See Figure 4 137 ...
Страница 275: ...261 Figure 4 148 Figure 4 149 ...
Страница 276: ...262 Figure 4 150 Figure 4 151 ...
Страница 387: ...373 Figure 5 60 Figure 5 61 ...
Страница 388: ...374 Figure 5 62 Figure 5 63 ...
Страница 412: ...398 Figure 5 96 Figure 5 97 ...
Страница 418: ...404 Figure 5 106 5 10 4 4 Record Control The interface is shown as in Figure 5 107 Figure 5 107 ...


