61
Now you can go to the Schedule interface (Main Menu->Setting->Schedule) to set the
record type, corresponding channel number, week and date. You can select the recor d
type: Regular/Alarm.
Now you can go to the Encode interface to select the alarm record and set the encode
parameter (Main Menu->Setting->Encode).
Finally, you can set the alarm input as the local alarm and then select the record channel.
The select channel begins alarm record when an alarm occurred. Please note system
begins the alarm record instead of the MD record if the local alarm and MD event
occurred at the same time.
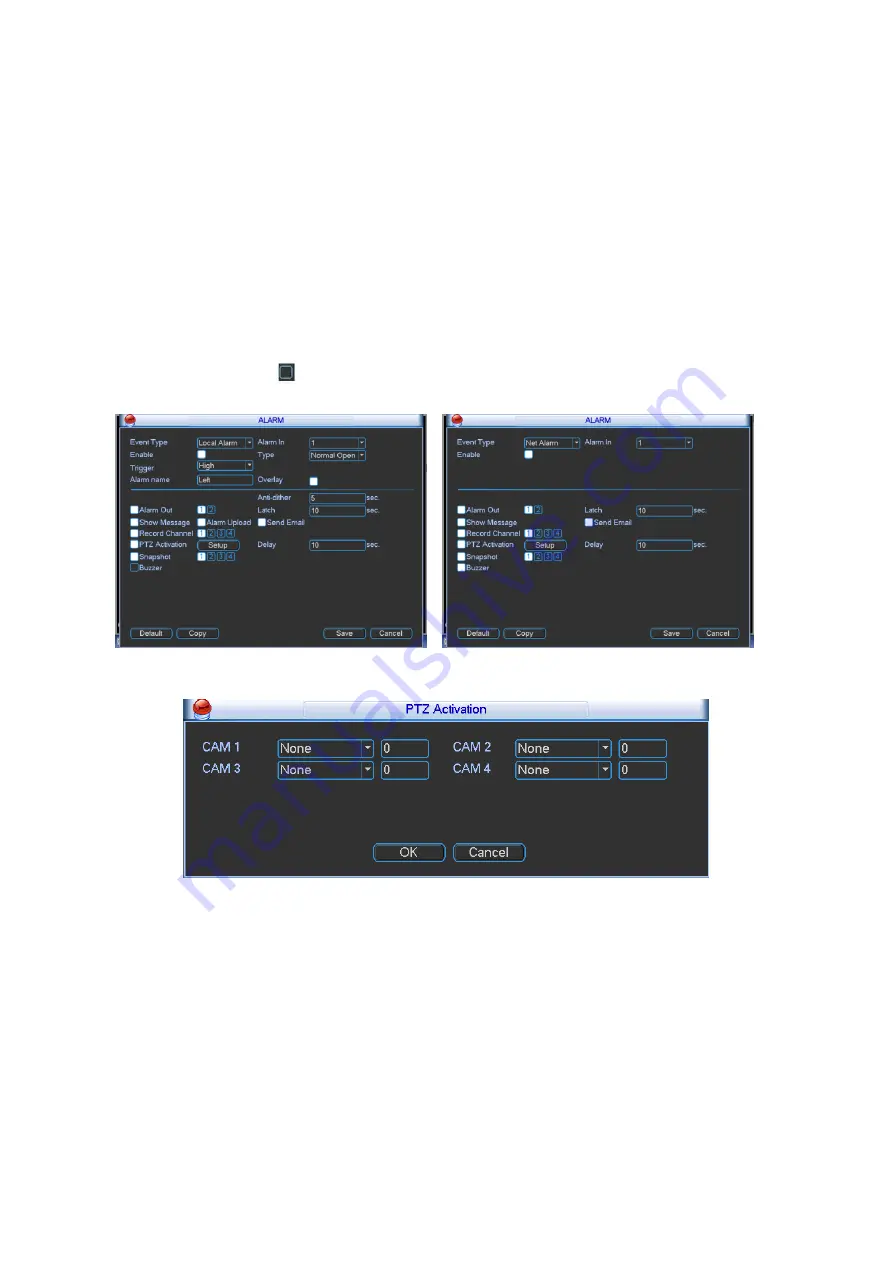
Snapshot: You can enable this function to snapshoot image when an alarm occurs.
Buzzer: Highlight the icon to enable this function. The buzzer beeps when an alarm occurs.
Please highlight icon
to select the corresponding function. After setting all the setups
please click save button, system goes back to the previous menu.
Figure 4-60
Figure 4-61
4.9.7
Detect
Go to Detect Menu
In the main menu, from Setting to Detect, you can see an interface shown as in Figure
4-62.There are two detection types: video loss/tampering.
You can see video loss icon if current channel has enabled video loss alarm.
4.9.7.1 Video Loss
You can follow the steps listed below to set video loss alarm.
a) From Main menu->Setting->Detect to set video loss item and enable this function.


