


Step 3
Click Update now to update the system.
5.19.4.4.3 Uboot Upgrading
●
Under the root directory in the USB storage device, there must be "u-boot.bin.img" file and
"update.img" file saved, and the USB storage device must be in FAT32 format.
●
Make sure the USB storage device is inserted; otherwise the upgrading cannot be performed.
When starting the Device, the system automatically checks whether there is a USB storage device
connected and any upgrade file, and if yes and the check result of the upgrade file is correct, the
system will upgrade automatically. The Uboot upgrade can avoid the situation that you have to
upgrade tTFTP when the Device is halted.
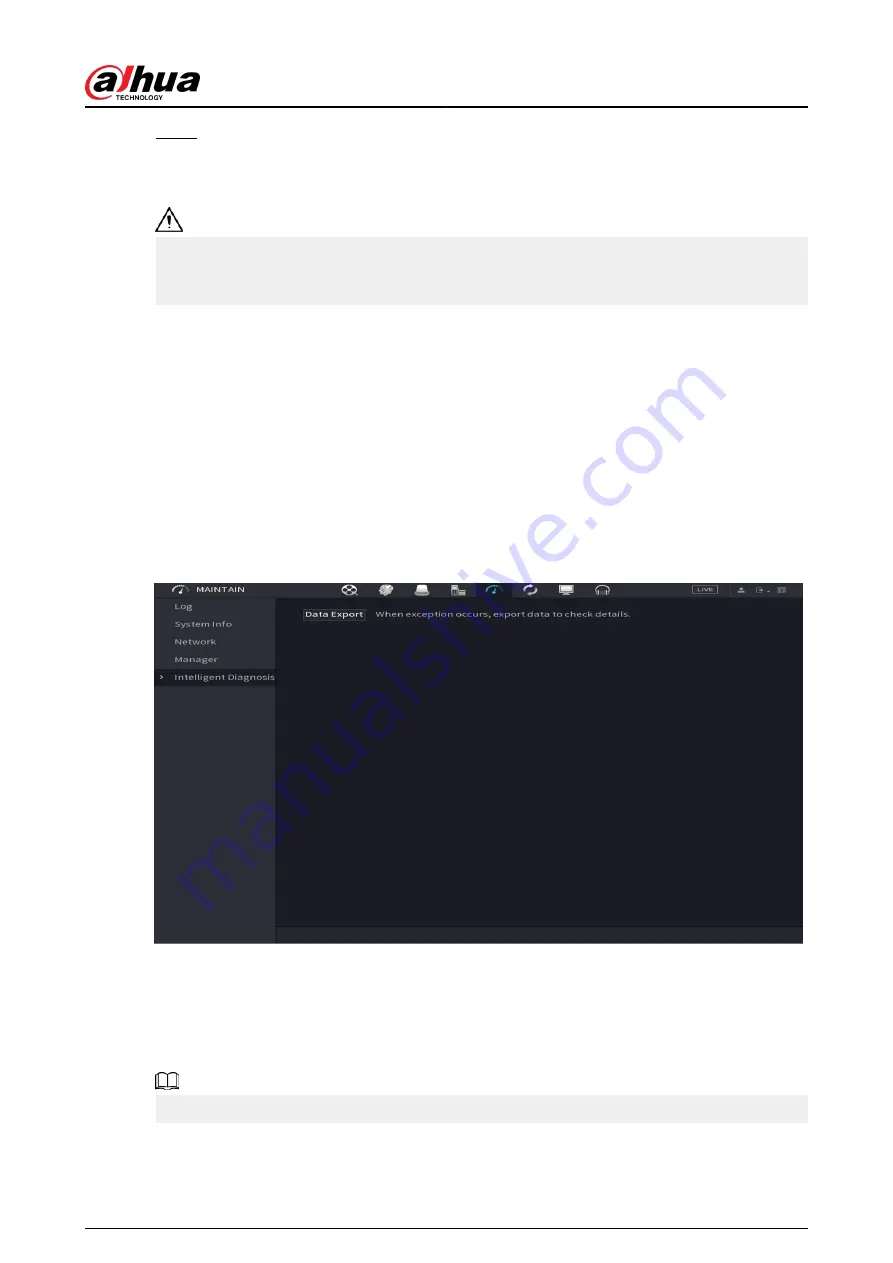
5.19.4.5 Intelligent Diagnosis
Background Information
When exception occurs, export data to check details.
Select Maintain > Intelligent Diagnosis.
Figure 5-311 Intelligent diagnosis
5.20 USB Device Auto Pop-up
After you inserted the USB device, system can auto detect it and pop up the following dialogue
box. It allows you to conveniently backup file, log, configuration or update system.
You can add a USB keyboard through USB port, and it can input characters limited to soft keyboard.
User's Manual
427
Содержание DHI-NVR5432-EI
Страница 1: ...ZHEJIANG DAHUA VISION TECHNOLOGY CO LTD V2 3 4 Network Video Recorder User s Manual...
Страница 14: ...Appendix 4 Compatible Network Camera List 449 Appendix 5 Cybersecurity Recommendations 455 User s Manual XIII...
Страница 89: ...Figure 2 103 Alarm input port 1 User s Manual 75...
Страница 116: ...NVR21 S3 NVR21 P S3 NVR21 8P S3 NVR41 EI NVR41 P EI NVR41 8P EI Figure 3 47 Typical connection User s Manual 102...
Страница 118: ...S3 NVR21HS 8P S3 NVR41HS EI NVR41HS P EI NVR41HS 8P EI Figure 3 49 Typical connection User s Manual 104...
Страница 127: ...Figure 3 60 Typical connection 3 5 15 NVR616 4KS2 Series Figure 3 61 Typical connection User s Manual 113...
Страница 137: ...Figure 5 8 Unlock pattern login User s Manual 123...
Страница 152: ...Figure 5 23 AcuPick human detection User s Manual 138...
Страница 153: ...Figure 5 24 AcuPick motor vehicle detection Step 5 Configure the search conditions as needed User s Manual 139...
Страница 156: ...Figure 5 27 Shortcut menu 1 User s Manual 142...
Страница 184: ...Figure 5 59 Modify IP Step 7 Click Next Figure 5 60 Device initialization Step 8 Click Finished User s Manual 170...
Страница 217: ...Figure 5 87 AcuPick human detection User s Manual 203...
Страница 218: ...Figure 5 88 AcuPick motor vehicle detection Step 5 Configure the search conditions as needed User s Manual 204...
Страница 222: ...Figure 5 92 Thumbnails Step 7 Point to the target you want and then click to check the details User s Manual 208...
Страница 223: ...Figure 5 93 Custom search 2 Step 8 Configure the search conditions as needed User s Manual 209...
Страница 335: ...Figure 5 203 TCP IP Step 2 Click to configure the NIC card and then click OK User s Manual 321...
Страница 387: ...Figure 5 253 Pattern login User s Manual 373...
Страница 444: ...Figure 5 314 Shutdown 2 User s Manual 430...
Страница 453: ...Figure 6 5 Cluster log Step 2 Enter the start time and end time Step 3 Click Search User s Manual 439...
Страница 471: ......


