12
6
System Settings
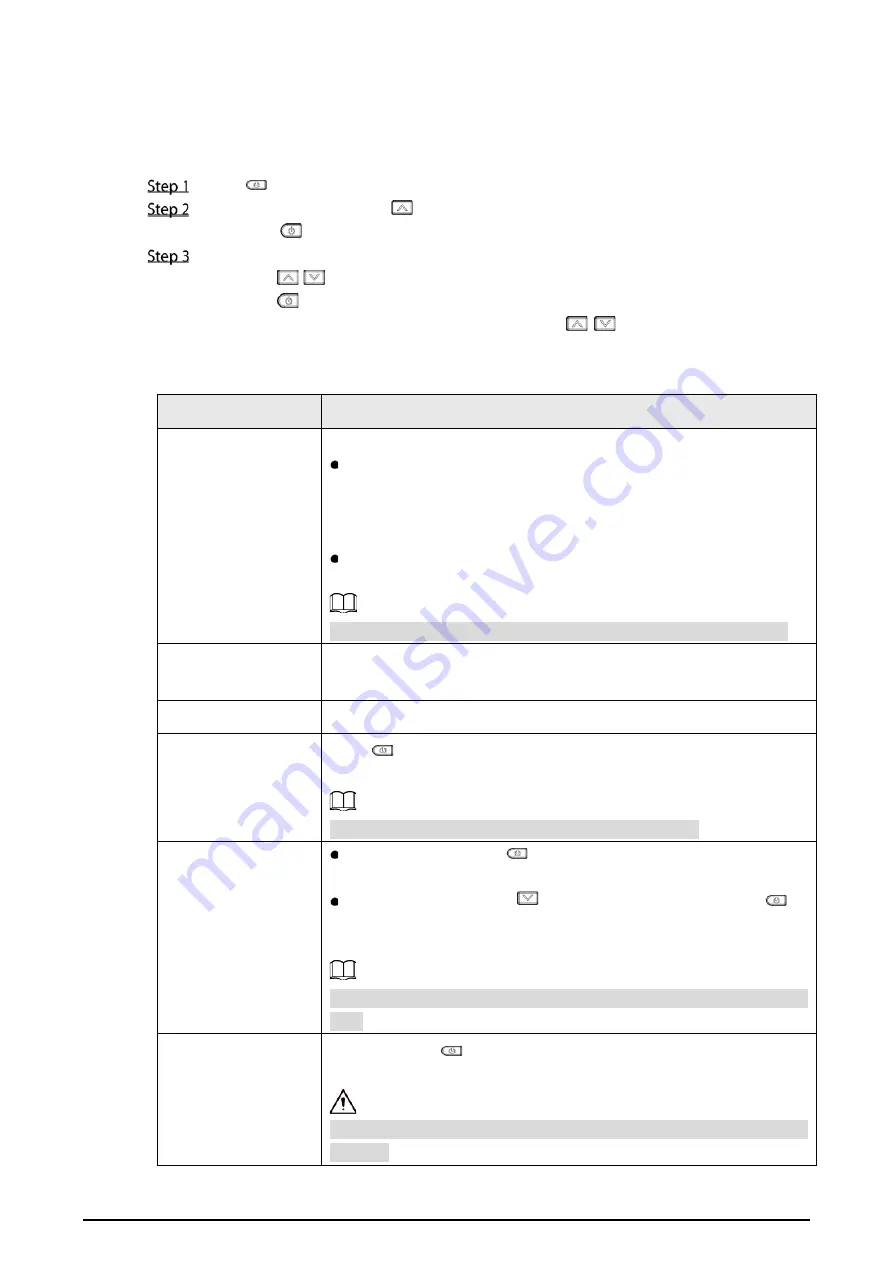
You can configure the general system parameters of the Camera.
Press
to wake up the Camera.
On the live interface, press
to enter the
Menu
interface. Select
System Settings
, and
then press
to confirm.
Configure system parameters.
1)
Press
/
to select parameters.
2)
Press
to confirm.
3)
On the parameter configuration interface, press
/
to increase or decrease the
parameter value.
Figure 14-1 System settings parameters
Parameter
Description
USB Option
There are two ways to connect the Camera to PC:
PC Preview Mode
: Download DH Thermal to PC and connect the
camera to the PC with the USB cable. The client interface will display
the live interface of the Camera. For details on operating the client,
see DH Thermal_User's Manual.
USB Flash Drive Mode
: Use a USB cable to connect camera and
computer, and transfer image/video files to the computer.
You can turn off the USB connection by
pressing
off
to save electricity.
Laser Light
Point the laser light of the Camera at targets to view their temperature
readings in seconds
Time and Date
Configure the current time (24-hour time system) and date.
Brightness
Press
to configure the level (
Low
,
Medium
,
High
). The higher the
level, the brighter the screen.
Configuring higher brightness will reduce battery usage.
Auto Maintain
Auto Standby:
Press
to switch the time. It can be configured to
5 minutes, 10 minutes, 15 minutes, and off.
Auto Shutdown
: Press
and select auto turning off; press
to
switch the time. It can be configured to 15 minutes, 30 minutes, 45
minutes, 60 minutes, and off.
The auto standby time must be less than or equal to the auto shutdown
time.
Restore Defaults
(Optional) Press
and then
Yes
to restore to factory settings. Press
No
to cancel this action.
Press
Yes
, and the camera will be restored to its factory settings. Be
cautious.


