11
one. You can use this function when setting the IP addresses to default in batches.
Step 6
Click
Save
.
3.3 Logging in to Web Page
After you have changed the IP addresses, you can log in to the web page of the Camera through a
browser to operate, configure and maintain the Camera.
To log in to the Camera successfully, make sure that the computer connected to the Camera satisfies
the following requirements.
Table 3-3 Recommended PC configuration
PC items
Recommended configuration
Operation system
≥ Windows 7
CPU
≥ Intel core i3
Graphics card
≥ Intel HD Graphics
Storage
≥ 2GB
Display
≥ 1024 × 768 Resolution
Browser
Internet Explorer 9/10/11
Procedure
Step 1
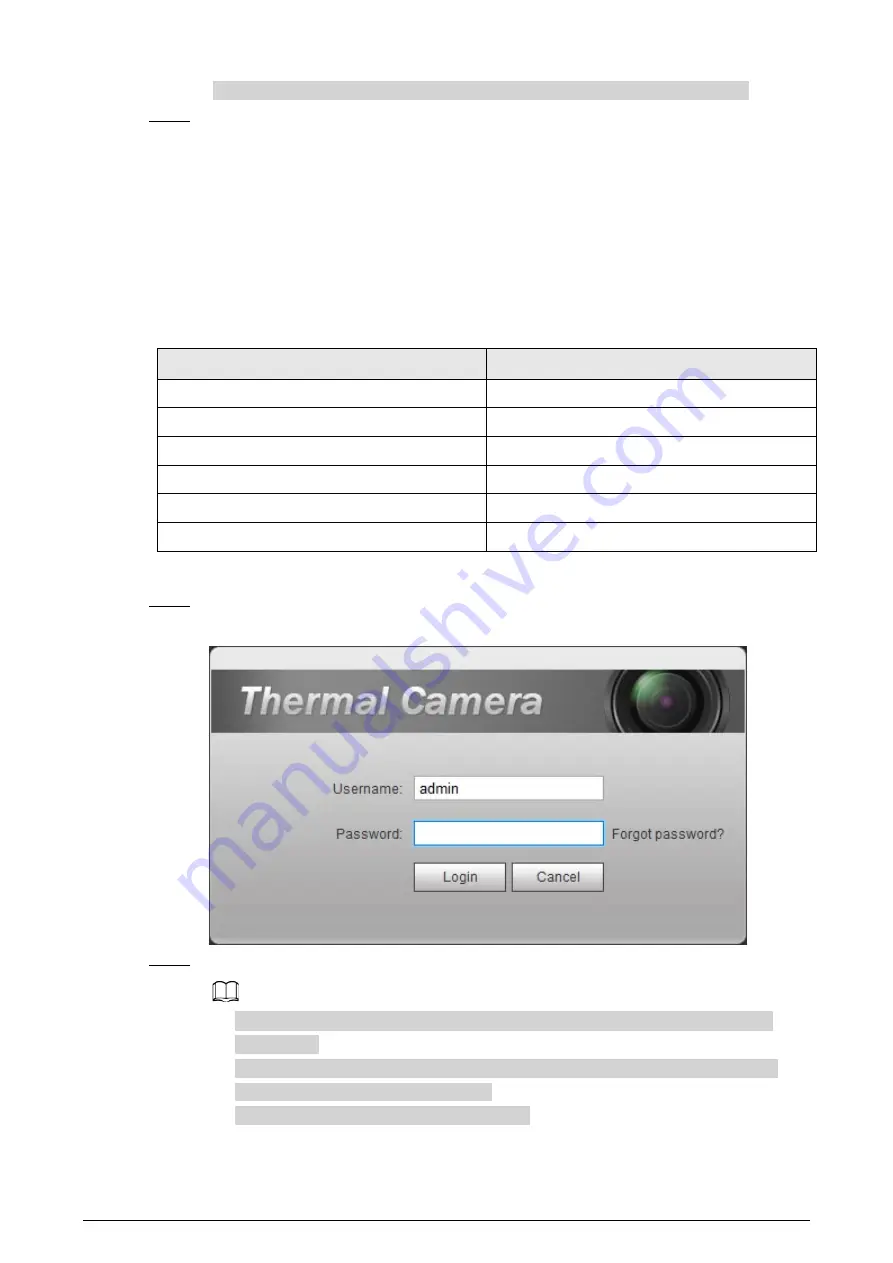
Open the browser, enter the IP address in the address bar, and then press Enter.
Figure 3-4 Login
Step 2
Enter username and password, and click
Login
.
●
The user is admin by default. The password is the one that was configured during
initialization.
●
It will prompt you to install plug-in for the first system login. Please download and
install plug-in according to the prompt.
●
Functions might vary from different cameras.
Содержание D-TPC-BF1241-B3F4-DW-S2
Страница 1: ...Thermal Network Camera Web Operation Manual V2 0 1...
Страница 138: ...129 Figure 6 58 User settings Step 3 Configure parameters Figure 6 59 Add user operation permission...
Страница 142: ...133 Figure 6 64 Modify user 1 Step 3 Select the Modify Password checkbox Figure 6 65 Modify user 2...
Страница 156: ...147 Select Setting Information Online User Figure 7 7 Online user...


