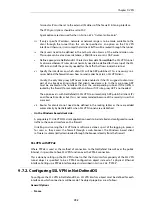
routing table may not be left in a consistent state and the automatically added
all-nets
route may
not have been removed.
To remedy this problem, the D-Link SSL VPN client software should be started by selecting it in
the Windows
Start
menu and then stopped.
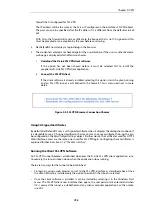
Manually Specifying the Client's Default Gateway
If the SSL VPN client's connection to the server is NATed, it is important that the client's route to
the default gateway is not added manually in a DOS console using the
route add
command.
If the default gateway has been added in this way, the SSL VPN link will become established and
function for a short time before the link stops working and the client gives the following error
message:
SSL stream closed unexpectedly
. If the client console is then opened, it will show there
was an error when reading from the SSL socket.
This problem is solved by not using the DOS console to manually add the default gateway route.
Instead, do this through the Windows control panel or allow the SSL VPN client software to add
the route automatically.
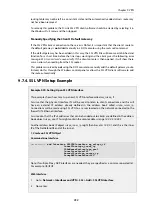
9.7.4. SSL VPN Setup Example
Example 9.20. Setting Up an SSL VPN Interface
This example shows how to set up a new SSL VPN interface called
my_sslvpn_if
.
Assume that the physical interface
If2
will be used to listen to client connections and this will
have an external IP address already defined in the address book called
sslvpn_server_ip
.
Connections will be made using SSL VPN to a server located on the network connected to the
firewall's
If3
Ethernet interface.
Assume also that the IPv4 addresses that can be handed out to clients are defined in the address
book object
sslvpn_pool
. This might contain the simple address range
10.0.0.2-10.0.0.9
.
Another address book IP object
sslvpn_inner_ip
might then be set as
10.0.0.1
and this is the inner
IP of the NetDefendOS end of the tunnel.
1. Create an SSL VPN Object
Command-Line Interface
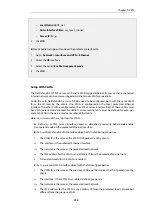
gw-world:/> add Interface SSLVPNInterface my_sslvpn_if
InnerIP=sslvpn_inner_ip
IPAddressPool=sslvpn_pool
OuterInterface=If2
ServerIP=sslvpn_server_ip
ProxyARPInterfaces=If3
Note: If multiple Proxy ARP interfaces are needed, they are specified as a comma separated list.
For example:
If3,If4,If5
.
Web Interface
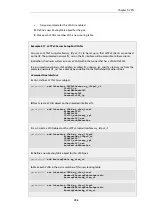
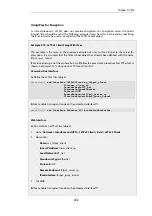
1.
Go to: Network > Interfaces and VPN > SSL > Add > SSL VPN Interface
2.
Now enter:
Chapter 9: VPN
759
Содержание NetDefendOS
Страница 30: ...Figure 1 3 Packet Flow Schematic Part III Chapter 1 NetDefendOS Overview 30 ...
Страница 32: ...Chapter 1 NetDefendOS Overview 32 ...
Страница 144: ...Chapter 2 Management and Maintenance 144 ...
Страница 220: ... Enable DHCP passthrough Enable L2 passthrough for non IP protocols 4 Click OK Chapter 3 Fundamentals 220 ...
Страница 267: ... SourceNetwork lannet DestinationInterface any DestinationNetwork all nets 4 Click OK Chapter 3 Fundamentals 267 ...
Страница 284: ...Chapter 3 Fundamentals 284 ...
Страница 360: ...The ospf command options are fully described in the separate NetDefendOS CLI Reference Guide Chapter 4 Routing 360 ...
Страница 392: ...Chapter 4 Routing 392 ...
Страница 396: ...Web Interface 1 Go to Network Ethernet If1 2 Select Enable DHCP 3 Click OK Chapter 5 DHCP Services 396 ...
Страница 419: ... Host 2001 DB8 1 MAC 00 90 12 13 14 15 5 Click OK Chapter 5 DHCP Services 419 ...
Страница 420: ...Chapter 5 DHCP Services 420 ...
Страница 424: ...2 Now enter Name lan_Access Action Expect Interface lan Network lannet 3 Click OK Chapter 6 Security Mechanisms 424 ...
Страница 573: ...Chapter 6 Security Mechanisms 573 ...
Страница 575: ...This section describes and provides examples of configuring NAT and SAT rules Chapter 7 Address Translation 575 ...
Страница 607: ...Chapter 7 Address Translation 607 ...
Страница 666: ...Chapter 8 User Authentication 666 ...
Страница 775: ...Chapter 9 VPN 775 ...
Страница 819: ...Chapter 10 Traffic Management 819 ...
Страница 842: ...Chapter 11 High Availability 842 ...
Страница 866: ...Default Enabled Chapter 13 Advanced Settings 866 ...
Страница 879: ...Chapter 13 Advanced Settings 879 ...

