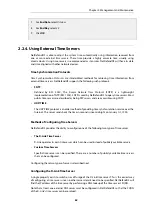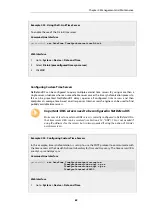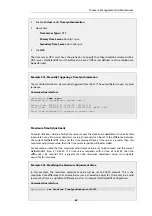
Under the Remote Management section of the Web Interface a number of advanced settings
can be found. These are:
SSH Before Rules
Enable SSH traffic to the firewall regardless of configured IP Rules.
Default:
Enabled
WebUI Before Rules
Enable HTTP(S) traffic to the firewall regardless of configured IP Rules.
Default:
Enabled
Local Console Timeout
Number of seconds of inactivity until the local console user is automatically logged out.
Default:
900
Validation Timeout
Specifies the amount of seconds to wait for the administrator to log in before reverting to the
previous configuration.
Default:
30
WebUI HTTP port
Specifies the HTTP port for the Web Interface.
Default:
80
WebUI HTTPS port
Specifies the HTTP(S) port for the Web Interface.
Default:
443
HTTPS Certificate
Specifies which certificate to use for HTTPS traffic. Only RSA certificates are supported.
Default:
HTTPS
2.1.11. Working with Configurations
Configuration Objects
The system configuration is built up by
Configuration Objects
, where each object represents a
configurable item of any kind. Examples of configuration objects are routing table entries,
Chapter 2: Management and Maintenance
71
Содержание NetDefendOS
Страница 30: ...Figure 1 3 Packet Flow Schematic Part III Chapter 1 NetDefendOS Overview 30 ...
Страница 32: ...Chapter 1 NetDefendOS Overview 32 ...
Страница 144: ...Chapter 2 Management and Maintenance 144 ...
Страница 220: ... Enable DHCP passthrough Enable L2 passthrough for non IP protocols 4 Click OK Chapter 3 Fundamentals 220 ...
Страница 267: ... SourceNetwork lannet DestinationInterface any DestinationNetwork all nets 4 Click OK Chapter 3 Fundamentals 267 ...
Страница 284: ...Chapter 3 Fundamentals 284 ...
Страница 360: ...The ospf command options are fully described in the separate NetDefendOS CLI Reference Guide Chapter 4 Routing 360 ...
Страница 392: ...Chapter 4 Routing 392 ...
Страница 396: ...Web Interface 1 Go to Network Ethernet If1 2 Select Enable DHCP 3 Click OK Chapter 5 DHCP Services 396 ...
Страница 419: ... Host 2001 DB8 1 MAC 00 90 12 13 14 15 5 Click OK Chapter 5 DHCP Services 419 ...
Страница 420: ...Chapter 5 DHCP Services 420 ...
Страница 424: ...2 Now enter Name lan_Access Action Expect Interface lan Network lannet 3 Click OK Chapter 6 Security Mechanisms 424 ...
Страница 573: ...Chapter 6 Security Mechanisms 573 ...
Страница 575: ...This section describes and provides examples of configuring NAT and SAT rules Chapter 7 Address Translation 575 ...
Страница 607: ...Chapter 7 Address Translation 607 ...
Страница 666: ...Chapter 8 User Authentication 666 ...
Страница 775: ...Chapter 9 VPN 775 ...
Страница 819: ...Chapter 10 Traffic Management 819 ...
Страница 842: ...Chapter 11 High Availability 842 ...
Страница 866: ...Default Enabled Chapter 13 Advanced Settings 866 ...
Страница 879: ...Chapter 13 Advanced Settings 879 ...

