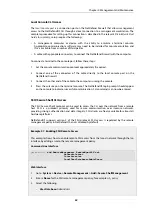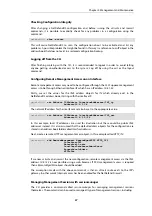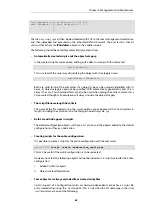
> scp my_script.sgs [email protected]:script/
If we have the same CLI script file called
my_scripts.sgs
stored on the NetDefend Firewall then the
download command would be:
> scp [email protected]:script/my_script.sgs ./
Activating Uploads
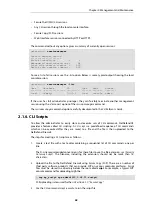
Like all configuration changes, SCP uploads only become active after the CLI commands
activate
have been issued and this must be followed by
commit
to make the change permanent.
Uploads of firmware upgrades (packaged in
.upg
files) or a full system backup (
full.bak
) are the
exception. Both of these file types will result in an automatic system reboot. The other exception
is for script uploads which do not affect the configuration.
2.1.8. The Console Boot Menu
The NetDefendOS
loader
is the base software on top of which NetDefendOS runs and the
administrator's direct interface to this is called the
console boot menu
(also known simply as the
boot menu
). This section discusses the boot menu options.
Accessing the Console Boot Menu
The boot menu is only accessible through a console device attached directly to the serial console
located on the NetDefend Firewall. It can be accessed through the console after the NetDefend
Firewall is powered up and before NetDefendOS is fully started.
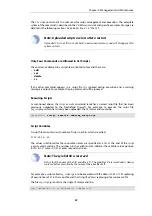
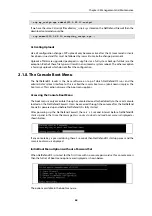
After powering up the NetDefend Firewall, there is a 3 second interval before NetDefendOS
starts up and in that time the message
Press any key to abort and load boot menu
is displayed as
shown below:
If any console key is pressed during these 3 seconds then NetDefendOS startup pauses and the
console boot menu
is displayed.
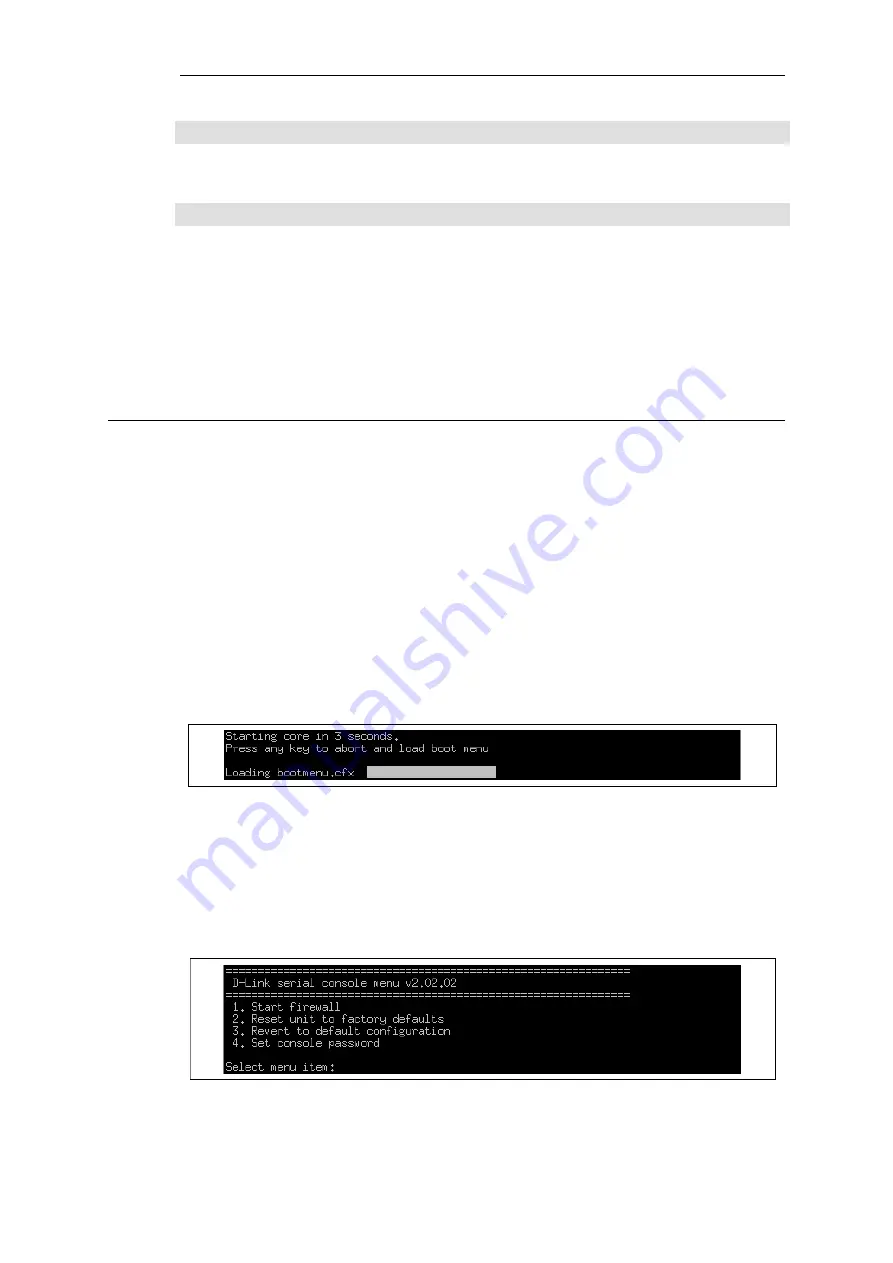
Initial Boot Menu Options without a Password Set
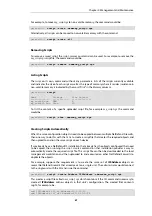
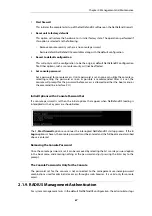
When NetDefendOS is started for the first time with no console password set for console access
then the full set of boot menu options are displayed as shown below:
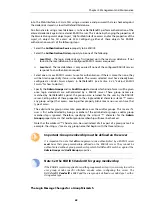
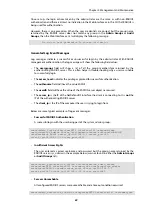
The options available in the boot menu are:
Chapter 2: Management and Maintenance
66
Содержание NetDefendOS
Страница 30: ...Figure 1 3 Packet Flow Schematic Part III Chapter 1 NetDefendOS Overview 30 ...
Страница 32: ...Chapter 1 NetDefendOS Overview 32 ...
Страница 144: ...Chapter 2 Management and Maintenance 144 ...
Страница 220: ... Enable DHCP passthrough Enable L2 passthrough for non IP protocols 4 Click OK Chapter 3 Fundamentals 220 ...
Страница 267: ... SourceNetwork lannet DestinationInterface any DestinationNetwork all nets 4 Click OK Chapter 3 Fundamentals 267 ...
Страница 284: ...Chapter 3 Fundamentals 284 ...
Страница 360: ...The ospf command options are fully described in the separate NetDefendOS CLI Reference Guide Chapter 4 Routing 360 ...
Страница 392: ...Chapter 4 Routing 392 ...
Страница 396: ...Web Interface 1 Go to Network Ethernet If1 2 Select Enable DHCP 3 Click OK Chapter 5 DHCP Services 396 ...
Страница 419: ... Host 2001 DB8 1 MAC 00 90 12 13 14 15 5 Click OK Chapter 5 DHCP Services 419 ...
Страница 420: ...Chapter 5 DHCP Services 420 ...
Страница 424: ...2 Now enter Name lan_Access Action Expect Interface lan Network lannet 3 Click OK Chapter 6 Security Mechanisms 424 ...
Страница 573: ...Chapter 6 Security Mechanisms 573 ...
Страница 575: ...This section describes and provides examples of configuring NAT and SAT rules Chapter 7 Address Translation 575 ...
Страница 607: ...Chapter 7 Address Translation 607 ...
Страница 666: ...Chapter 8 User Authentication 666 ...
Страница 775: ...Chapter 9 VPN 775 ...
Страница 819: ...Chapter 10 Traffic Management 819 ...
Страница 842: ...Chapter 11 High Availability 842 ...
Страница 866: ...Default Enabled Chapter 13 Advanced Settings 866 ...
Страница 879: ...Chapter 13 Advanced Settings 879 ...

