8.4. Customizing Authentication HTML
User Authentication makes use of a set of HTML files to present information to the user during
the authentication process. The options available for HTTP authentication processing are as
follows:
•
When a user attempts to use a browser to open a web page they are directed to a login page
(the
FormLogin
page). After successful login, the user is taken to the originally requested
page.
•
After successful login, instead the user can be taken to a specified web page.
•
After successful login, the user is taken to a particular web page (the
LoginSuccess
page)
before being automatically redirected to the originally requested page.
HTTP Banner Files
The web page files, also referred to as
HTTP banner files
, are stored within NetDefendOS and
already exist by default at initial NetDefendOS startup. These files can be customized to suit a
particular installation's needs either by direct editing in Web Interface or by downloading and
re-uploading through an SCP client.
Banner files in NetDefendOS are of two types:
•
Banner files for authentication rules using
Web Auth
(HTTP and HTTPS login). These are
discussed below.
•
Banner files for the HTTP ALG. These are discussed in
Section 6.3.4.5, “Customizing WCF HTML
.
Banner Files for Web Authentication
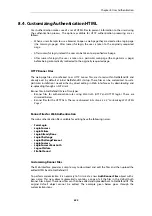
The web authentication files available for editing have the following names:
•
FormLogin
•
LoginSuccess
•
LoginFailure
•
LoginAlreadyDone
•
LoginChallenge
•
LoginChallengeTimeout
•
LoginSuccess
•
LoginSuccessBasicAuth
•
LogoutFailure
•
FileNotFound
Customizing Banner Files
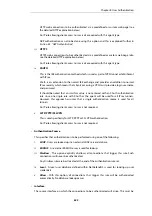
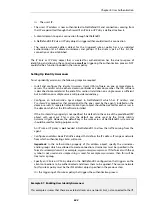
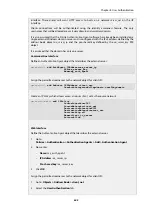
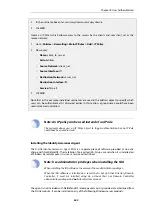
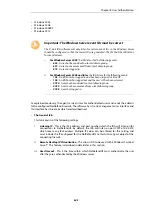
The Web Interface provides a simple way to download and edit the files and then upload the
edited HTML back to NetDefendOS.
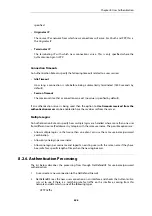
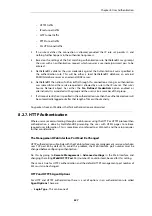
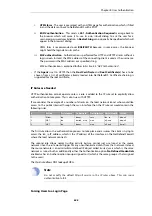
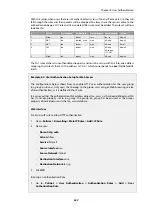
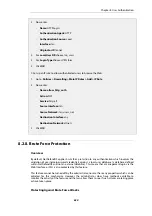
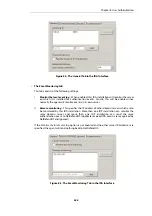
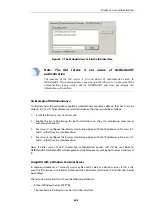
To perform customization it is necessary to first create a new Auth Banner Files object with a
new name. This new object automatically contains a copy of all the files in the
Default
Auth
Banner Files object. These new files can then be edited and uploaded back to NetDefendOS. The
original
Default
object cannot be edited. The example given below goes through the
customization steps.
Chapter 8: User Authentication
635
Содержание NetDefendOS
Страница 30: ...Figure 1 3 Packet Flow Schematic Part III Chapter 1 NetDefendOS Overview 30 ...
Страница 32: ...Chapter 1 NetDefendOS Overview 32 ...
Страница 144: ...Chapter 2 Management and Maintenance 144 ...
Страница 220: ... Enable DHCP passthrough Enable L2 passthrough for non IP protocols 4 Click OK Chapter 3 Fundamentals 220 ...
Страница 267: ... SourceNetwork lannet DestinationInterface any DestinationNetwork all nets 4 Click OK Chapter 3 Fundamentals 267 ...
Страница 284: ...Chapter 3 Fundamentals 284 ...
Страница 360: ...The ospf command options are fully described in the separate NetDefendOS CLI Reference Guide Chapter 4 Routing 360 ...
Страница 392: ...Chapter 4 Routing 392 ...
Страница 396: ...Web Interface 1 Go to Network Ethernet If1 2 Select Enable DHCP 3 Click OK Chapter 5 DHCP Services 396 ...
Страница 419: ... Host 2001 DB8 1 MAC 00 90 12 13 14 15 5 Click OK Chapter 5 DHCP Services 419 ...
Страница 420: ...Chapter 5 DHCP Services 420 ...
Страница 424: ...2 Now enter Name lan_Access Action Expect Interface lan Network lannet 3 Click OK Chapter 6 Security Mechanisms 424 ...
Страница 573: ...Chapter 6 Security Mechanisms 573 ...
Страница 575: ...This section describes and provides examples of configuring NAT and SAT rules Chapter 7 Address Translation 575 ...
Страница 607: ...Chapter 7 Address Translation 607 ...
Страница 666: ...Chapter 8 User Authentication 666 ...
Страница 775: ...Chapter 9 VPN 775 ...
Страница 819: ...Chapter 10 Traffic Management 819 ...
Страница 842: ...Chapter 11 High Availability 842 ...
Страница 866: ...Default Enabled Chapter 13 Advanced Settings 866 ...
Страница 879: ...Chapter 13 Advanced Settings 879 ...

