•
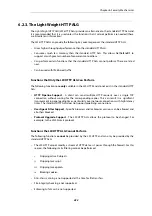
Interface: The interface that the packet arrives on.
•
Network: The IP span that the sender address should belong to.
Access Rule Actions
The Access Rule actions that can be specified are:
•
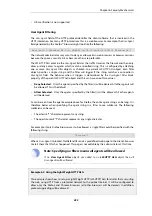
Drop: Discard the packets that match the defined fields.
•
Accept: Accept the packets that match the defined fields for further inspection in the rule set.
•
Expect: If the sender address of the packet matches the Network specified by this rule, the
receiving interface is compared to the specified interface. If the interface matches, the packet
is accepted in the same way as an Accept action. If the interfaces do not match, the packet is
dropped in the same way as a Drop action.
Note: Enabling logging
Logging can be enabled as required for these actions.
Turning Off Default Access Rule Messages
If, for some reason, the
Default Access Rule
log message is continuously being generated by some
source and needs to be turned off, then the way to do this is to specify an Access Rule for that
source with an action of Drop.
Troubleshooting Access Rule Related Problems
It should be noted that Access Rules are a first filter of traffic before any other NetDefendOS
modules can see it. Sometimes problems can appear, such as setting up VPN tunnels, precisely
because of this. It is always advisable to check Access Rules when troubleshooting puzzling
problems in case a rule is preventing some other function, such as VPN tunnel establishment,
from working properly.
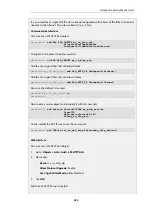
Example 6.1. Setting up an Access Rule
A rule is to be defined that ensures no traffic with a source address not within the lannet network
is received on the lan interface.
Command-Line Interface
gw-world:/> add Access Name=lan_Access
Interface=lan
Network=lannet
Action=Expect
Web Interface
1.
Go to: Network > Routing > Access > Add > Access
Chapter 6: Security Mechanisms
423
Содержание NetDefendOS
Страница 30: ...Figure 1 3 Packet Flow Schematic Part III Chapter 1 NetDefendOS Overview 30 ...
Страница 32: ...Chapter 1 NetDefendOS Overview 32 ...
Страница 144: ...Chapter 2 Management and Maintenance 144 ...
Страница 220: ... Enable DHCP passthrough Enable L2 passthrough for non IP protocols 4 Click OK Chapter 3 Fundamentals 220 ...
Страница 267: ... SourceNetwork lannet DestinationInterface any DestinationNetwork all nets 4 Click OK Chapter 3 Fundamentals 267 ...
Страница 284: ...Chapter 3 Fundamentals 284 ...
Страница 360: ...The ospf command options are fully described in the separate NetDefendOS CLI Reference Guide Chapter 4 Routing 360 ...
Страница 392: ...Chapter 4 Routing 392 ...
Страница 396: ...Web Interface 1 Go to Network Ethernet If1 2 Select Enable DHCP 3 Click OK Chapter 5 DHCP Services 396 ...
Страница 419: ... Host 2001 DB8 1 MAC 00 90 12 13 14 15 5 Click OK Chapter 5 DHCP Services 419 ...
Страница 420: ...Chapter 5 DHCP Services 420 ...
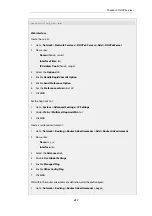
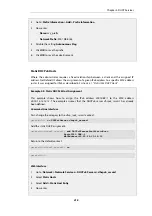
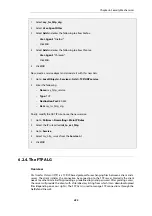
Страница 424: ...2 Now enter Name lan_Access Action Expect Interface lan Network lannet 3 Click OK Chapter 6 Security Mechanisms 424 ...
Страница 573: ...Chapter 6 Security Mechanisms 573 ...
Страница 575: ...This section describes and provides examples of configuring NAT and SAT rules Chapter 7 Address Translation 575 ...
Страница 607: ...Chapter 7 Address Translation 607 ...
Страница 666: ...Chapter 8 User Authentication 666 ...
Страница 775: ...Chapter 9 VPN 775 ...
Страница 819: ...Chapter 10 Traffic Management 819 ...
Страница 842: ...Chapter 11 High Availability 842 ...
Страница 866: ...Default Enabled Chapter 13 Advanced Settings 866 ...
Страница 879: ...Chapter 13 Advanced Settings 879 ...

