DAP-1155
Wireless N150 Access Point & Router
User Manual
Configuring Device
Using WPS Function via Web-based Interface
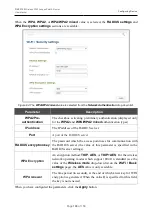
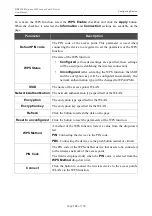
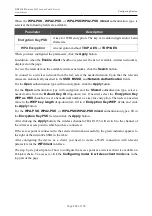
To add a wireless device via the PIN method of the WPS function, follow the next steps:
1. Select the
WPS
Enable
checkbox.
2. Click the
Apply
button.
3. Select the
PIN
value from the
WPS
Method
drop-down list.
4. Select the PIN method in the software of the wireless device that you want to connect to the
access point's WLAN.
5. Click the relevant button in the software of the wireless device that you want to connect to
the WLAN.
6. Right after that, enter the PIN code specified on the cover of the wireless device or in its
software in the
PIN Code
field.
7. Click the
Connect
button in the web-based interface of the access point.
To add a wireless device via the PBC method of the WPS function, follow the next steps:
1. Select the
WPS
Enable
checkbox.
2. Click the
Apply
button.
3. Select the
PBC
value from the
WPS Method
drop-down list.
4. Select the PBC method in the software of the wireless device that you want to connect to the
access point's WLAN.
5. Click the relevant button in the software or press the WPS button on the cover of the
wireless device that you want to connect to the WLAN.
6. Click the
Connect
button in the web-based interface of the access point.
Using WPS Function without Web-based Interface
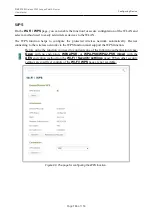
You can add a wireless device to the access point's WLAN without accessing the web-based
interface of the access point. To do this, you need to configure the following settings of DAP-1155:
1. Specify corresponding security settings for the wireless network of the access point.
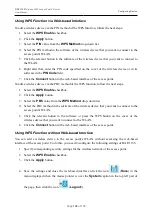
2. Select the
WPS
Enable
checkbox.
3. Click the
Apply
button.
4. Save the settings and close the web-based interface (click the icon
(
Save
)
in the
menu displayed when the mouse pointer is over the
System
caption in the top left part of
the page, then click the icon
(
Logout
)).
Page
106
of 158

