7- 1
Scheduled cleaning and sanitizing is recommended to ensure the integrity of the drinking water. Schedul-
ing will vary depending on the conditions and environment in which the cooler is in use. Follow the steps
outlined below for the recommended procedures for sanitizing the water cooler.
CAUTION: DO NOT IMMERSE THE UNIT IN WATER OR CLEAN USING PRESSURE WASHER.
1. Use latex or nitrile gloves or wash hands before and after handling water contact parts.
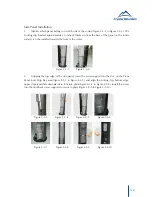
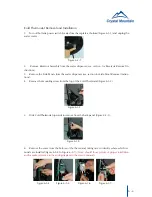
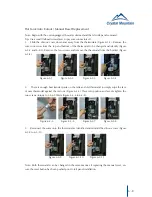
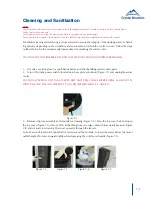
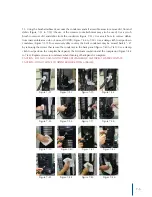
2. Turn off hot tank power switch (located near base plate at bottom) (Figure 7-1) and unplug the water
cooler.
CAUTION: WATER IN HOT TANK IS VERY HOT AND CAN CAUSE SEVERE BURNS. ALLOW SUFFI-
CIENT TIME FOR THE HOT WATER TO COOL BEFORE DRAINING (1-2 HOURS).
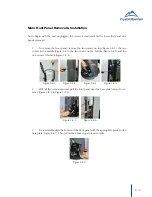
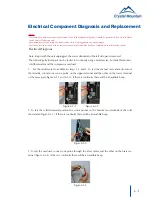
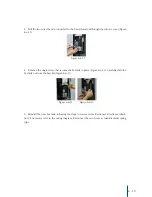
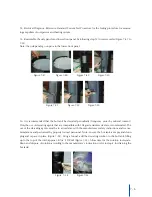
3. Remove drip tray assembly and set aside for cleaning (Figure 7-2). Press the top cover lock and open
the top cover (Figure 7-3), remove POU kit by lifting from one edge only with slow steady pressure (Figure
7-4) and set aside for cleaning. Drain excess water through the faucets.
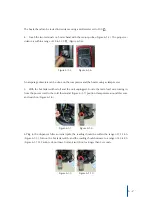
Note: Water will remain in bottom half of reservoir and the hot tank; to lower the water below the faucet
outlet height, tilt cooler forward slightly while depressing the cold faucet handle (Figure 7-5).
Figure 7-2 Figure 7-3
Figure 7-4 Figure 7-5
Figure 7-1
Cleaning and Sanitization
Notice:
The information and/or procedures presented in the following demonstration(s) should be performed by a trained Water
Cooler Service Technician only.
Never attempt to service or repair a water cooler while it is plugged into any power supply.
Prior to any service or repair of the water cooler, ensure that the water has been completely drained from the system.

