background image

MANUAL


10

130

R

3

INSTALLATION & OPERATION 

MANUAL 

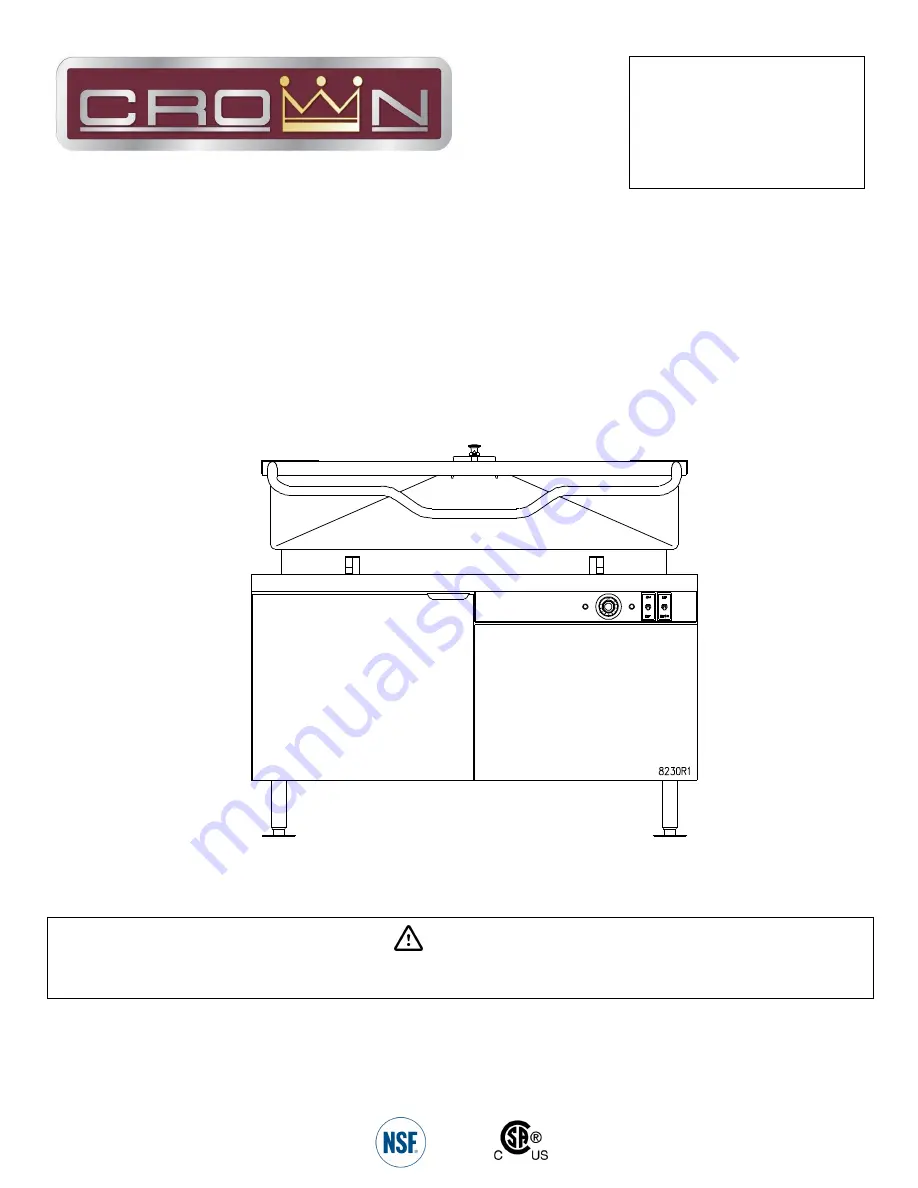
Electric 

Modular 

Skille

t

s


E

M

TS-30   E

M

TS-40

   EMTS-60

WARNING 

Improper installation, adjustment, alteration, service or maintenance can cause property damage, injury or death. Read 

the installation, operating and maintenance instructions thoroughly before installing or servicing this equipment. 

IMPORTANT FOR FUTURE REFERENCE 

Please complete this information and retain this 

manual for the life of the equipment:


Model #:   ___________________________  
Serial #:   ___________________________  
Date Purchased:   ____________________  

CROWN FOOD SERVICE EQUIPMENT 

Division of Middleby Canada Company Inc

70 Oakdale Road, Downsview (Toronto) Ontario, Canada, M3N 1V9 

Telephone: 919-762-1000              www.crownsteamgroup.com 

Printed in Canada 

Содержание EMTS-30

Страница 1: ...s thoroughly before installing or servicing this equipment IMPORTANT FOR FUTURE REFERENCE Please complete this information and retain this manual for the life of the equipment Model __________________...

Страница 2: ...ation adjustment alteration service or maintenance can cause property damage injury or death Read the installation operating and maintenance instructions thoroughly before installing operating or serv...

Страница 3: ...portant Notes for Installation and Operation 2 2 0 Service Connections 4 3 0 Installation Instructions 6 4 0 Operation Instructions 9 5 0 Cleaning Instructions 11 6 0 Cooking Temperatures 12 7 0 Maint...

Страница 4: ...INSTALLATION AND OPERATION MANUAL ELECTRIC MODULAR SKILLETS MODELS EMTS 30 EMTS 40 EMTS 60 2 0 SERVICE CONNECTIONS Part No 10130R3 4 2019 01 16...

Страница 5: ...INSTALLATION AND OPERATION MANUAL ELECTRIC MODULAR SKILLETS MODELS EMTS 30 EMTS 40 EMTS 60 Part No 10130R3 5 2019 01 16...

Страница 6: ...Crown Food Service Equipment Ltd LOCATION The installation location must allow adequate clearances for servicing and proper operation A minimum front clearance of 36 and rear clearance of 4 is requir...

Страница 7: ...feet 4 Remove tilting braising pan from installation position and drill holes in locations marked on the floor See installation diagram on page 4 Insert proper anchoring devices not supplied 5 Place t...

Страница 8: ...ing diagram located inside the control housing cover panel The braising pan must be grounded in accordance with requirements of the National Electrical Code or applicable local codes See warning page...

Страница 9: ...WITCH Push up to raise tilting braising pan push down to lower tilting braising pan POWER SWITCH Turns power on to the lift motor Note it is not necessary to have the power on when using the braising...

Страница 10: ...en braising pan is not in use 7 Turn power switch to motor OFF DAILY SHUTDOWN PROCEDURE To turn tilting braising pan off turn THERMOSTAT dial to OFF To turn power to tilt motor off turn power switch t...

Страница 11: ...braising pan clean at all times Do not get water in electrical box or on any electrical component 1 Thoroughly wash pan pouring spout see Figure 2 lid and exterior surfaces with mild detergent and war...

Страница 12: ...ODULAR SKILLETS MODELS EMTS 30 EMTS 40 EMTS 60 6 0 COOKING TEMPERATURES Temperature EF Thermostat Setting Simmering 200 Maximum 1 4 Saut ing 225 275 5 6 Searing 300 350 7 8 Frying 325 375 8 9 Grilling...

Страница 13: ...nt should be needed If the unit fails to operate properly all service work must be performed by a qualified service agent MAINTENANCE 1 Hot oil in the Hydraulic System is one of the primary causes of...

Страница 14: ...ize the solenoid to extend the cylinder fully and thus deadhead the system The pressure can be set as indicated above When adjustment is complete replace the hexagon cover This will seal the relief va...

Страница 15: ...itch 4 Defective thermostat 5 Defective elements or loose terminals 6 Defective contactors BRAISING PAN WILL NOT OPERATE UP OR DOWN 1 Power supply not ON 2 Defective UP DOWN switch 3 SEE TROUBLESHOOTI...

Страница 16: ...OF SYSTEM 1 Continuous operation at relief setting 2 Excessive slippage or internal leakage 3 Fluid viscosity too high or low 4 Hose I D too small causing high velocity 5 Improper air circulation arou...

Страница 17: ...above fluid level 6 Worn cam ring damaged gear or faulty bearing 7 Reversed rotation 8 Plugged lines 9 Oil viscosity too high or temperature too low 10 Loose or worn pump parts 11 Pump housing bolts...

Страница 18: ...INSTALLATION AND OPERATION MANUAL ELECTRIC MODULAR SKILLETS MODELS EMTS 30 EMTS 40 EMTS 60 Part No 10130R3 18 2019 01 16...

Страница 19: ...INSTALLATION AND OPERATION MANUAL ELECTRIC MODULAR SKILLETS MODELS EMTS 30 EMTS 40 EMTS 60 Part No 10130R3 19 2019 01 16...

Страница 20: ...INSTALLATION AND OPERATION MANUAL ELECTRIC MODULAR SKILLETS MODELS EMTS 30 EMTS 40 EMTS 60 Part No 10130R3 20 2019 01 16...

Страница 21: ...INSTALLATION AND OPERATION MANUAL ELECTRIC MODULAR SKILLETS MODELS EMTS 30 EMTS 40 EMTS 60 Part No 10130R3 21 2019 01 16...

Страница 22: ...INSTALLATION AND OPERATION MANUAL ELECTRIC MODULAR SKILLETS MODELS EMTS 30 EMTS 40 EMTS 60 Part No 10130R3 22 2019 01 16...

Страница 23: ...INSTALLATION AND OPERATION MANUAL ELECTRIC MODULAR SKILLETS MODELS EMTS 30 EMTS 40 EMTS 60 Part No 10130R3 23 2019 01 16...

Страница 24: ...INSTALLATION AND OPERATION MANUAL ELECTRIC MODULAR SKILLETS MODELS EMTS 30 EMTS 40 EMTS 60 Part No 10130R3 24 2019 01 16...

Страница 25: ...INSTALLATION AND OPERATION MANUAL ELECTRIC MODULAR SKILLETS MODELS EMTS 30 EMTS 40 EMTS 60 Part No 10130R3 25 2019 01 16...

Отзывы: