DO
GUIDE
CEN(I)-AVF-HUB
.AV Framework™ Hub
The CEN-AVF-HUB and CENI-AVF-HUB are functionally identical. For simplicity within this guide,
the term “CEN-AVF-HUB” is used.
DO
Install the Device
The Crestron
®
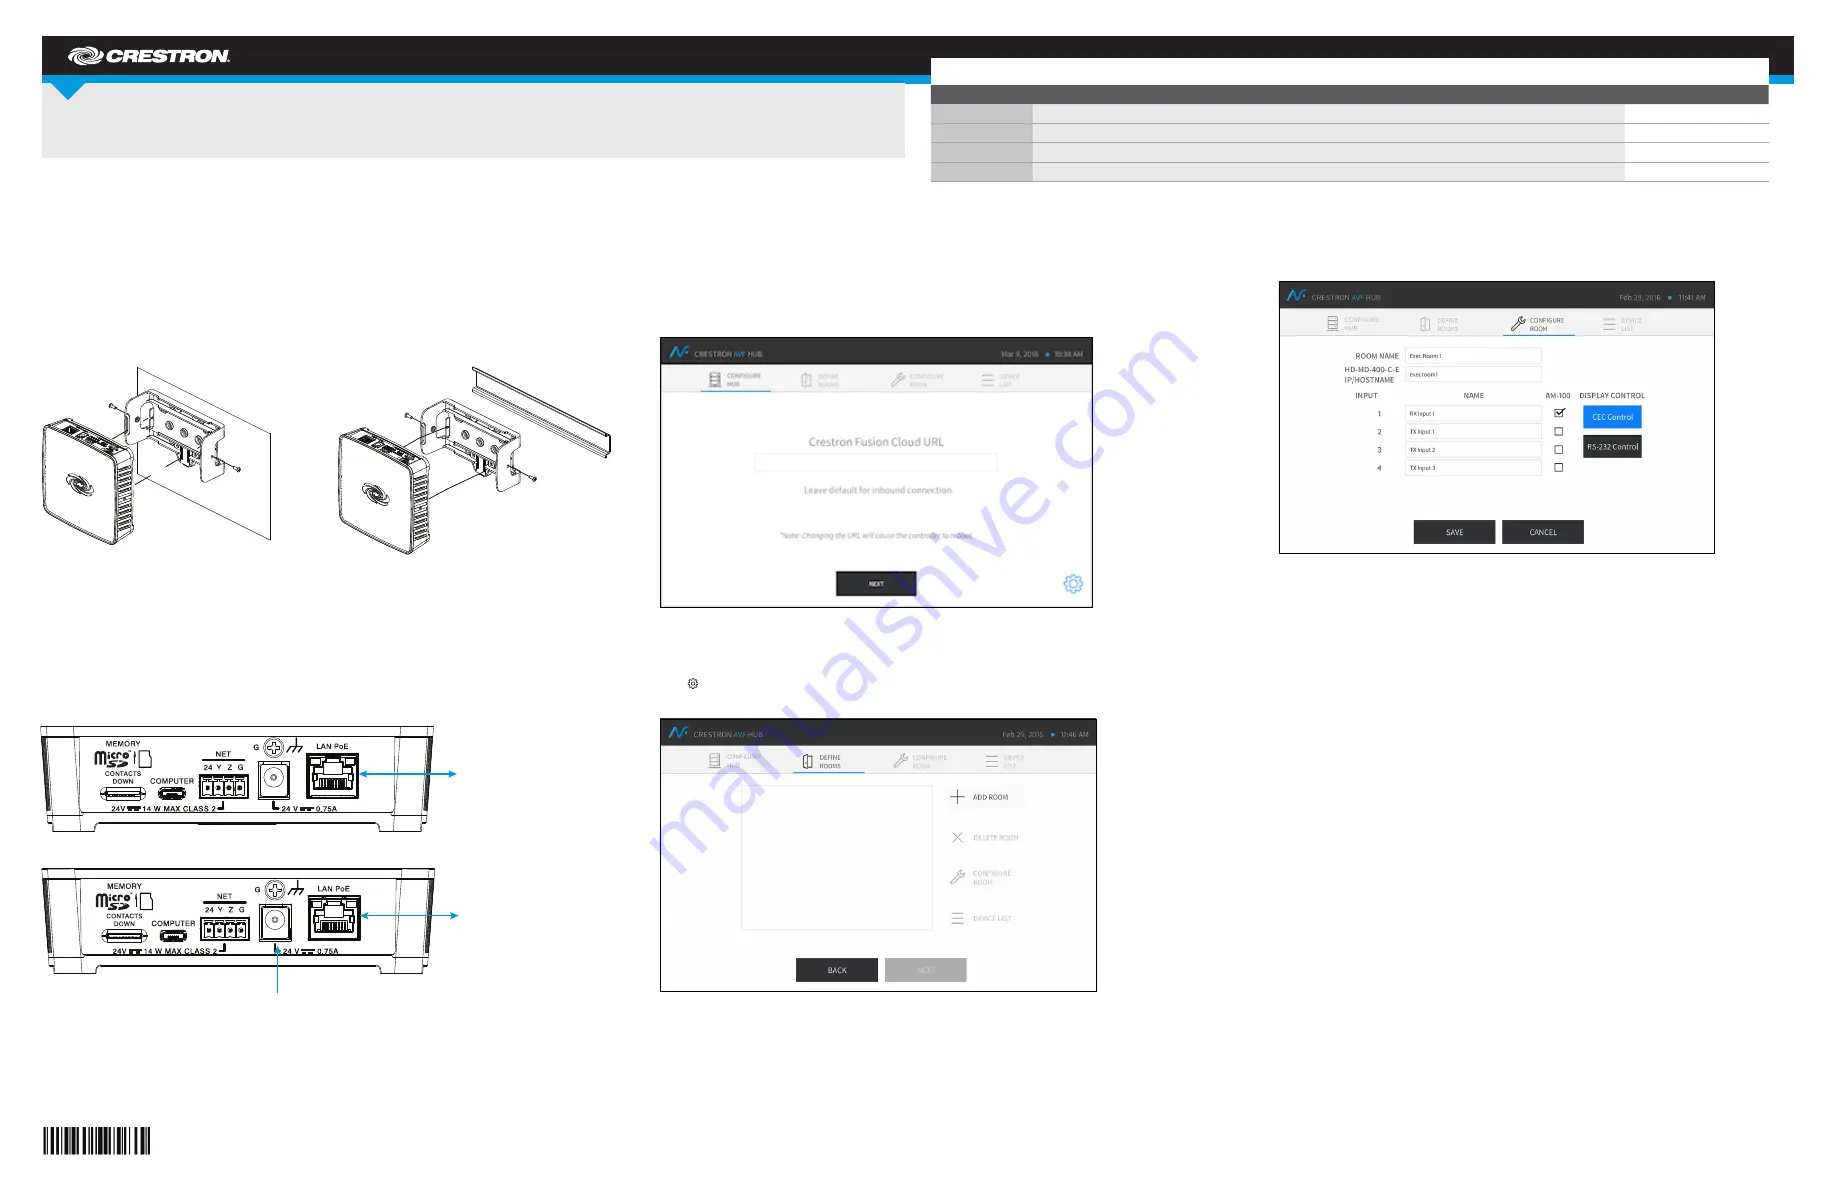
CEN-AVF-HUB can be mounted onto a DIN rail, mounted to any flat surface, or placed
on a tabletop. If necessary, use screws that are applicable for the mounting method. See the diagrams
below for installation options.
NOTE:
The CEN-AVF-HUB can also be rack mounted. For rack mount installation, refer to the
RMK-IFE-1U Installation Guide (Doc. 7627) at www.crestron.com/manuals.
Flat Surface Mounting
NOTE:
Do not use the supplied screws to mount the bracket to the bottom of the CEN-AVF-HUB if the
device will be mounted on a DIN rail. Removing the CEN-AVF-HUB from the DIN rail is not possible.
DO
Connect the Device
On the CEN-AVF-HUB, connect the Power over Ethernet (PoE) port to a PoE injector or a LAN
connection that supplies Power over Ethernet. If desired, connect a power supply (sold separately) to the
CEN-AVF-HUB and then to an electrical outlet. See below for connection ports.
Wire with PoE
Wire with Optional Power Supply
DO
Configure the Device
Once all connections have been made, the
CEN-AVF-HUB is configured with the built-in, web-based setup tool.
1. Use a web browser to navigate to http://
hostname
where
hostname
is the host name or IP address
of the CEN-AVF-HUB. The host name for the CEN-AVF-HUB is CEN-AV- plus the last eight
characters of the MAC address. The MAC address can be found on the label located on the bottom
of the CEN-AVF-HUB. For example, the host name of a CEN-AVF-HUB with the MAC address
00107F2ED7CB is CEN-AV-7F2ED7CB. Once the device is connected, the CONFIGURE HUB
screen is displayed.
2. Enter the IP address or host name of the cloud-based or local Crestron Fusion
®
server. If this
field is left blank, the Crestron Fusion server must be pointed to the CEN-AVF-HUB to retrieve its
configuration (RVI) file.
Click to view or change the device’s Ethernet settings, configure the automatic update feature, or
view information about the CEN-AVF-HUB.
NOTE:
Changing the IP address or host name causes the CEN-AVF-HUB to reboot.
3. Click
NEXT
. The DEFINE ROOMS screen is displayed.
4. Use the DEFINE ROOMS screen to add a room, change an existing room’s configuration, or delete
a room.
• Add a Room
a. Click
ADD ROOM
.
b. Enter a name for the room in the
ROOM NAME
field.
c. Enter the IP address or host name of the HD-MD-400-C-E installed in the room in the
HD-MD-400-C-E IP/HOSTNAME
field.
d. Enter the names to be used for the receiver and transmitter inputs in the
NAME
field.
The CEN-AVF-HUB currently supports the AM-101 AirMedia
®
Presentation Gateway, the
HD-MD400-C-E HD Scaling Presentation Switcher & Extender 400, and any CEC or RS-232
controlled display device.
If an input name represents a connection to an AM-101, check the box next to the input name.
NOTE:
Only one input can be associated with an AM-101.
e. Use the mouse to select
CEC Control
or
RS-232 Control
. If RS-232 control is selected, enter
the Power On command and the Power Off command in the respective fields, and click
RS-
232 Configuration
to configure RS-232 communications.
f. Click
SAVE
to save the room settings and return to the DEFINE ROOMS screen, or click
CANCEL
to cancel.
DO
Check the Box
QUANTITY
PRODUCT
COLOR
PART NUMBER
1
Bracket, Mounting, Integrated DIN Rail Clip
Black
4519035
1
Cable, Ethernet, CAT5e, 5' (1.52 m)
Black
2022311
1
Connector, 4-Pin
2003576
2
Screw, 6-32 x 3/8", Pan Head, Phillips
Black
2007225
Din Rail Mounting
LAN PoE
LAN
Power
Supply


