


Crestron
AV2 & PRO2
2-Series Integrated Dual Bus Control System
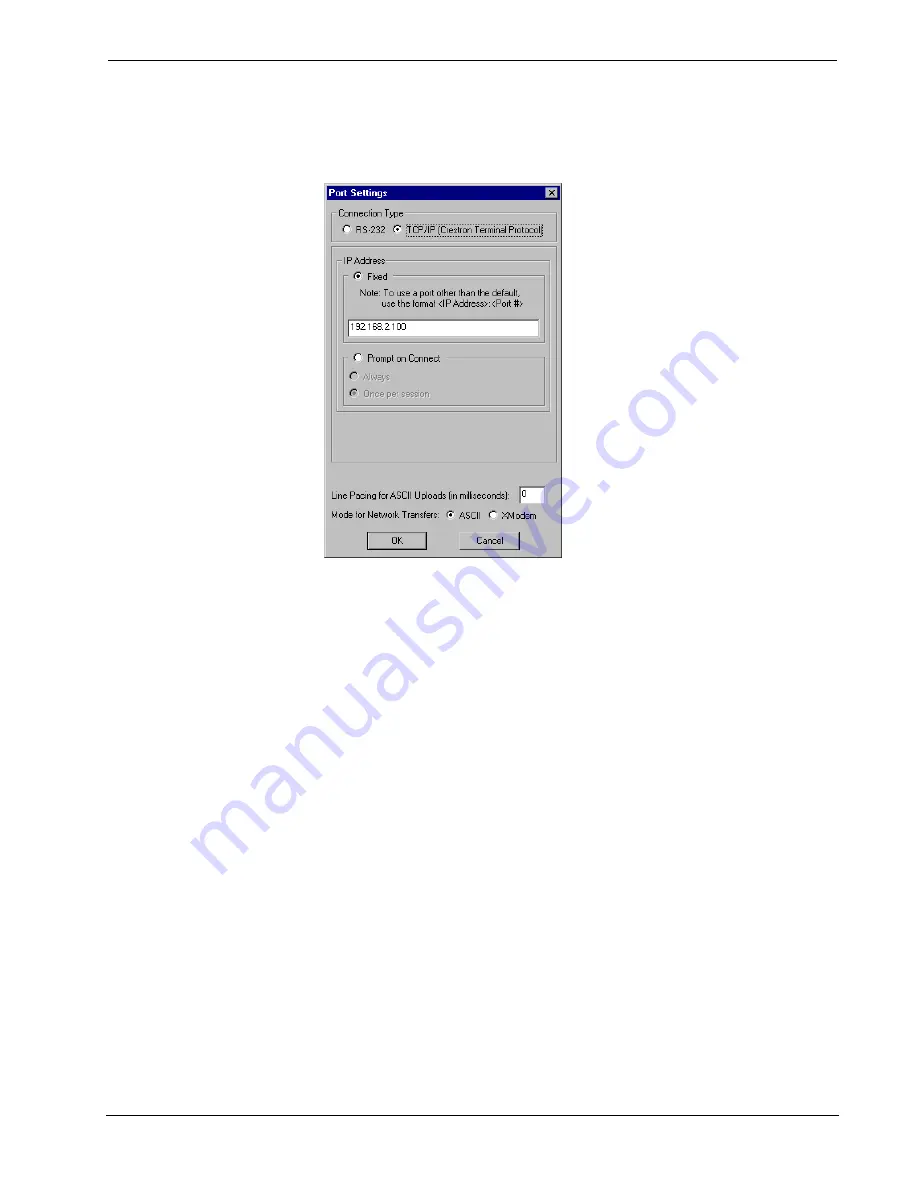
Once the cable connections are made, open the Crestron Viewport and click
Setup |
Communication Settings
on the menu to display the “Port Settings” window. Then
click
TCP/IP
as the connection type. Enter the IP address of the AV2/PRO2.
“Port Settings” Window
To verify communication, click
Diagnostics | Establish Communications (Find
Rack).
This should display a window that gives the IP address and port number.
Troubleshooting Communications
Use the following checklist if communication cannot be established with the
AV2/PRO2.
1. Verify that you are using the correct cables. As described previously,
an RS-232 connection requires a straight-through serial cable. That is,
pin 1 on one end is connected to pin 1 on the other end. Pin 2 connects
to pin 2, etc. With a TCP/IP connection, you must use a CAT5 cable
with 8-pin RJ45 connectors.
2. With a serial connection, verify that the correct COM port on the PC
has been selected. Some computers have more than one COM port;
some may be internal (e.g., for a modem). Consult the manufacturer’s
documentation for further information about the COM ports on your
PC.
3. Check
the
ERR
LED indicator on the front panel of the AV2/PRO2. If
this LED is illuminated, unplug the unit and reapply power after a few
seconds. If the LED illuminates again, call Crestron customer service.
4. With a serial connection, reset the control system as follows:
a. Open Viewport and click
Setup | Communications Settings
to
display the “Port Settings” window. Choose
RS-232
as the
connection type.
b. Set the baud rate of the PC to
115200
.
Operations Guide - DOC. 5957A
Integrated Dual Bus Control System: AV2 & PRO2
•
21
Содержание AV2
Страница 1: ...Crestron AV2 PRO2 2 SeriesIntegratedDualBusControlSystem Operations Guide ...
Страница 4: ......


