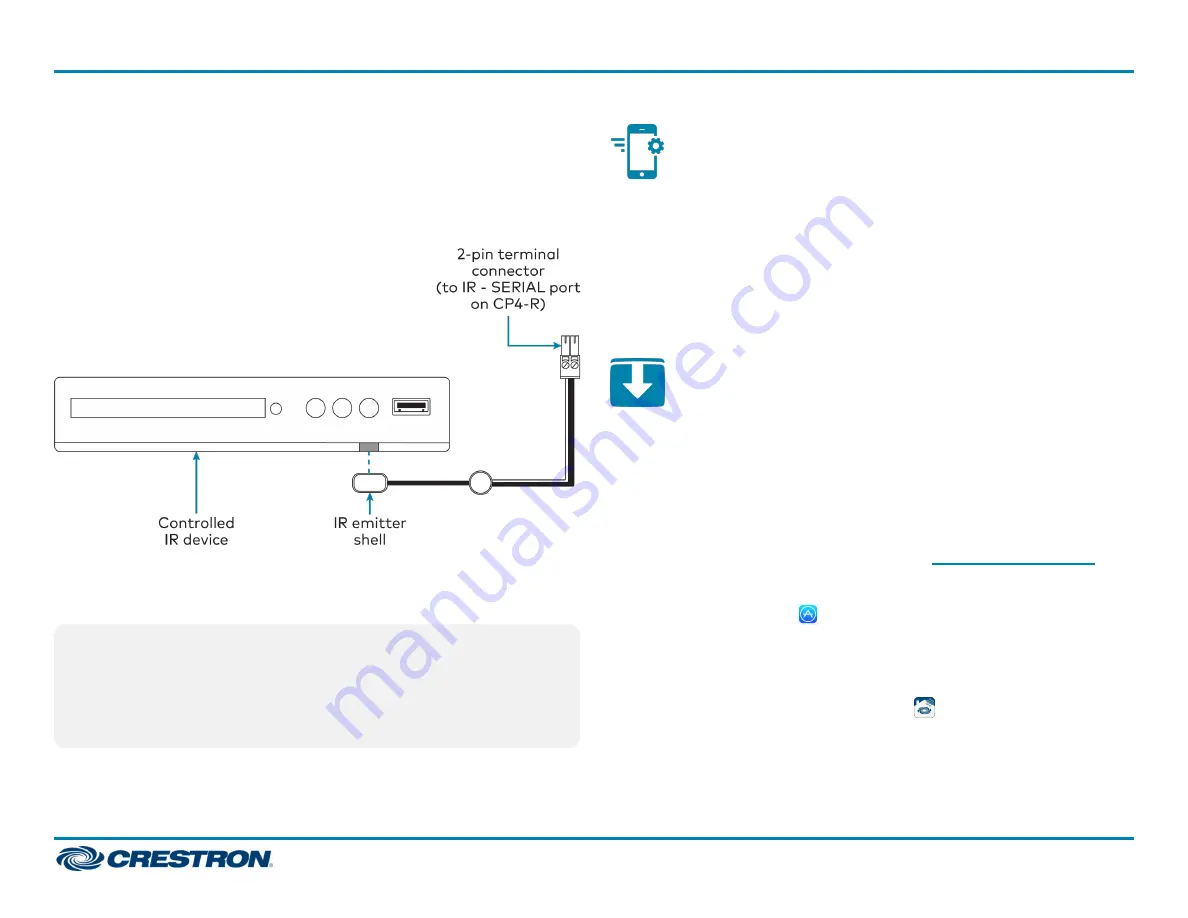
Attach the IR Emitter
1. Peel off the clear adhesive strip on the back of the IR emitter shell and
the IR mask (if attached).
2. Affix the IR emitter by pressing it firmly to the desired location on the
front panel of the controlled device.
If the IR emitter must be removed and repositioned for any reason, it may
be necessary to replace the adhesive on the IR emitter with a new piece of
two-sided tape.
NOTE:
The IR emitter is a pure infrared emitter that does not emit any
visible light. To test that the IR emitter is working properly, trigger an
IR command from the CP4-R. Then, use a digital camera device (such
as a smart phone) to record a video of the IR emitter while it is being
triggered. If the IR signal is visible in the video during playback, the IR
emitter is working properly.
Pair with Apple HomeKit
The CP4-R can be paired with Apple® HomeKit® technology to enable
communication between the Crestron Home system and Apple HomeKit
devices and accessories.
For pairing instructions and to locate the unique QR code required for
pairing, refer to the CP4-R Compliance document (Doc. 8547) that
shipped with your CP4-R.
Install the Setup App
The
Crestron
Home
Setup
app
is
used
to
configure
the
Crestron
Home
system.
The
Crestron
Home
Setup
app
is
available
from
the
App
Store®
online
store
and
may
be
downloaded
onto
an
Apple®
iOS®
device
such
as
an
iPad®
device.
An
Apple
ID
is
required
to
download
the
Crestron
Home
Setup
app.
For
a
comprehensive
list
of
iOS®
hardware
and
software
versions
that
are
compatible
with
Crestron
Home,
refer
to
To
install
the
Crestron
Home
Setup
app:
1. Tap the App Store icon
on the iPad device home screen.
2. Tap the search field, and enter the search term "Crestron Home
Setup."
3. Tap Search.
4. Tap the Crestron Home Setup app icon
.
5. Follow the prompts to download and install the app to the device.
4
CP4-R
Quick Start
4-Series Control Processor for Crestron Home™ OS


