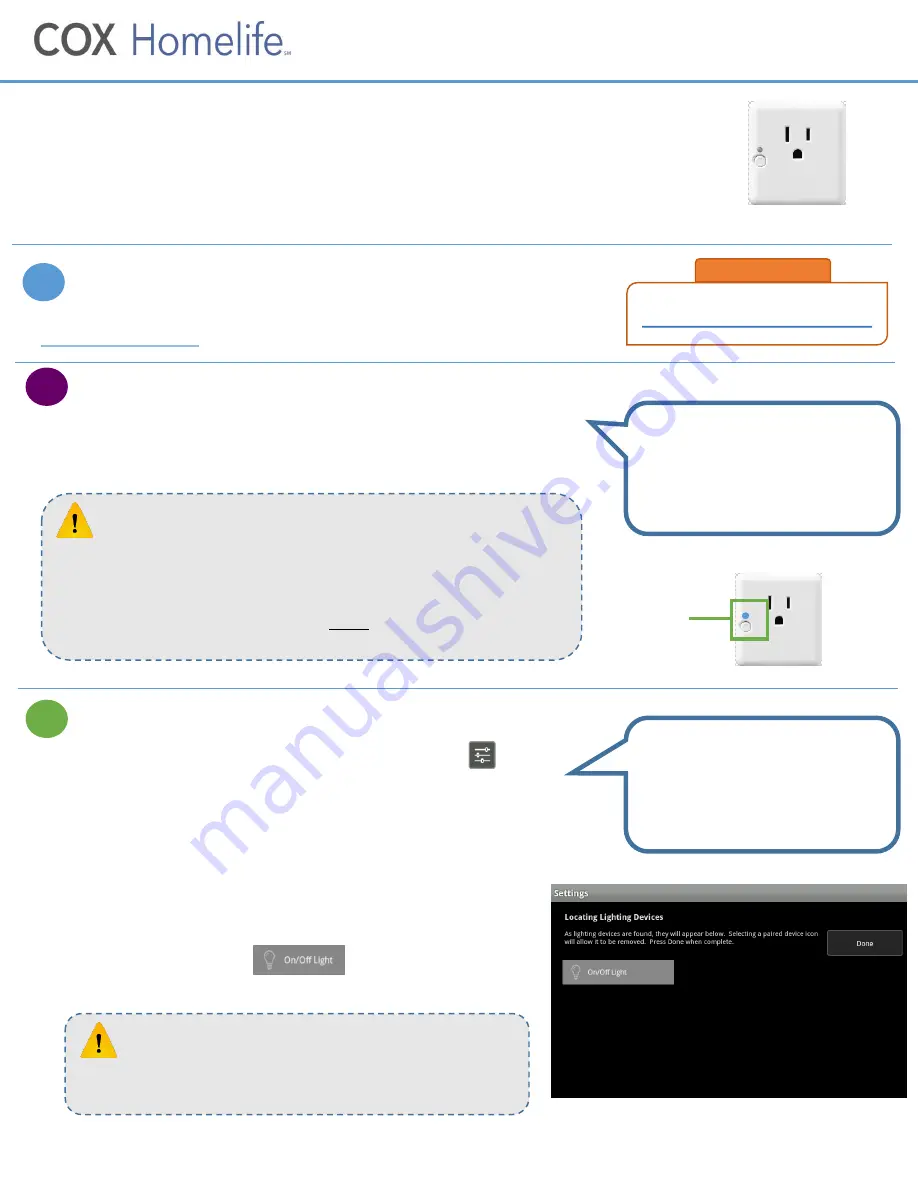
Smart Plug
Installation & Pairing Instructions
With the Smart Plug from Homelife, you can easily control your lights or small
appliances remotely using the Cox Homelife mobile app or online Subscriber
Portal, and set up Rules that automate when they turn on or off. Follow these
simple steps to install and pair your new Smart Plug with the Homelife system.
Expected Installation Time: 5 minutes
Watch Installation Video
Before you begin, watch the
Smart Plug
installation video at
cox.com/diyhomelife
on your mobile device, tablet or computer
.
Install Smart Plug
1. Start by plugging the Smart Plug into your outlet. The blue light above
the power button on the front of the Smart Plug should begin to blink,
indicating it is ready to pair with your Homelife system.
Pair Smart Plug with Touchscreen
1. On your Touchscreen Control Panel, press the
Settings
app.
2. Enter your 4-digit master keypad code.
3. From the
Settings
menu, select
Home Devices > Lighting > Add
Lights
.
4. The
Locating Lighting Devices
screen will appear. Press
Next
to
begin the pairing process. Once the Smart Plug is found by the
Touchscreen, the blue light on the plug will become solid.
(Note: Do not press Done during the pairing process.)
5. When the “On/Off Light” icon appears, pairing is
complete. Press
Done
. Then press
Next
to configure the device.
1
2
3
INSTALLATION TIP
Pair the Smart Plug using an
outlet near your Touchscreen. You
can move the plug to any location
after pairing is complete.
If the Smart Plug does not blink immediately, or if it has timed out,
you can reset it.
1. Remove the Smart Plug from the outlet
2. Press and hold the power button while you plug it back in
3. Release the power button as soon as the blue light begins to blink
TROUBLESHOOTING TIP
If the outlet is switch-controlled, make sure the power is
turned on.
TROUBLESHOOTING TIP
INSTALLATION TIP
The Smart Plug is added to the
system using the same process as
lighting devices, and is controlled
using the
Lights
app.
Continued on next page…
Power
button
cox.com/diyhomelife
START HERE
Step 5: Press
Done
after pairing is complete


