


TigoMaster 2TH
– EtherNet/IP
User Manual
Copyright © 2021 CoreTigo Ltd.
Page
37
of
75
5.2. TigoEngine Software Tool
Note:
The TigoEngine software tool must be installed prior to configuration and parameterization.
See the TigoEngine
– User Manual document for further details on how to configure the TigoMaster 2TH
IO-Link Wireless Master using the TigoEngine software tool.
Reference:
TigoEngine
– User Manual
5.2.1. Masters View
The Masters view is used for connecting a new TigoMaster 2TH to the TigoEngine and keeping a record of
the configured W-Masters. TigoEngine supports multiple W-Masters connections.
5.2.2. Connect New Master
Note:
As a prerequisite, the IP address of your TigoMaster 2TH must be configured and known.
Follow the steps below to connect a new master.
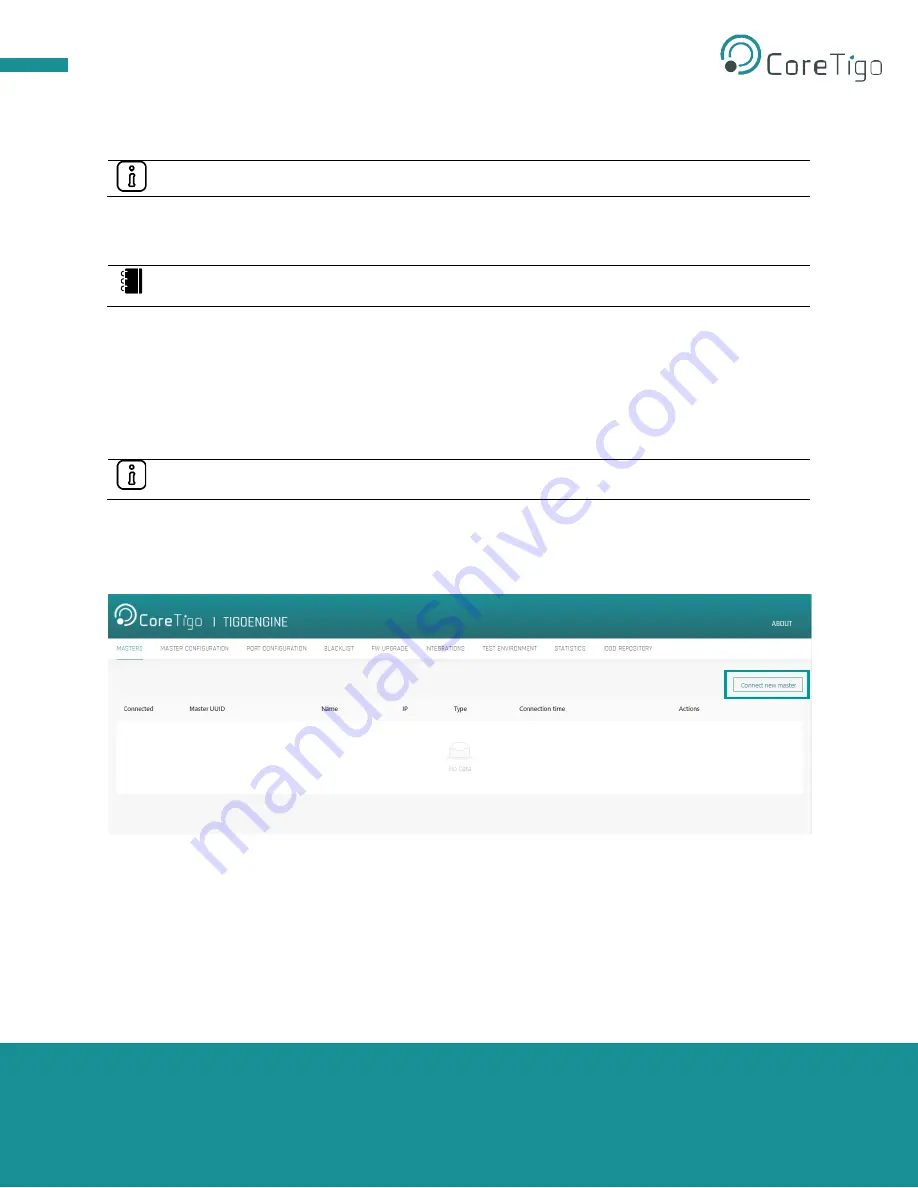
1. Click the
Connect New Master
button.
Figure 14
– Connect New Master Button
2. A pop-up window appears, enabling the user to Connect a new W-Master.
3. To connect a new W-master, enter the W-Master/Gateway name, IP address and W-Master ID:
a.
Name
– Enter a chosen name
b.
IP
– 2TH Masters received with a default IP address. To modify the IP address, you
may use the PLC or Integrated Web Server
c.
Master Type
– Select “TigoMaster 2TH”