


16
3.3 Login Procedure
Perform the following steps to login to the web user interface.
NOTE:
The default settings can be found in
STEP 1:
Start the Internet browser and
enter the default IP address for the device
in the Web address field. For example, if the default IP address is
192.168.1.1, type
http://192.168.1.1
.
NOTE:
For
local administration (i.e. LAN access), the PC running the browser
must be attached to the Ethernet, and not necessarily to the device.
For remote access (i.e. WAN), use the IP address shown on the
Device Information screen and login with remote username and
password.
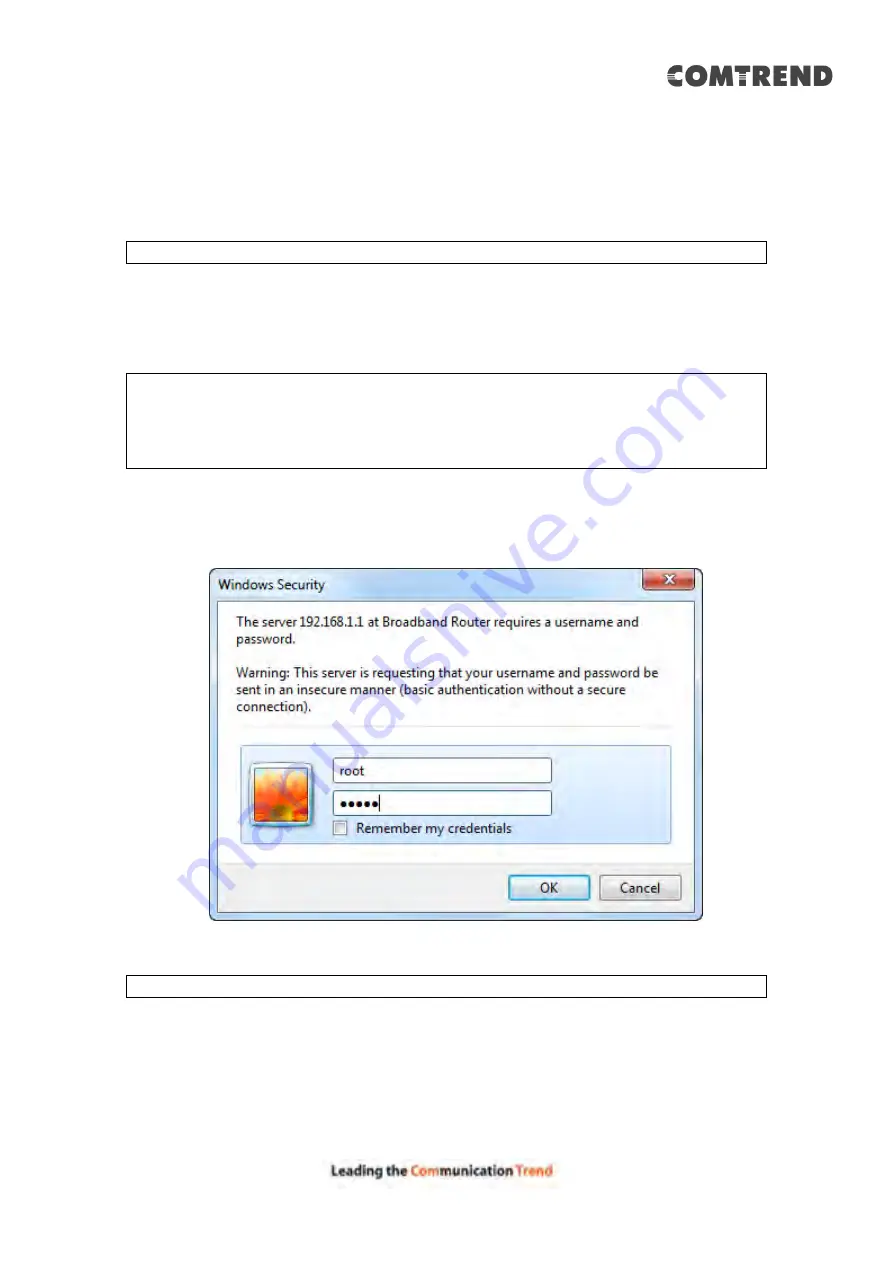
STEP 2:
A dialog box will appear, such as the one below. Enter the default
username and password, as defined in section
Click
OK
to continue.
NOTE:
The login password can be changed later (see
Содержание AR-5319
Страница 1: ...AR 5319 ADSL2 WLAN Router User Manual 261056 079 Version A1 1 March 6 2017...
Страница 40: ...39 4 11 2 Site Survey The graph displays wireless APs found in your neighborhood by channel...
Страница 56: ...55 5 3 3 UPnP Select the checkbox provided and click Apply Save to enable UPnP protocol...
Страница 67: ...66 Enter the PPP username password given by your service provider for PPP service detection...
Страница 79: ...78 6 3 2 Wlan Queue Displays the list of available wireless queues for WMM and wireless data transmit priority...
Страница 111: ...110 Enter the MAC address in the box provided and click Apply Save...
Страница 132: ...131 Note Passwords may be as long as 16 characters but must not contain a space Click Save Apply to continue...
Страница 149: ...148 To add a WAN connection go to E2 WAN Connections...
Страница 156: ...155 10 IPoA IPv6 Not Supported The subsections that follow continue the WAN service setup procedure...
Страница 185: ...184 Click Next to continue or click Back to return to the previous step...
Страница 203: ...202 STEP 2 Click the Windows start button Then select Control Panel...
Страница 204: ...203 STEP 3 Select Devices and Printers STEP 4 Select Add a printer...