


Chapter:
Performing Patching Activities
3–3
Selecting a Job
To select a job from the job queue, perform the steps below.
1
At the iPatch Manager display, press any button to turn on the lighting.
The iPatch Manager display lights up. If there are jobs in the job queue, Jobs
appears on the display and the Jobs LED is turned on.
2
From the Ready screen, press Jobs.
The iPatch Manager sounds a key beep and the LEDs for the ports to be used
in the first job in the queue turn on at the panels. The display lights up on the
iPatch Manager units where the panels to be used in the first job are located.
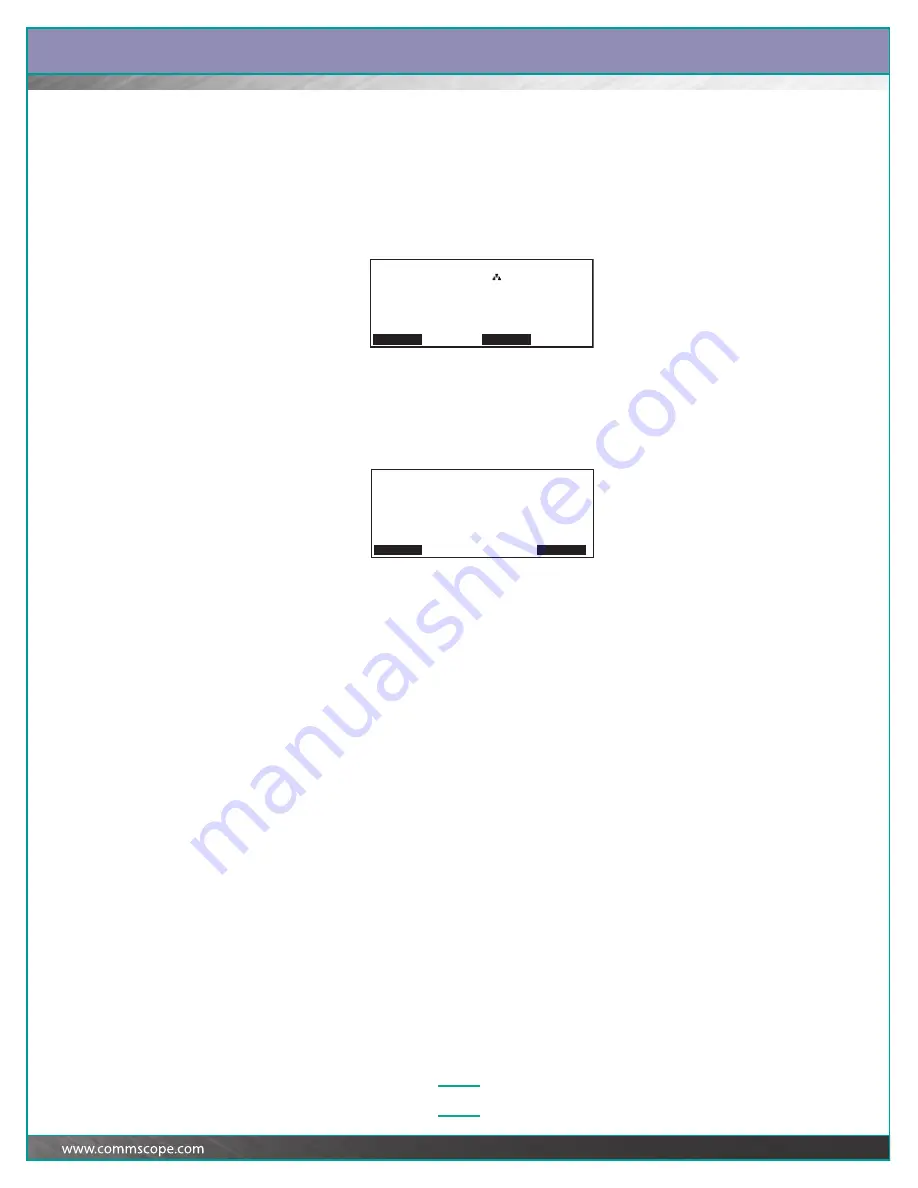
The display shows the first job in the queue. For example:
Note:
You can press Details to view more information about the job, such as the
location of the jack receiving the service or the type of service that is being
provided. Press
Ê
to scroll through the information. Then, press Back to return
to the Jobs screen.
3
Press
Ê
until you see the job that you want to perform.
The iPatch Manager sounds a key beep and the associated LEDs for the ports
to be used in this job turn on at the panels. The display lights up on the iPatch
Manager units where the panels to be used in this job are located.
To perform an Add Connection job, see the next page. To perform a Remove
Connection job, see page 3–6.
Rack 1
Ready
Menu
Alarms
Jobs
Add Connection Rack 1
Rack 1 | Rack 3
Panel 2 | Panel 12
Port 4 | Port 9
|
00-224 Provide service
Press to view the next job.
Details Exit


