Page
40
of
62
Metro (Konica Head)
From the above figure, you get the accurate step adjust correction value. The correction value is either
positive or negative. If the value is positive, then add it in the current step adjust value for the Print Head
calibration. On the other hand, if the value is negative, then subtract the value from the current step
adjust value. From the above, you can conclude that the pattern is corrected at
“0”
position.
The
Step Calibration
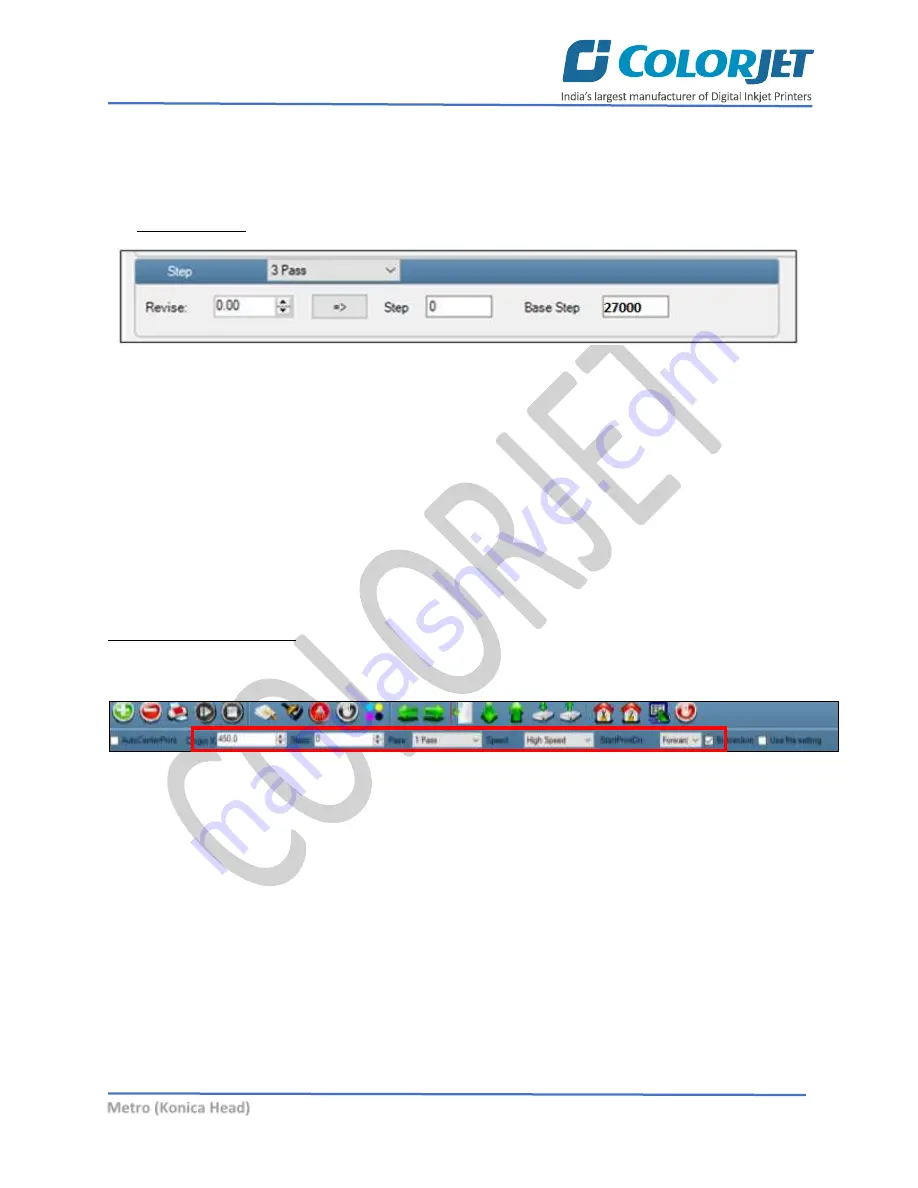
and its parameters are shown in the image below:
Fig 51: The Step Calibration Parameters
Follow these steps to perform step calibration:
Step 1:
Select the desired pass from the list and click on the
button (Refer to Fig 51).
Step 2:
Feed the correction value in the
Revise
field (the correction value up to two decimal places) (Refer
to Fig 51).
Step 3:
Click on the
=>
icon (Refer to Fig 51) on the Step Calibration window. The correction value result
will be reflected in the
Step
field (Refer to Fig 51). The same step value will also be displayed in the
Steps
field on the
Quick Access Toolbar
.
Setting Print Parameters
Using the Printer Manager, you can manually change print preferences as per the printing requirements
such as print origin, printing speed, no of steps, and more as shown below:
Fig 52: Setting Printing Parameters
The description of printing parameters is given as follows:
•
Origin X
: Directly enter the print origin value.
•
Steps
: Remove step size errors in the current print job by specifying number of steps.
•
Pass
: Choose the number of passes with which the print job should be printed. Increasing the
number of passes improves the print quality but at the cost of printing time.
•
Speed
: Choose the printing speed like High Speed, Medium, and Low.
•
Medium Speed
: Set the Y printing speed viz. Standard Speed and Low.


