The following setup guide is for the network installation and setup of the Cocoon DVR Kit using a
Wireless Cable Modem Gateway. This guide has been prepared to allow customers to view their
DVR over their home network or remotely from another PC/Mac or Android, iOS Smartphone.
For router or modem specific information please contact your network device manufacturer as
they will be best positioned to give you product specific information regarding network setup.
The following information should be used as a guide template, please make a backup of all your
network settings before you proceed. Ensure that you have connected the device to your
network via the Ethernet cable provided and that all your cameras are in working order before
proceeding. A set up tutorial video can be found at www.winplus.com.au/cocoondvr.html
Log in to your network device using Internet Explorer or
Safari. The IP address of your router/modem can
generally be found on the reverse side of the device.
Usually this is 192.168.0.1 or 192.168.1.1. In our example
the IP address for the router is 192.168.1.1. Navigate to
the LAN IP settings and check that DCHP is enabled.
1
2
3
NETWORK SETUP GUIDE
NETWORK CONFIGURATION AND REMOTE VIEWING
After Sales Support
1300 663 907
DIGITAL VIDEO
SECURITY SYSTEM
WITH 500GB HARD DRIVE
Navigate to your UPnP settings. In our example this is
easily found on the UPnP settings tab. Occasionally, this
will be also found on your LAN IP settings page.
Once you have chosen these settings, click Apply then Exit to return to the 4 camera
channel screen. Your Cocoon DVR will now reboot.
To setup the DVR for viewing via your Android or iOS you will need to set up the mobile
settings. Set the mobile port to 18004.
Once you have chosen these settings, click Apply then Exit. Your Cocoon DVR will now
reboot.Once the system has rebooted, navigate again to your Network settings from the
Main Menu. You will see your network settings as applied by your Router/Modem.
Note: Ports 25 and 80 are generally blocked by most residential ISPs and it is recommended that
you do not use these ports to prevent conflicts.
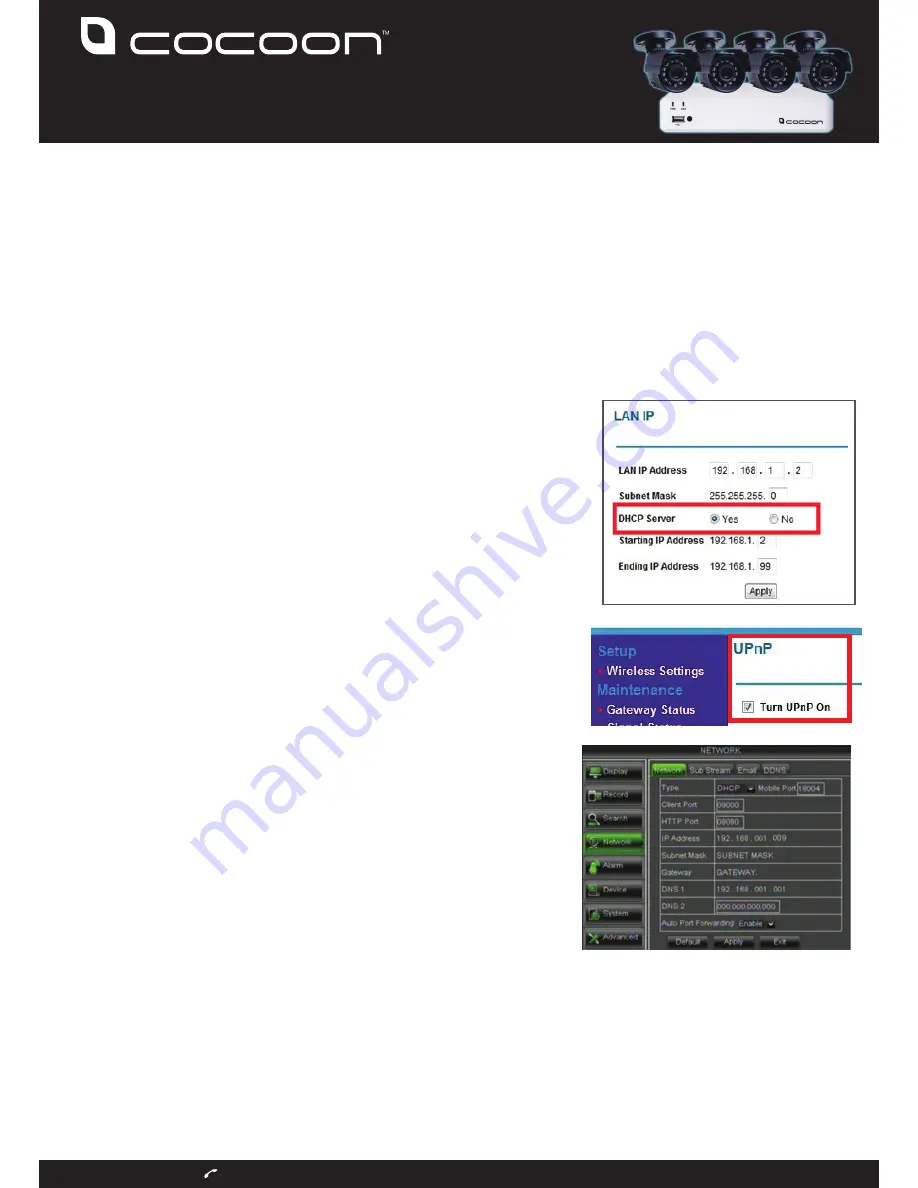
Power up your Cocoon DVR and proceed to the
Network settings from the Main Menu. This can be
done by clicking the Home button on the initial
screen. This menu is made visible when the mouse is
over the bottom of the screen. From this screen
select the network type as DHCP and enter the Client
and HTTP Port information. In our example we have
chosen 9000 as the Client Port and 8080 as the HTTP
Port.
Ensure Auto Port Forwarding is set to enabled.


