WHEEL BRAKE ASSEMBLIES
Brake Cable Removal and Installation
6
BRAKE CABLE REMOVAL AND INSTALLATION
See General Warnings on page 1-1. See also Asbestos Dust Warning on page 6-1.
NOTE:
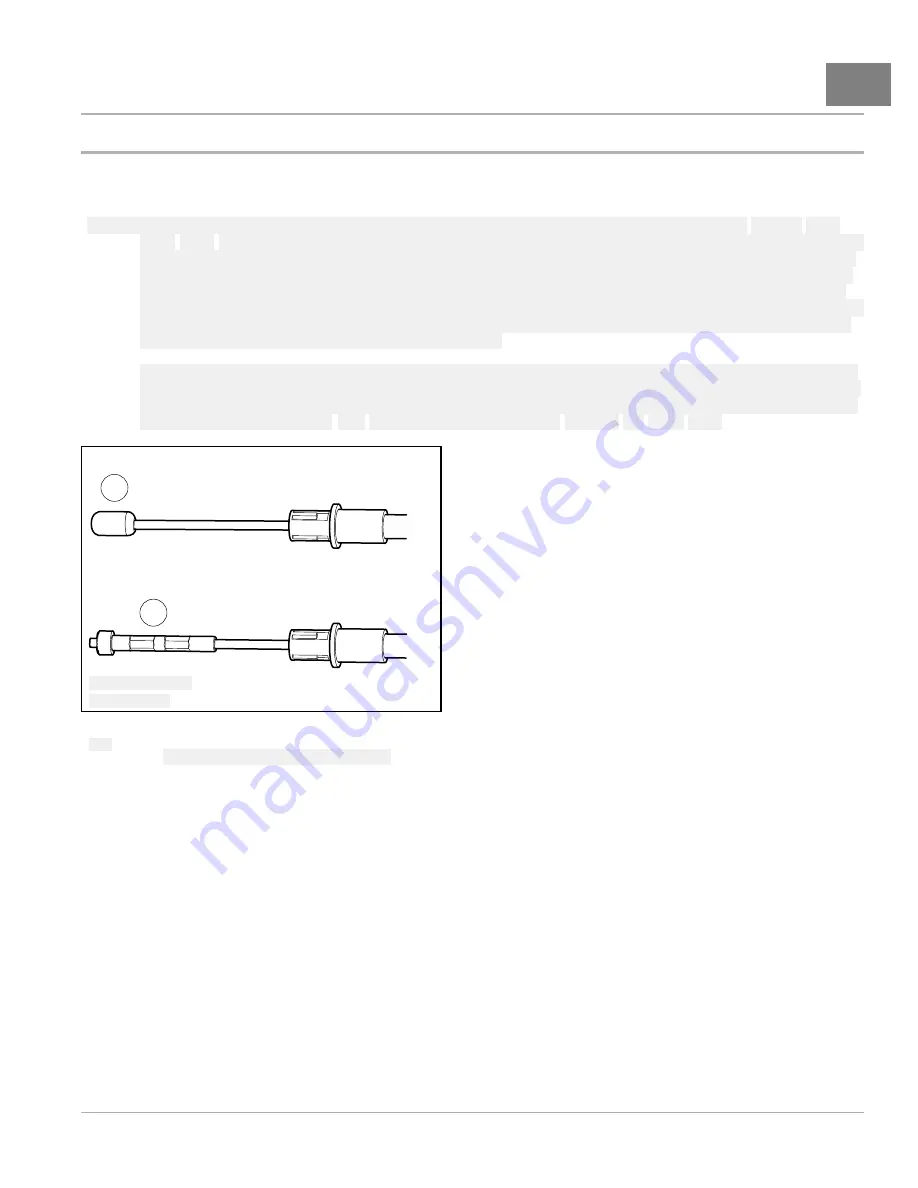
Beginning with Precedent vehicle serial number PD0918-020874, a new brake cable design
(Figure 6-19,
Page 6-13)
and equalizer bracket design are used. The previous brake cable design for Precedent vehicles is
no longer available through Service Parts. If a brake cable replacement becomes necessary for a Precedent
built prior to the serial number listed above, then both brake cables and equalizer bracket must be replaced.
Brake cable designs and/or equalizer bracket designs must not be mixed. Individual component parts from
this kit will be available from Service Parts should replacement of either cable or the equalizer bracket become
necessary on vehicles manufactured after the vehicle incorporation serial number listed above, or on earlier
vehicles that have already been retrofitted with this kit.
Installation of the new brake cables and brake equalizer will not replace nor eliminate the need for scheduled
preventive maintenance. Brake systems require preventive maintenance and should not be neglected. Brake
cleaning, lubrication and adjustments remain the same and should be performed as shown to optimize brake
performance and service life.
See Periodic Service Schedule, Section 10, Page 10-3.
1
2
1. Previous Design
2. New Design
1380
Figure 6-19
Brake Cable Redesign
BRAKE CABLE REMOVAL
1.
Disconnect the battery cables and discharge the controller as instructed.
See WARNINGS “To avoid
unintentionally starting...” and “After disconnecting the batteries, wait 90 seconds...” in General
Warnings on page 1-1.
2.
Place chocks at the front wheels.
3.
Gain access to the pedal group by removing the floor mat and access panel.
See Pedal Group Removal
on page 5-1.
4.
Loosen the two jam nuts (1 and 3) on either side of turnbuckle (2)
(Figure 6-20, Page 6-14)
. Note that the forward
jam nut (1) is a left-hand thread. Thread each nut approximately 1/2 inch (12.7 mm) away from the turnbuckle.
5.
Loosen turnbuckle (2) until the bolt (5) is free of the turnbuckle.
2009 Electric Precedent Maintenance and Service Manual
Page 6-13
Содержание 2009 Precedent
Страница 2: ......
Страница 4: ......
Страница 16: ......
Страница 22: ......
Страница 48: ......
Страница 64: ......
Страница 136: ......
Страница 174: ......
Страница 196: ......
Страница 218: ......
Страница 262: ......
Страница 264: ......
Страница 306: ......
Страница 307: ......
Страница 308: ......
Страница 310: ......
Страница 311: ......
Страница 312: ......


