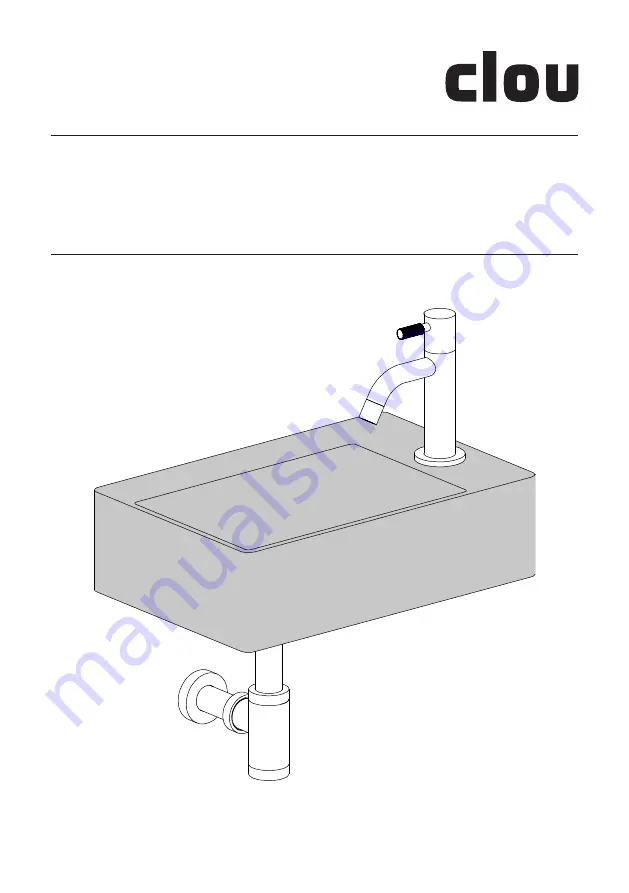
New Flush 2
composite
CL/03.13420 - CL/03.13420.02
Montage instructiesInstallation instructionsNotice de montageMontageanweisungen
REV 0124.01.2017
Страница 1: ...New Flush 2 composite CL 03 13420 CL 03 13420 02 Montage instructies Installation instructions Notice de montage Montageanweisungen REV 01 24 01 2017...
Страница 2: ...transport of beschadigingen veroorzaakt door tussenopslag De van toepassing zijnde garantievoor waarden gelden steeds Alle maten zijn in mm Before starting with the mounting check whether the deliver...
Страница 3: ...es Toutes les mesures affich es sont en mm Bevor Sie die Montage durchf hren kontrollieren Sie bitte wenn der gelieferte Artikel vollst ndig ist Auch kontrollieren Sie m gliche durch den Transport ver...
Страница 4: ...ap Required tools Outils requis Erforderliche Werkzeuge Tijdens de installatie moet men voorkomen dat het oppervlak van het product beschadigd raakt door harde voorwerpen op het product te leggen Duri...
Страница 5: ...42 50 50 70 42 50 50 82 100 65 105 175 270 355 245 1 1 4 35 151 50 215 45 CL 03 13420 Dimensions in mm for reference only 02 03 2017 rev_02...
Страница 6: ...42 50 50 70 42 50 50 82 100 65 105 175 270 355 245 1 1 4 35 151 50 215 45 59 CL 03 13420 02 Dimensions in mm for reference only 02 03 2017 rev_02...
Страница 7: ...215 900 70 730 70 norm 660 max 735 min 510 900 1050 norm 660 max 735 min 510 215 03 13420 CL 03 13420 02 for reference only 19 01 2017 rev_01...
Страница 8: ...speedboor 35 mm Boor het laatste stuk vanaf de bovenzijde Sla deze stap over als u een wandmontage kraan heeft Drill the tap hole with a spade bit 35 mm Drill the last bit from the topside Skip this...
Страница 9: ...cher gebohrt werden m ssen 3 Duidt met potlood en waterpas de gewenste hoogte X van de fontein aan aangeraden X 900 mm Mark with pencil and level the prefered height X of the hand basin recommended X...
Страница 10: ...rew the dowel screws in the dowels Enfoncer les chevilles dans les trous et visser les goujons dans les chevilles Bringen Sie die D bel in den L chern an und Schrauben Sie die Stockschrauben in die D...
Страница 11: ...Befestigen Sie die Wasch tischarmatur nicht im Lieferumfang enthalten am Handwaschbecken und schlie en Sie ihn an der Wasserleitung an 7 Plaats de fontein op de stokschroeven en bevestig met de kraagm...
Страница 12: ...le siphon non inclus la bonde et la d charge d eau Befestigen Sie den Siphon nicht im Lieferumfang enthalten am Ablauf und an der Abflussleitung 9 Bevestig de afvoer inbegrepen in de fontein Mount the...
Страница 13: ...ufen l sst 12 Plaats de afvoerplaat mits inbe grepen in de fontein Deze afvoer plaat kan apart besteld worden artikelnummer CL 06 13410 Place the drain plate if included in the hand basin The drain pl...
Страница 14: ...he rear in order to remove the drain plate 1 The drain plate can then be grabbed at the front 2 Presser l arri re de la tablette couvre bonde pour l enlever 1 Alors on peut saisir la tablette l avant...
Страница 15: ......
Страница 16: ...v Thermiekstraat 1 NL 6361 HB Nuth T 31 0 45 524 56 56 F 31 0 45 524 60 00 info clou nl www clou nl Clou Bath findings Clou bv Thermiekstraat 1 NL 6361 HB Nuth T 31 0 45 524 56 56 F 31 0 45 524 60 00...