7
Engl
ish
19. Click
Enable
.
20. The system will pop-up a message and ask you to select a
compatible fast drive (in this case there should only be one
option).
21. You will need to restart the computer after enabling
Optane
, and
make sure the system is powered by the powered AC/DC
adapter, and not by battery only.
22. Click
Yes
to begin the process (this may take some time).
23. After the process has been completed restart the computer.
Clearing Intel® Optane™
If you wish to clear an existing
Intel® Optane™
setup
then follow the procedure below to do so. However
back-
up up any necessary files and data before clearing an
Intel® Optane™ setup
, as doing so will result in the loss
of all data on the volumes.
1. Make sure that
Intel® Optane™
is
enabled
in the
Intel® Rapid
Storage Technology
application.
2. Start-up your computer and press
F2
to enter the
BIOS
.
3. Go to
Intel(R) Rapid Storage Technology
(in the
Advanced
menu) and press Enter.
4. Select
Intel Optane, ****
(listed under
Optane Volume:
) and
press Enter.
5. Select “
Deconcatentate
”
and press Enter.
6. Select
Yes
from the “
Are you sure you want to perform
deconcatentation
” option.
7. Select “
Start deconcatentation
”
and press
Enter.
8. The system will return to the standard
Intel(R) Rapid Storage
Technology
menu when complete.
9. You should then select the appropriate SATA Mode for your
system and reinstall the OS.
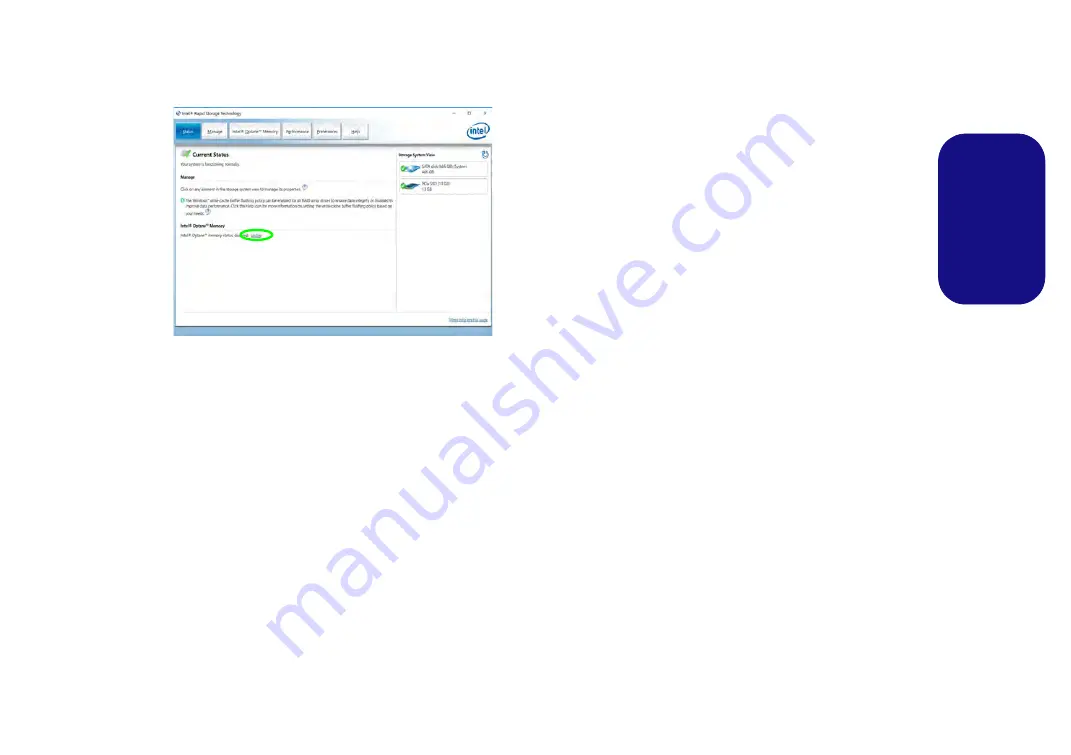
Figure 2
- Intel® Rapid Storage Technology - Status


