background image

Installa on Instruc ons 

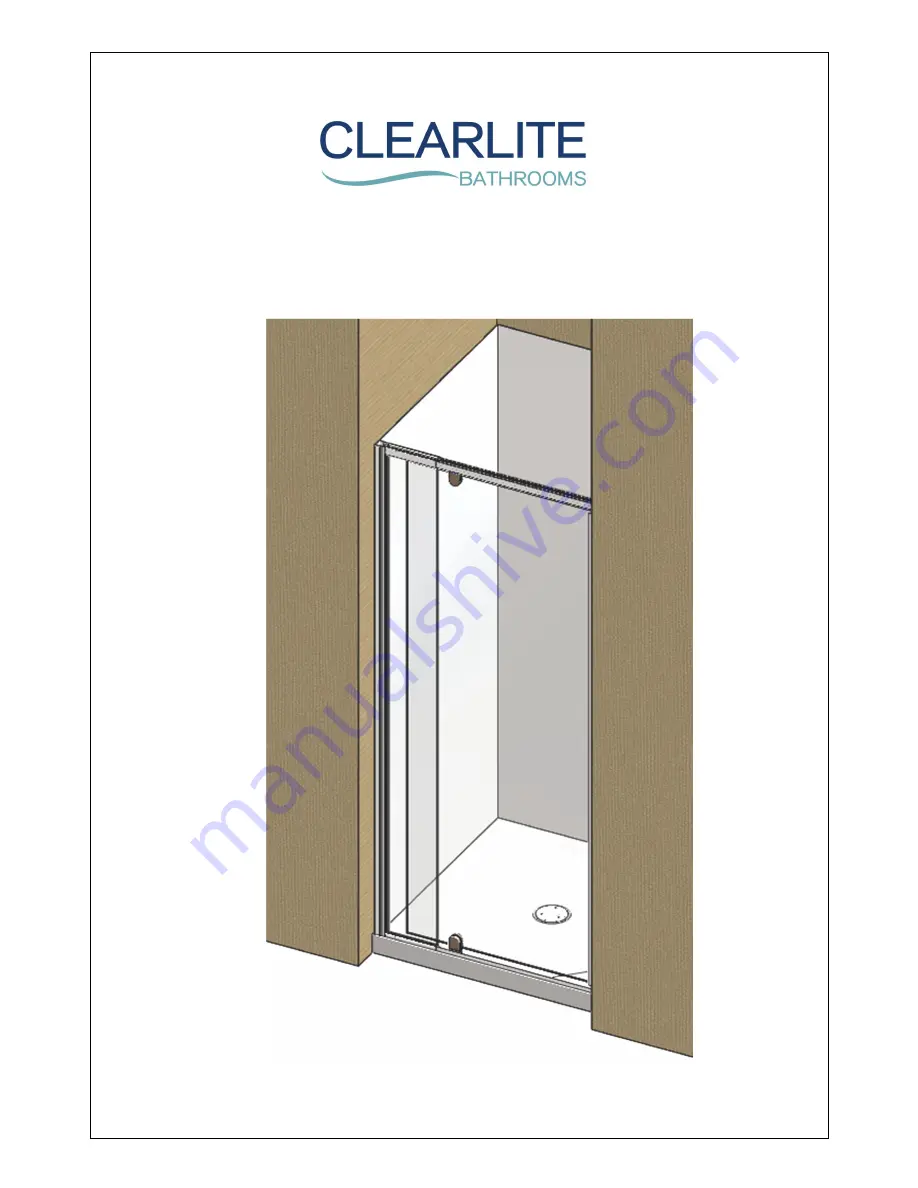
Trombone Door Set 

Please read these Instruc ons carefully 

May 2018 

Содержание Trombone Door Set

Страница 1: ...Installa on Instruc ons Trombone Door Set Please read these Instruc ons carefully May 2018 ...

Страница 2: ...nents Drip Seal 1m Cleaning Towele e No 6 x 10mm screw Qty 8 No 6 x 38mm screw Qty 6 Screw Cap Qty 8 Drill Spirit level Tape Measure Screw Driver No 1 Sq drive Tools Required Caulking Gun Masking tape Pencil Tube of NG Silicone A A A B Size Minimum Door Width Maximum Door Width P640 640mm 700mm P700 700mm 760mm P760 760mm 840mm P840 840mm 940mm P940 940mm 1000mm ...

Страница 3: ... i e top bo om and centre in the Wall Receivers us ing a 4 5mm drill bit Reposi on the Wall Receivers onto the wall Drill into the wall through the clear ance holes using a 3 0mm drill bit N B The holes preferably locate into a stud or nog As an alterna ve a toggle system can also be used 3 Apply Silicone into the screw holes and secure the Wall Receivers to the walls using the No 6 x 38mm stainle...

Страница 4: ...he opposite Wall Receiver Check that the Door Jambs are plumb Securing the Door Set 7 From the inside of the shower fix the Door to the Wall Receivers by drilling three 3mm holes down the Wall Receivers top bo om and centre Drill through the Wall Receivers into the Door Jamb profiles 8 Secure in place using No 6 x 10mm stainless steel screws Cover the screw heads with the cover caps Repeat for oppos...

Страница 5: ...ing No 6 x 10 Stainless steel screws 11 Cover the screws heads with the cover caps 12 Slide the outside Clamp Block Covers off the Pivot Clamp Using a flat blade screwdriver sufficiently loosen the two screws adjust the door by sliding le or right in the pivot Once the door adjustment is complete ensure the screws are re ghtened and reinstall the Clamp Block Covers Open the door and remove the door se...

Страница 6: ...et profile Sealing the Door set 15 Take the Cleaning Towele e and wipe the surfaces of the Powder coated profiles where Silicone will be applied Allow to dry 1 2 minutes 16 The Door can now be sealed in place using silicone sealant Ensure all surfaces are first cleaned with dry clean cloth Seal between the tray upstand and the Door set along the bo om outside edges Seal ver cally be tween the Wall Re...

Страница 7: ......

Отзывы: