

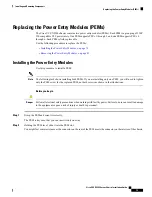


This step seats the IFM connectors into the sockets on the midplane.
Step 6
Push the ejector handles until both are parallel with the face of the IFM.
Make sure the ejector latch is fully inserted in the front panel
Step 7
If the IFM has a cable management tray, attach it.
See
Installing the Cable Management Tray, on page 51
.
Removing an Intelligent Fabric Module
Intelligent Fabric Modules (IFM) must be deployed in pairs, so when you remove one, you must insert another
IFM in its place.
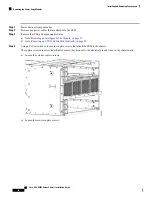
Step 1
If the IFM has a cable management tray, remove it.
See
Removing the Cable Management Tray, on page 53
Step 2
Using your fingers, pinch the interior end of both handles to disengage the ejector latch.
This step unlocks the module handles so that they can move.
Figure 47: Opening the Module Handles
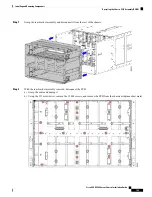
Step 3
Keeping the modules handles level, pull them towards you so that they arc away from the chassis.
You might feel some resistance as the IFM disconnects from the socket inside the chassis.
Step 4
Slide the module about halfway out of the chassis, then place your other hand underneath the IFM to support it.
Step 5
Continue sliding the IFM out of the chassis until it is completely removed.
Cisco UCS X9508 Server Chassis Installation Guide
91
Installing and Removing Components
Removing an Intelligent Fabric Module
Содержание UCS X9508
Страница 6: ...Cisco UCS X9508 Server Chassis Installation Guide vi Contents ...
Страница 26: ...Cisco UCS X9508 Server Chassis Installation Guide 18 Overview Interpreting LEDs ...
Страница 31: ...Cisco UCS X9508 Server Chassis Installation Guide 23 Installation Handling the Chassis ...
Страница 64: ...Cisco UCS X9508 Server Chassis Installation Guide 56 Installation Repacking the Chassis ...
Страница 124: ...Cisco UCS X9508 Server Chassis Installation Guide 116 Technical Specifications Switzerland ...