Accessing an I/O Module Through a Console
You can troubleshoot bootup problems for an I/O module by accessing the module through its console port.
This action establishes a console mode that you must exit in order to use other Cisco NX-OS commands.
To attach to the console port for an I/O module, use the
attach console module
command to specify the
module that you need to work with.
Use the
attach console module slot_number
command to attach the console to a specific I/O module.
switch#
attach console module 3
connected
Escape character is `~,' (tilde comma]
To exit the console mode, enter the
~,
command.
Note
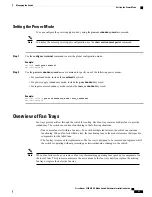
Overview of Fabric Modules
The switch supports up to six fabric modules in the chassis. Two of these modules are located behind each
fan tray. The following table lists which fabric modules are behind each fan tray. The fan tray has an LED
that displays the status for the two fabric modules behind it. To replace a fabric module, you must first remove
the fan tray that covers it.
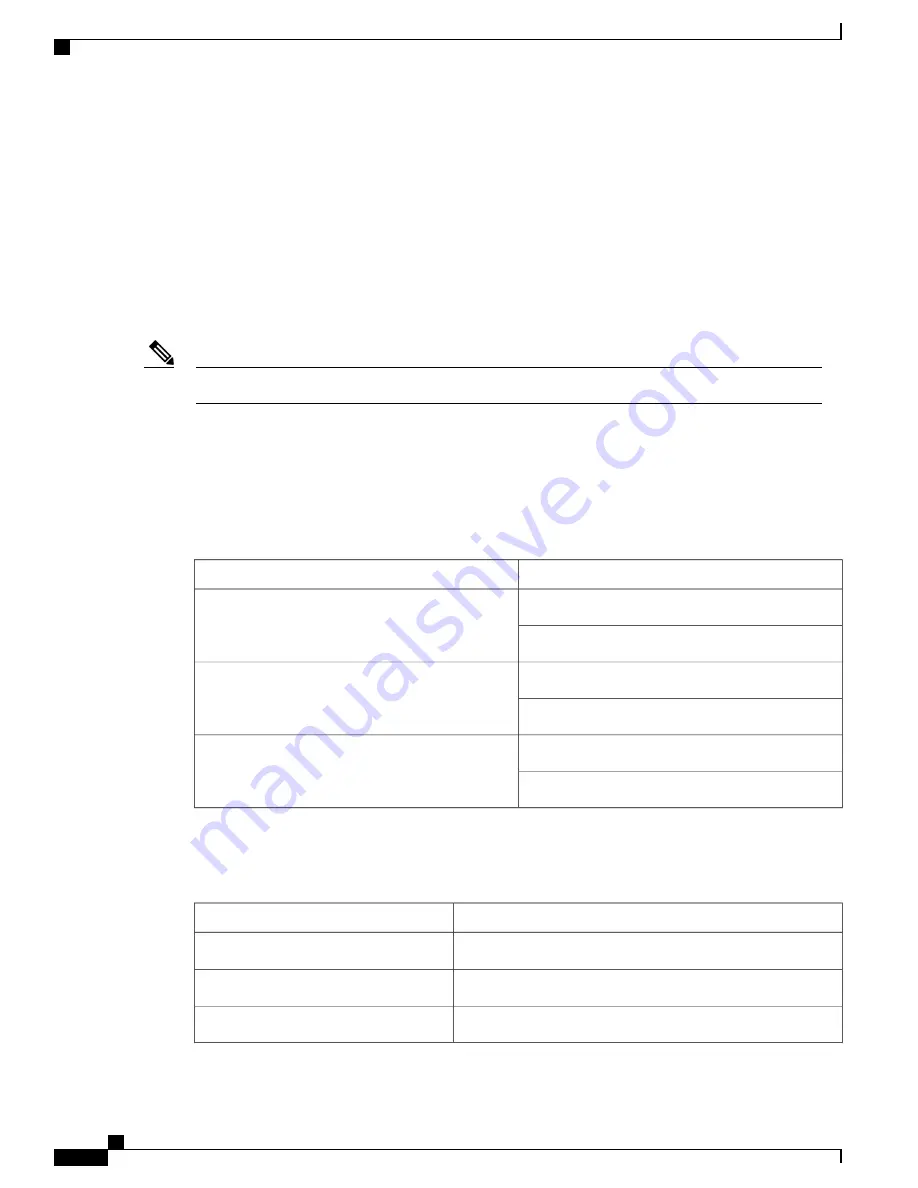
Fabric Module Slots
Fan Tray Slot
21 (labeled as FM 1)
41 (labeled as FAN 1)
22 (labeled as FM 2)
23 (labeled as FM 3)
42 (labeled as FAN 2)
24 (labeled as FM 4)
25 (labeled as FM 5)
43 (labeled as FAN 3)
26 (labeled as FM 6)
We recommend that you install three to six fabric modules in the switch. To ensure that each of the fan trays
is powered up, be sure that the fabric modules are installed in the slots specifed in the following table and
install blank filler modules in the remaining slots to maintain the designed airflow.
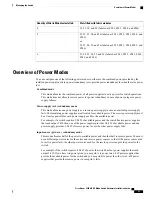
Slots filled with fabric modules
Quantity of Fabric Modules Installed
—
1
—
2
22, 24, and 26 (labeled as FM 2, FM 4, and FM 6)
3
Cisco Nexus 9504 NX-OS Mode Switch Hardware Installation Guide
52
Managing the Switch
Accessing an I/O Module Through a Console


