Chapter 3
Operation
44
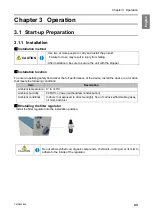
3.1.2
Wiring and Piping
■
Wiring
WARNING
•
Perform wiring firmly, without bending or pulling cables with excessive
force.
Fire or electric shock may result.
•
Ensure that the power supply conforms to the specifications of the device.
•
Be sure to connect the ground wire.
CAUTION
•
Avoid multiple connections as they can cause voltage reduction.
At reduced voltage, the device may fail to operate normally, resulting in
failure.
The device is powered by three-phase supply.
Acceptable service voltage range is 220 to 230 V.
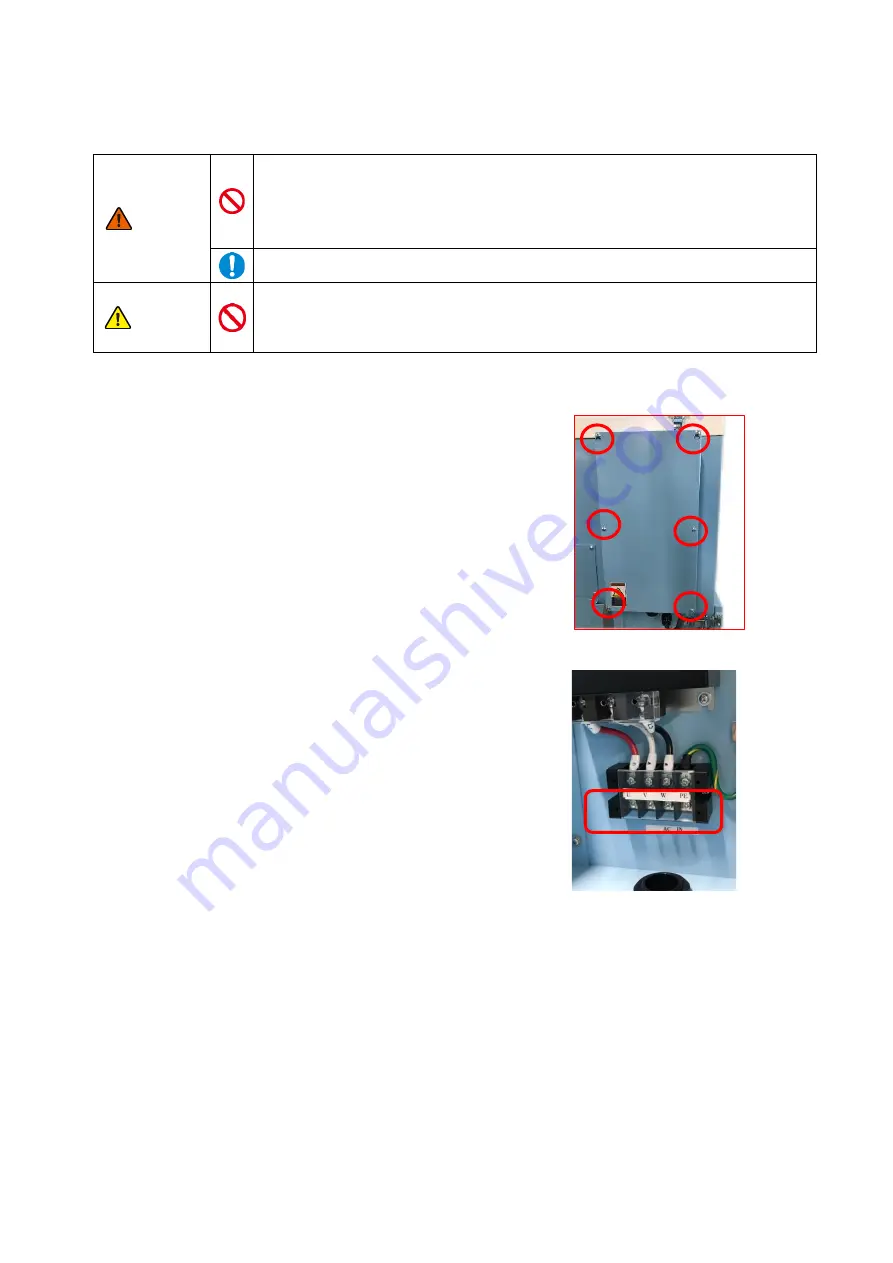
1.
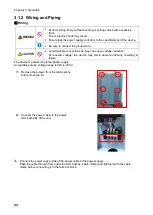
Remove the screws from the terminal box
and remove the lid.
2.
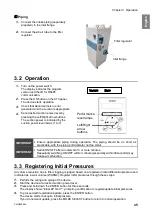
Connect the power cable to the power
terminal block of the unit.
3.
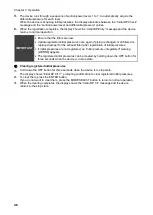
Connect the power supply side of the power cable to the power supply.
Pass the cable through from under the terminal box (cable clamp) and tighten it with the cable
clamp before connecting it to the terminal block.
Содержание CMP-2500AT3-A
Страница 3: ......
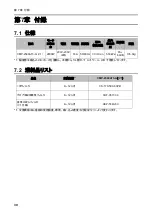
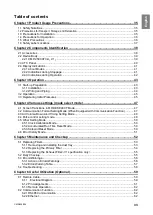
Страница 6: ...2 6 1 2 28 6 1 3 29 6 2 29 6 2 1 RS485 29 6 2 2 29 7 30 7 1 30 7 2 30 7 3 31 7 3 1 CMP 2500AT3 A 31...
Страница 7: ...1 CMN209 006 3 1 1 1 1 2 10 60 80 1 3 0 40 80 100 1 000...
Страница 8: ...1 4 1 4 2 OFF NV63 SVF 3P 30A 1 5...
Страница 10: ...2 6 2 2 1 4 HEPA V1 1 1 1 1 AWG14 2 08...
Страница 11: ...2 CMN209 006 7 2 2 2 2 1 CMP 2500 AT3 A V1 AT3 BOX HEPA V1...
Страница 12: ...2 8 2 3 AT3 EL OLED No 1 7 2 4 9 4 15 1 1 1 1 OFF 3 3 14 ON ENTER 3 3 3 14 4 15 MODE SELECT 4 15...
Страница 13: ...2 CMN209 006 9 2 4 2 4 1 2 4 2 ON OFF 15 14 ENTER 3 ON 14 OFF 3 16 Ver ID Battery Date Time RS485 17...
Страница 14: ...2 10 2 4 3 OP kPa SP kPa DP kPa EP kPa Blower Motor rpm Runtime h 17 Total h...
Страница 15: ...3 CMN209 006 11 3 3 1 3 1 1 0 40 80 RH...
Страница 16: ...3 12 3 1 2 200 230V 1 BOX 2 3...
Страница 17: ...3 CMN209 006 13 1 2 8 3 2 1 RS485 ID 2 AT3 ON 3 4 1 7 3 ON OFF 3 30 ON OFF Ver ID...
Страница 23: ...5 CMN209 006 19 5 OFF 2...
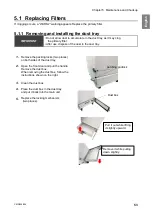
Страница 24: ...5 20 5 1 WARN2 1 5 1 1 1 1 2 2 3 4 5 2...
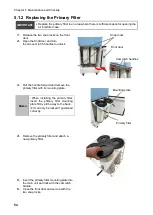
Страница 25: ...5 CMN209 006 21 5 1 2 1 1 1 2 2 2 3 4 1 5 6 2...
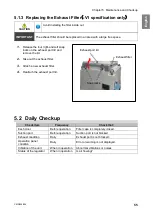
Страница 26: ...5 22 5 1 3 V1 1 4 2 3 4 5 2 1 1 1 1...
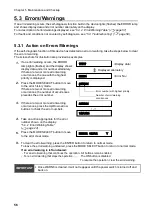
Страница 29: ...5 CMN209 006 25 5 4 EL 1 2 3 4 1 4 30 1 1 5 1 20 5 1 20 5 1 20 5 1 20...
Страница 30: ...6 26 6 6 1 6 1 1 ON AT 33 0 1 F DC 50V 100mA GND DC 1 5V 33 0 1 F LOAD LOAD DC 0 5V GND LOAD LOAD LOAD...
Страница 31: ...6 CMN209 006 27 1 5V 0 2V B C ON HIGH LOW OFF LOW HI Z LOW DC 1 2...
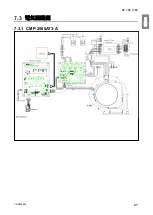
Страница 35: ...7 CMN209 006 31 7 3 7 3 1 CMP 2500AT3 A...
Страница 36: ...32 12 7 2 7 2 30...
Страница 68: ...Chapter 7 Appendix 64 7 3 Electrical Diagram 7 3 1 CMP 2500AT3 A Internal terminal...

