


Challenger
Optics.com
Wavelength Specific Optical Testing and Measurement Equipment
CO-OPM-10 p 21
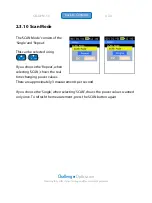
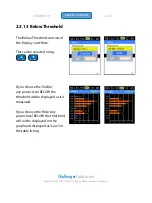
2.3.11 Threshold
This will change the baseline of
the meter.
‘-30.00 dBm’ is the default setting.
Press the button after
selecting ‘Threshold’, you can set
the baseline.
Baseline changes can be found at
the graph screen.
ENTER
–


