background image

3491 Mission Oaks Blvd., Camarillo, CA 93011

Visit our Web site at: http://www.harborfreight.com

Copyright

©

 2004 by Harbor Freight Tools

®

.  All rights reserved.  No portion of this

manual or any artwork contained herein may be reproduced in any shape or form

without the express written consent of Harbor Freight Tools.

For technical questions, please call 1-800-444-3353.

®

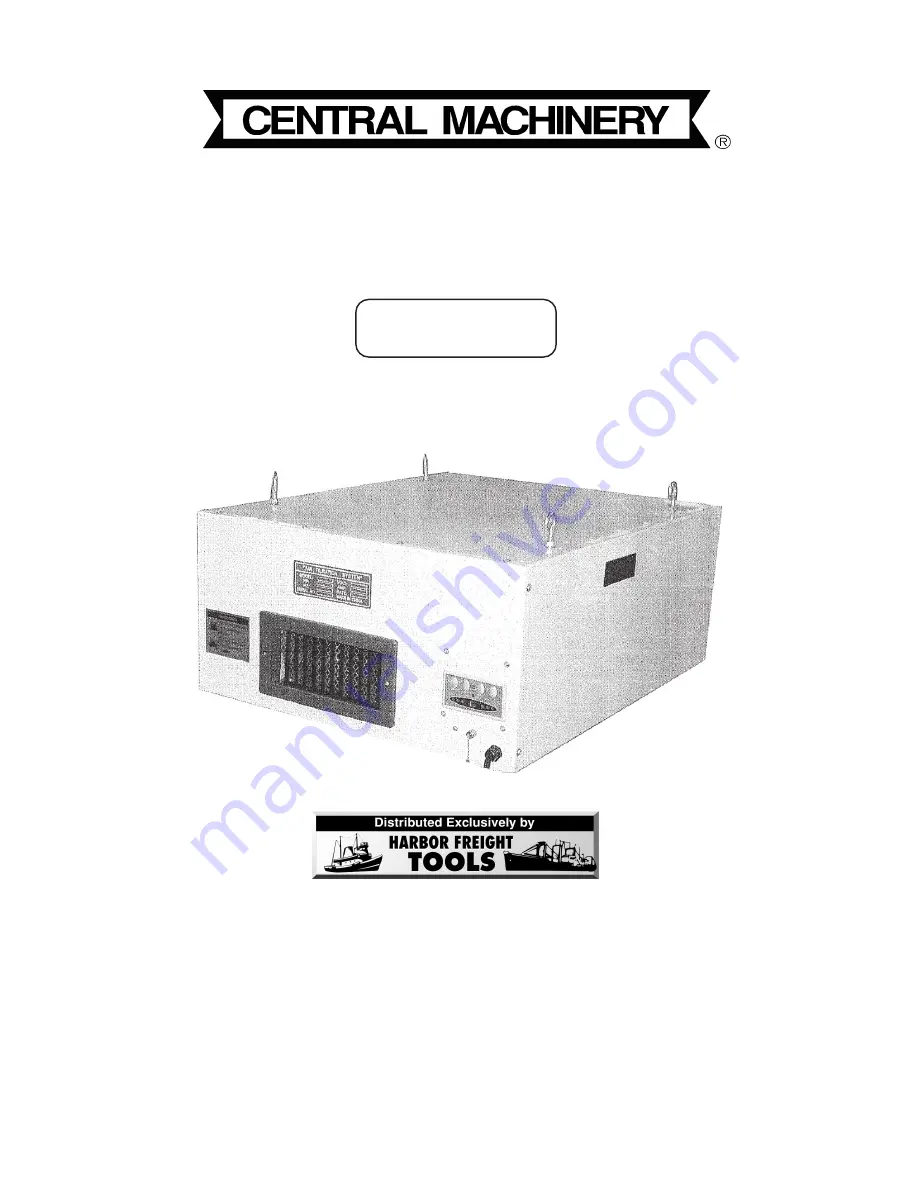
Model 91393

ASSEMBLY AND OPERATING INSTRUCTIONS

AIR FILTRATION SYSTEM
WITH REMOTE CONTROL

Содержание 91393

Страница 1: ... Tools All rights reserved No portion of this manual or any artwork contained herein may be reproduced in any shape or form without the express written consent of Harbor Freight Tools For technical questions please call 1 800 444 3353 Model 91393 ASSEMBLY AND OPERATING INSTRUCTIONS AIR FILTRATION SYSTEM WITH REMOTE CONTROL ...

Страница 2: ...E THESE INSTRUCTIONS WORK AREA 1 Keep your work area clean and well lit Cluttered benches and dark areas invite accidents 2 Do not operate electric products in explosive atmospheres such as in the presence of flammable liquids gases or dust 3 Keep bystanders children and visitors away while mounting or maintaining the Air Filtration System ELECTRICAL SAFETY 4 Grounded products must be plugged into...

Страница 3: ... the Power Cord Never use the Power Cord to carry the product or pull the Plug from an outlet Keep the Power Cord away from heat oil sharp edges or moving parts Replace damaged Power Cords immediately Damaged Power Cords increase the risk of electric shock PERSONAL SAFETY 9 Stay alert Watch what you are doing and use common sense when operating a power product Do not use a power product while tire...

Страница 4: ...r injury SPECIFIC SAFETY RULES 1 Maintain labels and nameplates on the Air Filtration System These carry important information If unreadable or missing contact Harbor Freight Tools for a replacement 2 Maintain a safe working environment Make sure there is adequate surrounding workspace Always keep the work area free of obstructions grease oil trash and other debris Do not use a power products in a...

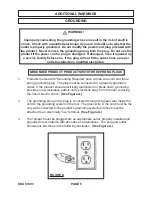
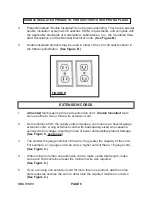
Страница 5: ...e a three wire cord and three prong grounding plug The plug must be connected to a properly grounded outlet If the product should electrically malfunction or break down grounding provides a low resistance path to carry electricity away from the user reducing the risk of electric shock See Figure A 2 The grounding prong in the plug is connected through the green wire inside the cord to the groundin...

Страница 6: ...s can use either a two or three wire extension cord 2 As the distance from the supply outlet increases you must use a heavier gauge extension cord Using extension cords with inadequately sized wire causes a serious drop in voltage resulting in loss of power and possible product damage See Figure C next page 3 The smaller the gauge number of the wire the greater the capacity of the cord For example...

Страница 7: ...wired and in good electrical condition Always replace a damaged extension cord or have it repaired by a qualified electrician before using it 8 Protect your extension cords from sharp objects excessive heat and damp or wet areas FIGURE C SYMBOLOGY Double Insulated Canadian Standards Association Underwriters Laboratories Inc Volts Alternating Current Amperes No Load Revolutions per Minute RPM noxxx...

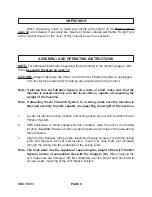
Страница 8: ...chine Note If attaching the Air Filtration System to a ceiling make sure the machine is attached securely to joists capable of supporting the weight of the machine 1 Locate the desired ceiling location and ceiling joists upon which to attach the Air Filtration System 2 With assistance or lifting equipment not included raise the unit to the desired location Caution Make sure other people or pets ar...

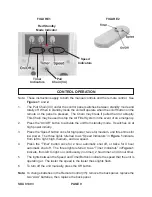
Страница 9: ...edium and three times for low power The three lights referred to as Speed Indicators in Figure 1 indicate from left to right high medium and low speed 4 Press the Timer button once for 2 hour automatic shut off or twice for 4 hour automatic shut off The three lights referred to as Timer Indicators in Figure 1 indicate from left to right on continuously no timer 2 hour timer and 4 hour timer 5 The ...

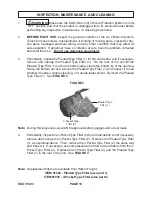
Страница 10: ...ft the Pleated Type Filter 1 so that its bottom edge clears the bottom lip of the opening Swing the bottom out and remove the Pleated Type Filter 1 and inspect it to see whether it needs a simple cleaning or it needs replacement Reinsert the Pleated Type Filter 1 See FIGURE 3 FIGURE 3 Pleated Type Filter 1 Note During this procedure wear ANSI approved safety goggles and a dust mask 4 Periodically ...

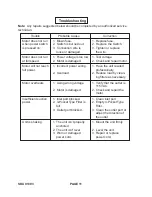
Страница 11: ...r wiring 2 Overload 1 Have the unit rewired professionally 2 Reduce load by clean ing filters as necessary Motor overheats 1 Using wrong voltage 2 Motor is damaged 1 Verify that the outlet is 115 VAC 2 Check and repair the motor Insufficient suction power 1 Inlet port blocked 2 3 Pocket Type Filter is full 3 Outlet port blocked 1 Clean inlet port 2 Empty 3 Pocket Type Filter 3 Clean the outlet por...

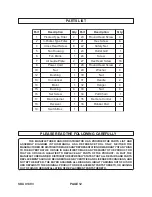
Страница 12: ...R HER INSTALLATION OF REPLACEMENT PARTSTHERETO PLEASE READ THE FOLLOWING CAREFULLY PARTS LIST t r a P n o i t p i r c s e D y t Q t r a P n o i t p i r c s e D y t Q 1 r e t l i F e p y T d e t a e l P 2 0 2 w e r c S d a e H d n u o R 4 2 r e t l i F e p y T t e k c o P 3 2 1 2 w e r c S x e H 6 4 w e r c S d a e H s s o r C 8 2 2 t e N y t e f a S 1 5 g n i s u o H n a F 1 3 2 l l i r G t e l t ...

Страница 13: ...SKU 91393 PAGE 13 ASSEMBLY DIAGRAM NOTE Some parts are listed and shown for illustration purposes only and are not available individually as replacement parts ...

Отзывы: