background image

Binocular Instructions

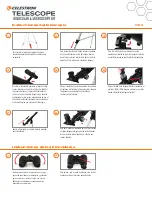
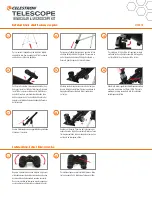
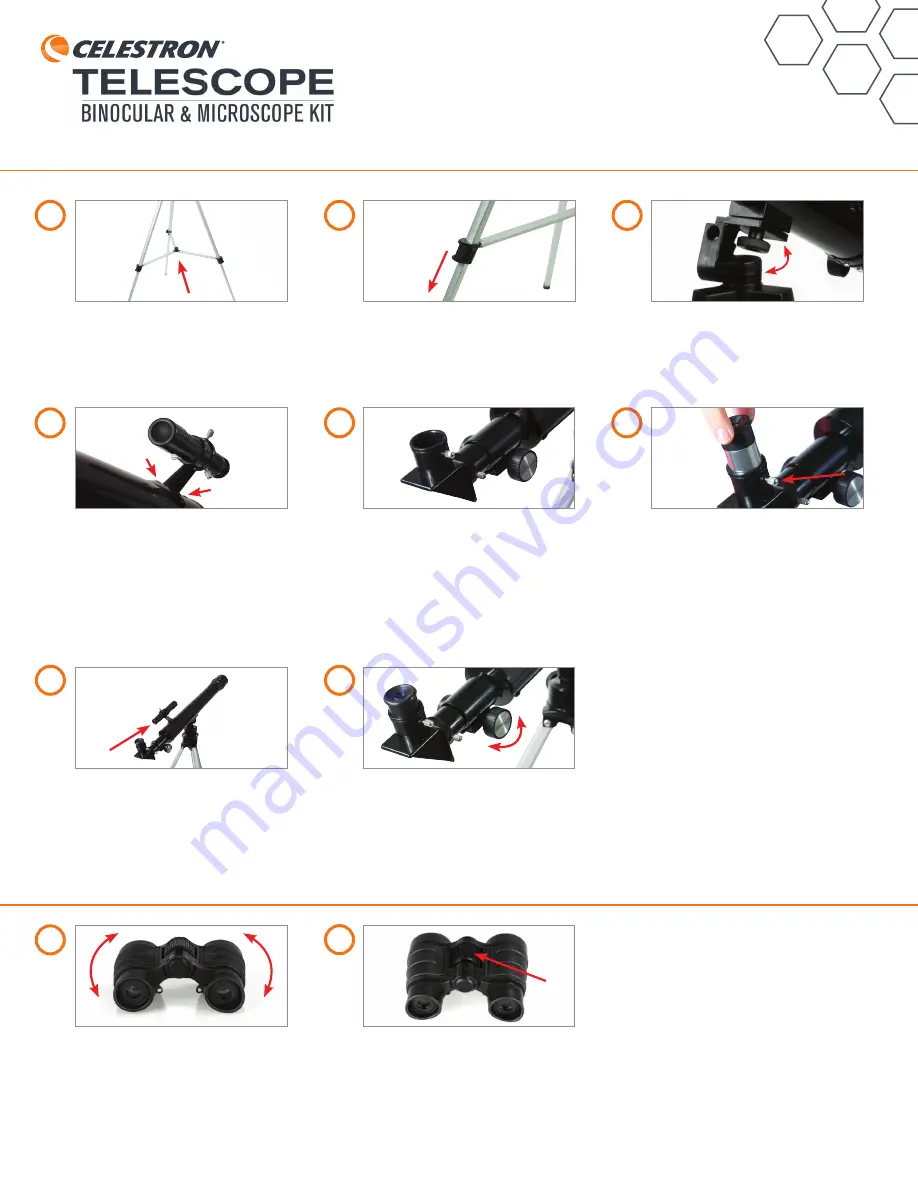
To setup the tripod unfold the legs by pulling 
them apart until the center support bracket 
locks in place.  

Point the telescope at a distant target by sighting 
through the finderscope. 

To attach the optical tube to the tripod, start by 
threading the mounting bolt at the top of the 
tripod into the threaded hole on the bottom of 
the telescope tube.

To adjust the height of the tripod, fl ip the lever 
at the bottom of the tripod leg. Slide the inner 
portion of the leg out to the desired height and 
secure the leg by fl ipping the lock lever.

 Look through the eyepiece of the main telescope 
to see your target up close. Focus the image by 
turning the two knobs on the focusing assembly 
until you get a sharp image.

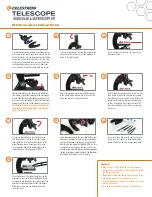
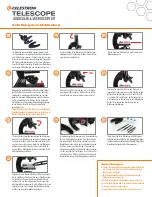
Loosen the set screw on the back of the focusing 
assembly and insert the star diagonal. Secure the 
diagonal in place by tightening the set screw on
the focus assembly.

Loosen the set screw on the star diagonal and insert 
10mm (60x) eyepiece. Secure the eyepiece in place 
by tightening the set screw on the star diagonal.

2

1

Telescope Instructions

#22010

To attach the finderscope, start by removing the 
two nuts located on the top of the telescope 
tube. Place the finderscope bracket over the 
two exposed threaded posts. Secure it in place 
by replacing the two nuts. Be sure the eyepiece 
end of the fi nderscope faces the same direction 
as the eyepiece of the scope.

Adjust the binoculars to fit the distance between 
your eyes by grasping each side of the binocular and 
rotating the barrels closer together or further apart 
as needed. You should see one round image when 
looking through the binoculars with both eyes.

To focus, rotate the focusing wheel between the 
two barrels until the image is sharp.

3

6

5

4

7

8

1

2

Содержание 22010

Страница 1: ...e focusing assembly and insert the star diagonal Secure the diagonal in place by tightening the set screw on the focus assembly Loosen the set screw on the star diagonal and insert 10mm 60x eyepiece Secure the eyepiece in place by tightening the set screw on the star diagonal 2 1 Telescope Instructions 22010 To attach the finderscope start by removing the two nuts located on the top of the telesco...

Страница 2: ...contact with the slide or damage to the slide or microscope may occur To increase magnification turn the focuser so that the eyepiece is raised to its fullest height then rotate the turret until 450x is shown in the magnification window Focus again by moving the microscope downward slowly until focus is achieved Repeat this procedure for 900x Your microscope comes with tools to help you create you...

Страница 3: ...ensemble de mise au point et insérez la diagonale en étoile Sécurisez la diagonale en serrant la vis sur l ensemble de mise au point Desserrez la vis de la diagonale en étoile et insérez y un oculaire 10mm 60x Sécurisez l occulaire en serrant la vis sur la diagonale en étoile 2 1 Mode d emploi du télescope 22010 Pour attacher le chercheur retirez les deux boulons situés sur le dessus du tube du té...

Страница 4: ...e dernière ou le microscope Pour augmenter le grossissement faites tourner la molette de mise au point de manière à relever l oculaire au maximum puis faites tourner la tourelle jusqu à ce que le chiffre 450x apparaisse dans la fenêtre de grossissement Faites la mise au point de nouveau en abaissant le microscope lentement jusqu à obtention de la netteté Répétez la procédure pour le grossissement ...

Страница 5: ... der Fokussierbau gruppe und setzen Sie den Zenitspiegel ein Ziehen Sie zum Sichern des Zenitspiegels die Stellschrauben an der Fokussierbaugruppe an Lösen Sie die Stellschraube am Zenitspiegel und bringen Sie das 10 mm 60x Okular an Ziehen Sie zum Sichern des Okulars die Stellschrauben am Zenitspiegel an 2 1 Teleskopanleitung Nr 22010 Zum Anbringen des Suchers die beiden Muttern oben am Teleskopt...

Страница 6: ...Für eine stärkere Vergrößerungsleistung am Fokussierer drehen um das Objektiv ganz nach oben zu drehen dann den Revolver drehen bis im Vergrößerungsfenster 450x erscheint Erneut fokussieren indem Sie das Mikroskop langsam nach unten führen bis Sie ein scharfes Bild erreicht haben Wiederholen Sie dieses Vorgehen für die 900x Vergrößerungsleistung Im Lieferumfang Ihres Mikroskops sind Werkzeuge enth...

Страница 7: ...ra del enfoque e introduzca la diagonal estelar Asegure la diagonal en posición fijando el tornillo en la estructura del enfoque Afloje el tornillo de la diagonal estelar e introduzca el ocular de 10mm 60x Asegure el ocular en posición fijando el tornillo de la diagonal estelar 2 1 Instrucciones del telescopio 22010 Para fijar el localizador comience retirando las dos roscas situadas en la parte s...

Страница 8: ...stras podría dañar el portamuestras o el microscopio Para aumentar los aumentos gire el enfoque de forma que el ocular se eleve a su posición más alta y gire el soporte de lentes hasta que se muestre 450x en la ventana de aumentos Enfoque de nuevo bajando lentamente el microscopio hasta lograr enfocar Repita el procedimiento para 900x Su microscopio incluye herramientas para ayudarle a crear sus p...

Страница 9: ...diagonale stellare Fissare in posizione la diagonale stellare serrando la vite di regolazione sul corpo Allentare la vite di regolazione della diagonale stellare e inserire un oculare da 10 mm 60x Fissare in posizione l oculare serrando la vite di regolazione sulla diagonale stellare 2 1 Istruzioni del telescopio 22010 Per fissare il cercatore rimuovere innanzitutto i due dadi posti in cima al tub...

Страница 10: ...re il vetrino con l obiettivo in tal caso potrebbero verificarsi danni al vetrino o al microscopio Per aumentare l ingrandimento ruotare il focheggiatore in modo che l oculare sia sollevato alla massima altezza ruotare quindi la camma fino a quando la finestra di ingrandimento mostra 450x Mettere nuovamente a fuoco spostando il microscopio lentamente verso il basso fino alla messa a fuoco Ripetere...

Отзывы: