background image

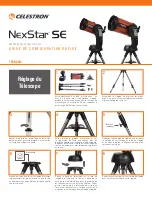
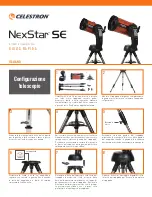
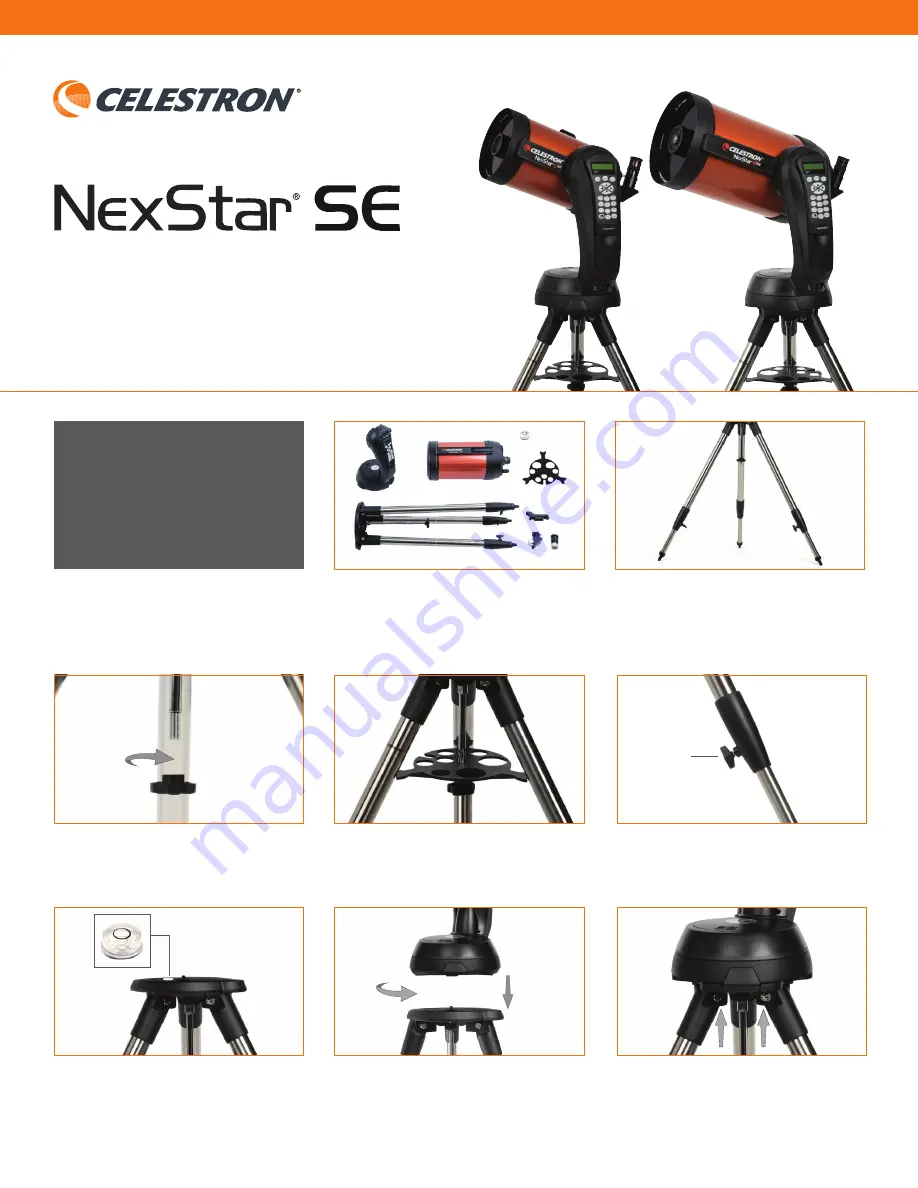
Slide the accessory tray onto the threaded rod 

so that each arm of the tray braces against each 

tripod leg.  Replace and tighten the leg brace 

locking knob to secure the tray in place.

4

Spread the tripod’s legs out and place the tripod 

on the ground.

2

ENGLISH

Q U I C K   S E T - U P   G U I D E

MODELS #11068 & #11069 (6SE & 8SE)

To check that the tripod is level, place the bubble 

level on top of it. Carefully readjust the height of 

each leg as needed and then re-check using the 

level. Remove the level when you are done.

6

Bubble Level

To extend each tripod leg to the desired height, 

loosen the locking knob, pull the leg section out, 

and re-tighten the knob.

5

Locking Knob

Remove the leg brace locking knob.

3

Ensure that all parts of your NexStar 6SE or 

8SE telscope are present: fork arm, optical tube, 

tripod, accessory tray, computerized hand control, 

25mm eyepiece, StarPointer red dot fi nderscope, 

star diagonal, bubble level.

1

Set the base of the telescope on the tripod 

head so that the hole in the center of the mount 

base aligns with the positioning pin on top of 

the tripod.  Rotate the telescope mount so the 

3 rubber feet align with the 3 recesses on the 

tripod mounting plate.

7

Telescope

Setup

Tighten the captive mounting bolts under the 

tripod head to secure the mount to the tripod.  

8

Содержание 11068

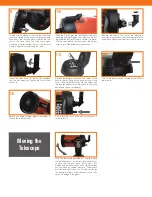
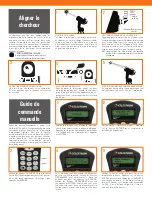
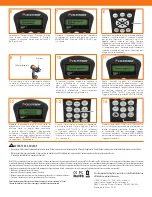
Страница 1: ...tripod leg to the desired height loosen the locking knob pull the leg section out and re tighten the knob 5 Locking Knob Remove the leg brace locking knob 3 Ensure that all parts of your NexStar 6SE o...

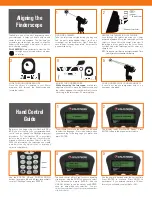
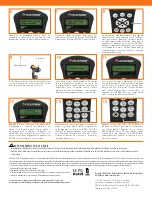
Страница 2: ...cure 11 Insert the silver barrel of the 25mm eyepiece into the star diagonal Tighten the silver screw to secure 12 Turn on the power switch located at the base of the fork arm 14 Slowly turn the focus...

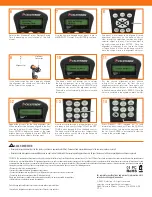
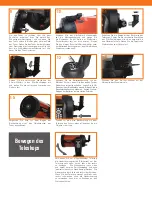
Страница 3: ...ce 5 YOUR FINDERSCOPE IS NOW ALIGNED It should not require realignment unless it is bumped or dropped 3 LOOK THROUGH FINDERSCOPE Once the object is centered in your 25mm eyepiece look through the find...

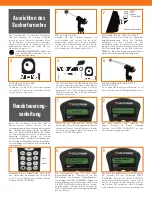
Страница 4: ...ever point telescope directly at the Sun unless you have an approved solar filter Permanent and irreversible damage to the camera or optics may result Never leave the telescope unsupervised Make sure...

Страница 5: ...lage du pied de tr pied et en tirant le pied la longueur d sir e et en resserrant la molette 5 Molette de verrouillage Retirez la molette de verrouillage du renfort de jambe et faites glisser le plate...

Страница 6: ...re de 25 mm dans le renvoi coud et serrez la vis argent e pour le fixer 12 Allumez l interrupteur pr sent sur la base du bras de fourche 14 Pour obtenir la meilleure image travers le t lescope tournez...

Страница 7: ...on avec l objet observ dans l oculaire de 25 mm 5 VOTRE CHERCHEUR EST MAINTENANT ALIGN Il n aura pas besoin d tre align de nouveau tant qu il n aura pas subi un choc ou qu il sera tomb REGARDER DANS L...

Страница 8: ...un filtre solaire appropri Des dommages irr versibles peuvent tre inflig s la cam ra ou aux optiques Ne jamais laisser le t lescope sans surveillance Assurez vous qu un adulte connaissant les bonnes...

Страница 9: ...Feststellknopf des Stativbeins l sen das Bein auf die gew nschte L nge herausziehen und den Knopf wieder festziehen 5 Feststellknopf Entfernen Sie den Feststellknopf der Bein strebe und schieben Sie...

Страница 10: ...die verchromte Steckh lse des 25 mm Okulars in den Star Zenitspiegel ein und ziehen Sie die verchromte Schraube zum Sichern fest 12 Schalten Sie den Ein Aus Schalter auf der Unterseite des Gabelarms e...

Страница 11: ...ote Punkt ber dem gleichen Objekt erscheint das Sie im 25 mm Okular des Teleskops beobachten 5 IHR SUCHERFERNROHR IST JETZT AUSGERICHTET Es ist keine Neuausrichtung erforderlich es sei denn es wurde e...

Страница 12: ...skop niemals unbeaufsichtigt Achten Sie darauf dass ein Erwachsener der mit den richtigen Betriebsverfahren Ihres Teleskops vertraut ist stets gegenw rtig ist insbesondere wenn Kinder in der N he sind...

Страница 13: ...irando la gamba alla lunghezza desiderata e serrando nuovamente la manopola 5 Manopola di blocco Rimuovere la manopola di blocco del supporto per le gambe e fare scorrere il vassoio porta accessori ne...

Страница 14: ...25mm nel diagonale stellare e serrare la vite argentata per fissare 12 Attivare l interruttore di alimentazione posto alla base del braccio a forcella 14 Per ottenere una visione ottimale attraverso i...

Страница 15: ...sullo stesso oggetto che si sta osservando nell oculare da 25 mm 5 IL CERCATORE ORA ALLINEATO Non occorre effettuare un nuovo allineamento salvo colpi o cadute OSSERVARE ATTRAVERSO IL CERCATORE Una v...

Страница 16: ...sibili danni permanenti e irreversibili alla fotocamera o alle ottiche Mai lasciare il telescopio incustodito Assicurarsi che un adulto che abbia familiarit con le procedure di funzionamento corrette...

Страница 17: ...del tr pode y extendiendo la pata a la longitud deseada y volviendo a apretar el mando 5 El mando de bloqueo de la pata Retire el mando de bloqueo de la abrazadera de pata y deslice la bandeja de acc...

Страница 18: ...el ca n plateado del ocular de 25mm en la diagonal estelar y apriete el tornillo plateado para asegurarlo 12 Encienda el interruptor de encendido situado en la base del brazo de horquilla 14 Para obt...

Страница 19: ...bjeto que est observando en el ocular de 25 mm del telescopio 5 SU LOCALIZADOR EST ALINEADO No deber a realinarse a menos que reciba golpes o caiga MIRAR POR EL LOCALIZADOR Cuando el objeto est centra...

Страница 20: ...e irreversibles a la c mara o la ptica No deje nunca el telescopio sin supervisi n Aseg rese de que un adulto familiarizado con los procedimientos de uso adecuados est con el telescopio en todo momen...

Отзывы: