celesco PT101 Series Скачать руководство пользователя страница 1

Page 1 of 4

MEASURING CABLE REPLACEMENT

INSTRUCTIONS FOR

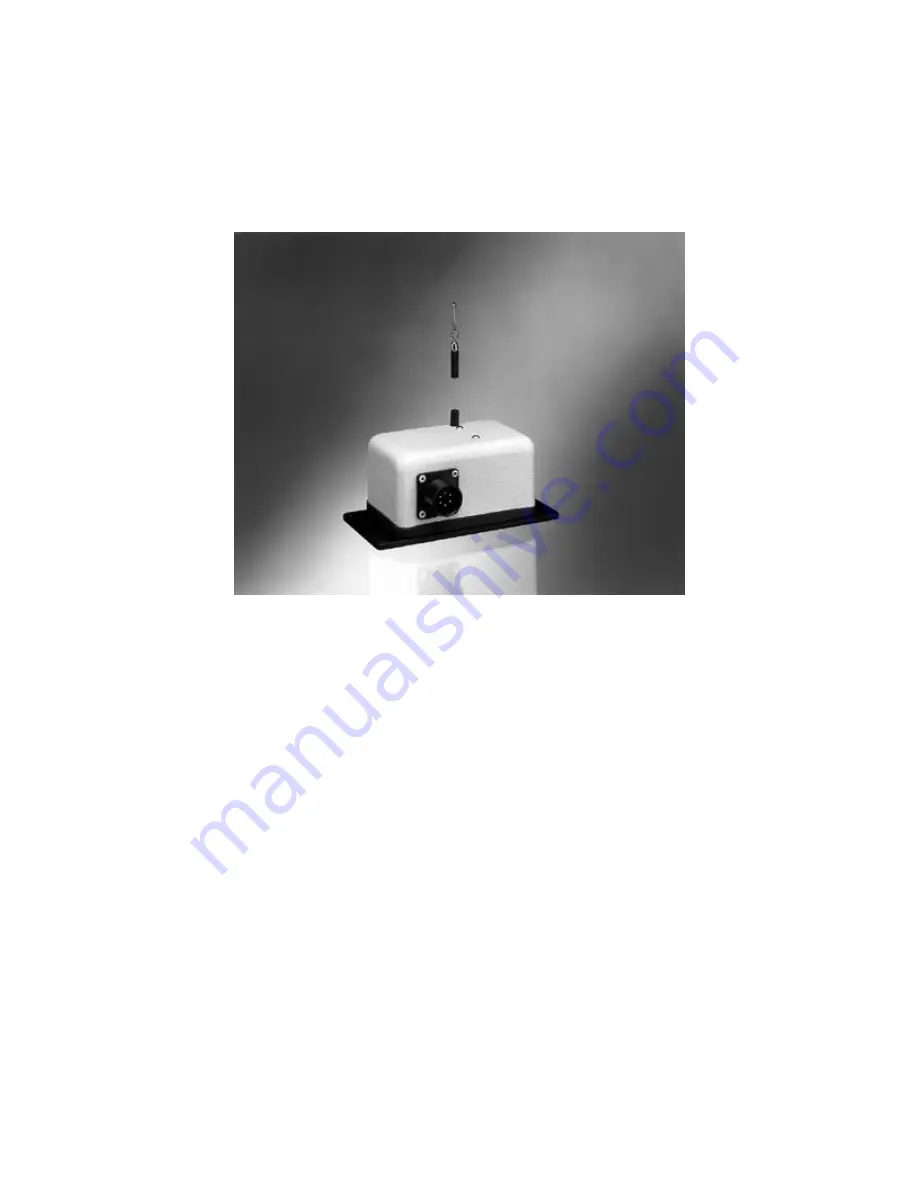
PT101 (INSTRUMENT GRADE) SERIES

For Models

PT101, PT420, & PT510

Celesco Transducer Products  7800 Deering Avenue,  Canoga Park, CA 91309  Tel: 800-423-
5483, Fax 818-340-1175
Created 4/18/00  C:data/PT101man

Содержание PT101 Series

Страница 1: ...BLE REPLACEMENT INSTRUCTIONS FOR PT101 INSTRUMENT GRADE SERIES For Models PT101 PT420 PT510 Celesco Transducer Products 7800 Deering Avenue Canoga Park CA 91309 Tel 800 423 5483 Fax 818 340 1175 Created 4 18 00 C data PT101man ...

Страница 2: ...otentiometer shaft all the way in both directions If the transducer is a 2 inch or 5 inch range the shaft should rotate smoothly with no resistance If the transducer is a 10 inch or greater range the shaft should rotate smoothly with no resistance until it suddenly stops If rough spots resistance or soft stops are felt the potentiometer is damaged and must be replaced Contact Celesco for new poten...

Страница 3: ...n the housing and the spring side plate 25 Insert the flathead screwdriver and use it to slide the spring off the spring arbor and into the spring housing 26 Remove the spring spring housing and set aside 27 Remove the spring side plate and set aside 28 While looking through the access hole in the frame rotate the spring arbor with fingers until one of the set screws is visible 29 Using an allen w...

Страница 4: ...ion on the cable 50 Replace the 8 32 screws that hold the spring housing and spring side plate to the frame and snug them down Be careful not to over tighten or the plastic spring housing may be damaged 51 Fully extend and retract the cable a few times to ensure smooth cable travel 52 Loosen the large nut holding the potentiometer to the pot mounting plate just enough so it can rotate freely 53 If...

Отзывы: