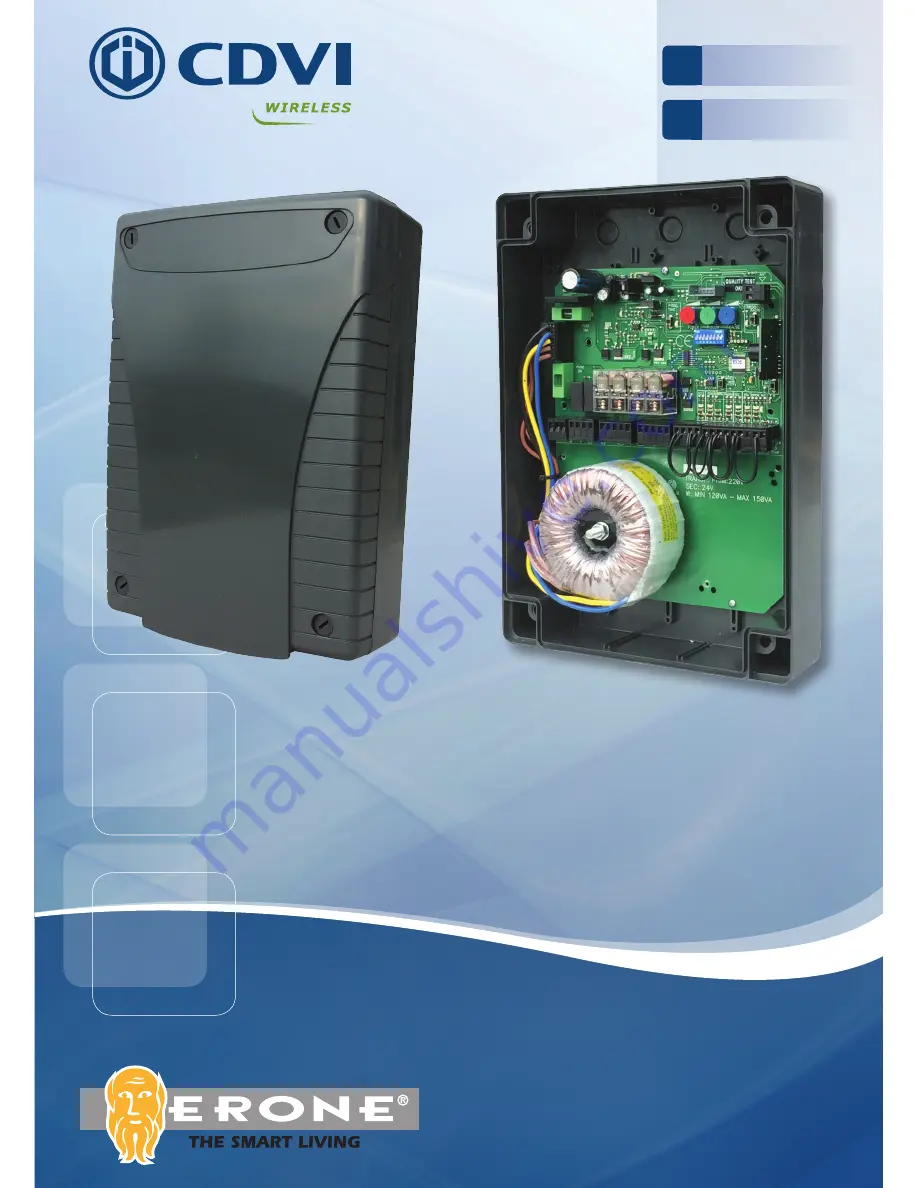
ElEctronic control panEl for two 24Vdc
motors
apparEcchiatura di comando 2 motori 24Vdc
ENGLISH
En
Eacp106E
installation manual / manuale di installazione
ITALIANO
it
Страница 1: ...Electronic control panel for two 24Vdc motors Apparecchiatura di comando 2 Motori 24Vdc ENGLISH EN EACP106E Installation manual Manuale di installazione ITALIANO IT...
Страница 2: ...perform the necessary risk analysis complies with the Regulations EN 12453 EN 12445 These warnings are integral and essential parts of the product and must be delivered to the user Read them carefull...
Страница 3: ...on for the appliance close to the gate safe from shocks and tampering high enough from the ground safe from water and easily accessible for maintenance operations 2 Unscrew the 4 screws of the cover a...
Страница 4: ...fe functionality of the automatic gate The manufacturer declines all responsibility for damages deriving from any incorrect installation due to incapacity and or negligence Before proceeding with the...
Страница 5: ...V Power Accessories 33 Vdc 250 mA 151617 FTC OP FTC CH 121314 FCC2 FCA2 181920 FCC1 FCA1 PED STOP START POWER SUPPLY ACCESSORIES ELECTROLOCK ANTENNA 25 26 26 27 28 29 12 V Electrolock 34 35 RG58 Anten...
Страница 6: ...3 14 NC Close limit switch Motor 2 15 17 NC Contact safety Bar reopen photocell 16 17 NC Contact Close photocell 19 18 NC Close limit switch Motor 1 20 18 NC Open limit switch Motor 1 21 23 NC STOP Co...
Страница 7: ...tops inverts on closing 6 Flashing function ON Warning light blinking OFF Warning light fixed 7 Slow down ON slow down mode at the end of each manouvre opening and closing OFF No slow down full torque...
Страница 8: ...2 for gate 2 To enter the programming press P2 for 2 sec LED L3 lights up PG1 PG2 P2 2 sec L3 Wait for leaves staggering Press PG2 gate 2 starts Press PG1 gate 1 starts 1 OP E NIN G PRO G RAMMIN G PG1...
Страница 9: ...programming of the panel without slow down dip switch 7 OFF is similar to the programming with the slow down except for the pressure of the buttons PG1 PG2 next to the limits that in this case is miss...
Страница 10: ...e and keep pressed button A 1 Memorizing Button A on CH1 Full OPENING Beeeeeeep Press button A of the NEW TX before end of long Beep Beep Release and keep pressed button B 2 Memorizing Button B on CH1...
Страница 11: ...ts The installer must provide all information regarding operation maintenance and the use of the individual components parts and the whole system Read carefully the instructions and the attached docum...
Страница 12: ...istruzioni prima di iniziare l installazione dell apparecchiatura Conservare questo documento anche dopo l installazione Questo prodotto se installato da personale specializzato idoneo alla valutazio...
Страница 13: ...o al riparo da urti e manomissioni ad altezza sufficiente dal suolo al riparo da colmi d acqua e facilmente raggiungibile dal tecnico per interventi di manutenzione 2 Aprire il coperchio del contenito...
Страница 14: ...L9 L10 L3 P1 L2 5 Raccomandazioni preliminari Le operazioni di installazione e collaudo devono essere eseguite solo da personale qualificato ai fini di garantire la corretta e sicura funzionalit del c...
Страница 15: ...mentazione accessori 33 Vdc 250 mA 151617 FTC OP FTC CH 121314 FCC2 FCA2 181920 FCC1 FCA1 PED STOP START ALIMENTAZIONE AUSILIARIA ELETTROSERRATURA ANTENNA 25 26 26 27 28 29 12 V Elettroserratura 34 35...
Страница 16: ...Motore 2 15 17 NC Contatto per Costola di sicurezza fotocellula di riapertura 16 17 NC Contatto fotocellula di chiusura 19 18 NC Finecorsa di chiusura Motore 1 20 18 NC Finecorsa di apertura Motore 1...
Страница 17: ...sura stop e riapertura OFF In apertura stop In apertura stop e riapertura 6 Funzionamento lampeggiante ON Lampeggio interno OFF Luce fissa 7 Rallentamento ON Rallentamento attivo alla fine di ciascuna...
Страница 18: ...premere P2 per 2 sec il led L3 si accende PG1 PG2 P2 2 sec L3 Attendere lo sfalsamento in apertura Premere PG2 parte l anta 2 Premere PG1 parte l anta 1 1 PRO G RAMMA Z ION E AP E RTURA PG1 Premere PG...
Страница 19: ...in chiusura PG1 Premere PG1 l anta si ferma 2 PRO G RAMMA Z ION E CHIUSURA NOTA La programmzione del funzionamento senza il rallentamento consigliato dei i motori solo oleodinamici dip switch 7 OFF si...
Страница 20: ...ella centralina a distanza senza premere il pulsante P3 della scheda radio Per abilitare questa funzione agire sul jumper JP1 Per questa operazione necessario usare un trasmettitore gi memorizzato Buz...
Страница 21: ...do di moto e termina 180 sec dopo il completamento del ciclo di chiusura 13 Logica di funzionamento del lampeggiante Fase Funzionamento lampeggiante Apertura Lampeggio lento Chiusura Lampeggio veloce...
Страница 22: ...toso Collegare il cavo nell apposito morsetto o sostituirlo C un ostacolo in mezzo alla fotocellula o questa non funziona Verificare il collegamento togliere eventuale ostacolo Il radiocomando non apr...
Страница 23: ...il prodotto in ambienti a pericolo di esplosione o disturbati da campi elettromagnetici La presenza di gas o fumi infiammabili costituisce un grave pericolo per la sicurezza Prevedere sulla rete di a...
Страница 24: ...6 0 10 62414516 Fax 86 0 10 62414519 CDVI IB RICA SPAIN PORTUGAL Phone 34 0 935 390 966 Fax 34 0 935 390 970 CDVI ITALIA Phone 39 0321 90573 Fax 39 0321 908018 CDVI MAROC Phone 212 0 5 22 48 09 40 Fax...