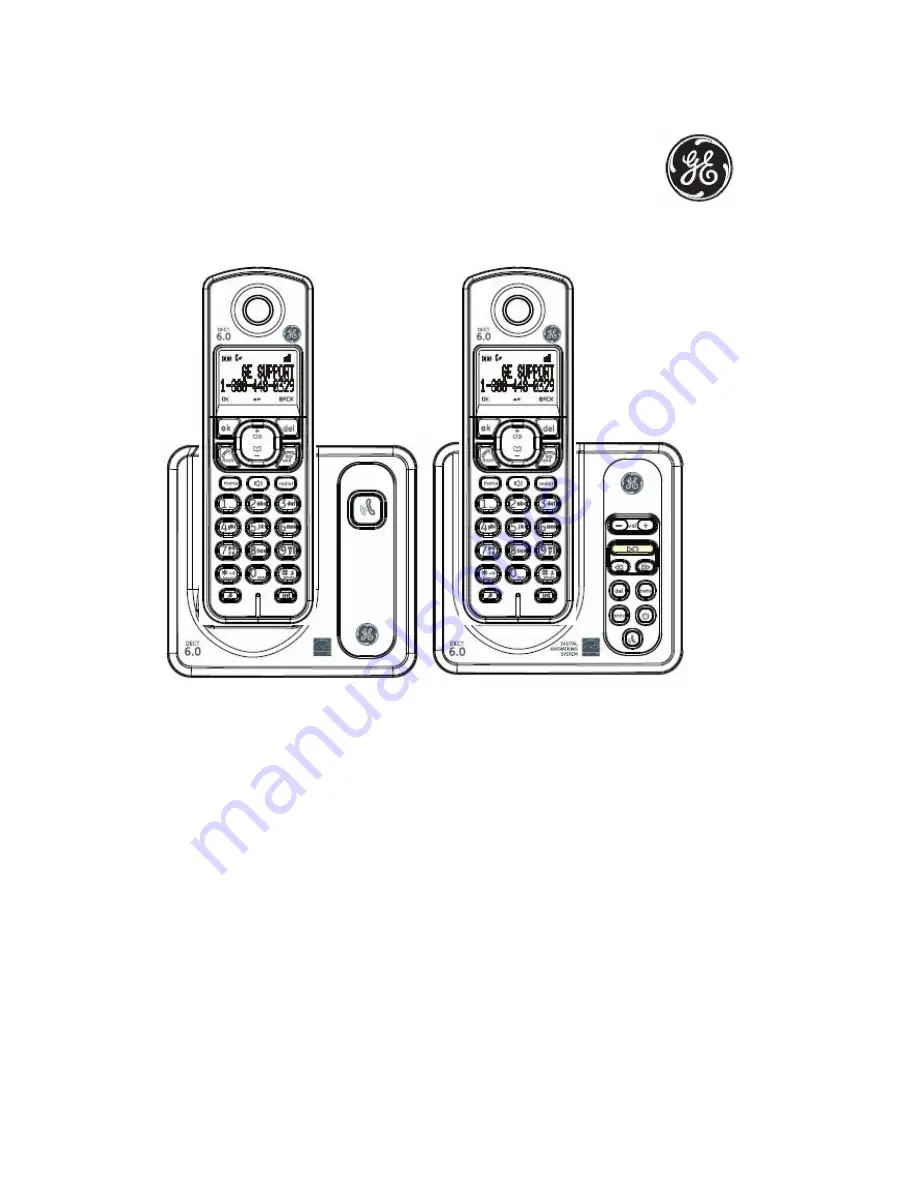
DECT 6.0 Cordless Phone
User¡s Guide
Models: 28512xx1-A/28512xx2-A/28512xx3-A/28512xx4-A 28522xx1-A/28522xx2-A/28522xx3-A/28522xx4-A
Страница 1: ...DECT 6 0 Cordless Phone User s Guide Models 28512xx1 A 28512xx2 A 28512xx3 A 28512xx4 A 28522xx1 A 28522xx2 A 28522xx3 A 28522xx4 A...
Страница 2: ...Getting started Parts Checklist Your telephone contains the following items Save your sales receipt and original packaging in the event warranty service is necessary...
Страница 3: ...required not included Contact your DSL service provider for more information about DSL filter Telephone Jack Requirements To use this phone you need an RJ11C type modular telephone jack which might lo...
Страница 4: ...et battery compartment 3 Place the battery and the wire inside the battery compartment 4 Align the cover flat against the battery compartment then slide it towards the center of the handset until it c...
Страница 5: ...harge indicators and actions to take Battery indicators Battery status Action Battery icon is scrolling Battery is charging The battery is not full Please keep the handset on base cradle or charging c...
Страница 6: ...message or press to stop message playback Repeat Press to repeat a message or press twice to play previous message Forward Press to skip to the next message Delete Press to delete the message during...
Страница 7: ...s to increase the listening down Talk Flash Press to make or answer a call During a call press to answer an incoming call when you receive a call waiting alert End During a call press to hang up Durin...
Страница 8: ...le Flashes and empty when battery level is low Blinking when there is incoming call Steady on during a call Flashes when there is a new voice mail message see note page x Turn on when Alarm set Turn o...
Страница 9: ...service change this setting to accommodate your telephone line service 1 Press then 2 Press to select ADVANCED SET and press OK then 3 Press to select DIAL MODE and press OK then 4 Press to select the...
Страница 10: ...OK then 3 Press to select SET FORMAT and press OK then 4 Press to select TIME FORMAT and press OK then 5 Press to select the desired setting 12 HOURS OR 24 HOURS then 6 Press and return to idle Ringer...
Страница 11: ...inger melodies 1 Press then 2 Press to select SETTTINGS and press OK then 3 Press to select HANDSET TONE and press OK then 4 Press to select RINGER TONE and press OK then 5 Press to select the desired...
Страница 12: ...e is off Off There are new message s Blinks slowly Message full Blinks rapidly Setting the Voice Prompt Language Your answering system supports English and Spanish or French voice prompts The default...
Страница 13: ...sounds hold the handset about 8 inches away and speak clearly into the microphone 2 minutes max 7 Press to stop recording then 8 Press return to idle Using a pre recorded Outgoing Announcement If you...
Страница 14: ...phone and normal handset use When the speakerphone is active the handset screen shows SPKR Adjusting the receiver or speaker volume You can adjust the volume of your handset or speaker anytime during...
Страница 15: ...onference To join the conversation press or when other handset is on an outside call Note A maximum of 3 parties including 1 outside party can join a conversation using 2 handsets For Call waiting or...
Страница 16: ...repeatedly until the desired character appears Example If you would like to input PETER you should press 7 for P 3 3 for E 8 for T 3 3 for E 7 7 7 for R View a phonebook record Records are stored alp...
Страница 17: ...ect EDIT RECORDS then 3 Edit the name if necessary and press then 4 Edit the number if necessary and press then 5 Press return to idle Erasing entries 1 Find the desired record and press then 2 Press...
Страница 18: ...t Press Handset Press Transferring calls Outside calls can be transferred or a conference call with an outside party can be made between 2 handsets 1 During outside call press then 2 Select the handse...
Страница 19: ...ng through the display menus 1 Press then 2 Press or to select the desired main menu and press then 3 Press or to select the desired item in sub menu 1 and press In some cases you may need to select f...
Страница 20: ...ed off RINGER OFF is displayed and the handset does not ring ou tside calls However even when the ringer volume is set to off the handset still rings for paging and intercom calls 3 Turn this feature...
Страница 21: ...nd press SELECT then 3 Press to select ALARM MELODY and press SELECT then 4 Press to select the desired alarm tone and press SELECT 5 Alarm melody set and press return to idle Registering a handset Ad...
Страница 22: ...data for the 10 most recent calls When the 11th call is received the oldest Caller ID record 1st call is automatically deleted Phonebook match If the last seven digits of the incoming telephone number...
Страница 23: ...ne number Example 1 317 123 4567 5 or OR You can edit the number you want 1 Press 2 Press to select the desired record and press then 3 Press to select EDIT RECORDS and press then 4 Enter the number i...
Страница 24: ...he handset Call log display screen messages Displays When UNAVAILABLE The caller s name and number is not available The caller number is out of area WITHOLD ID The caller is blocking the name and tele...
Страница 25: ...cord message when no one pick up the call ANSWER ONLY mode means the answer system will play the outgoing message only but not record the message To select the answering mode 1 Press then 2 Press to s...
Страница 26: ...essages have been recorded the base plays new messages If there are no new messages the base unit plays all messages Operating the answering system during playback Key Operation Adjust the answering s...
Страница 27: ...ur answering system allows you to program a secure access code 3 8 digits long to access your messages while away from home The default secure access code is 123 To change the remote access code 1 Pre...
Страница 28: ...to select ANSWERER and press OK then 3 Press to select SETTINGS and press OK then 4 Press to select RING DELAY and press OK then 5 Press to select the desired setting and press OK then 6 Press return...
Страница 29: ...he risk of fire or personal injury use only the battery listed in the User s Guide Keep batteries out of the reach of children Remove batteries if storing over 30 days Troubleshooting Guide Telephone...
Страница 30: ...ID you must first contact your service provider telephone company and subscribe to the desired service Answering System 28522 only Problem Cause solution The unit does not record new message The answe...
Страница 31: ...such temporary discontinuance 2 afford you the opportunity to correct the situation and 3 inform you of your right to bring a complaint to the Commission pursuant to procedures set forth in Subpart E...
Страница 32: ...Hearing Aid Compatibility HAC This telephone system meets FCC standards for Hearing Aid Compatibility...
Страница 33: ...this product meets the ENERGY STAR guidelines for energy efficiency ENERGY STAR is a U S registered mark Service If trouble is experienced with this equipment for repair or warranty information please...
Страница 34: ...e such as but not limited to lightning damage Product Registration Please complete and mail the Produ ct Registration Card packed with your unit It will make it easier to contact you should it ever be...
Страница 35: ...on to assist with any repair under warranty Serial No Date of purchase found on the bottom of the base Name and address of the dealer Visit the GE website at www GE com phones CCT Tech USA Inc A membe...