EN-14
■
To insert a character
1.
Use the
bk
U
and
bl
I
buttons to move the
cursor to the position where you want to insert
a character.
2.
Touch
bs
Area
2
.
This inserts “A” at the cursor position and enters the
character editing mode.
• At this time you can change the “A” to a different
character if you want. To do so, perform the procedure
under “
” from step 2.
■
To delete a character
1.
Use the
bk
U
and
bl
I
buttons to move the
cursor to the position of the character you
want to delete.
2.
Touch
br
Area
1
.
■
To save edited text
1.
Touch
cl
STORE
.
■
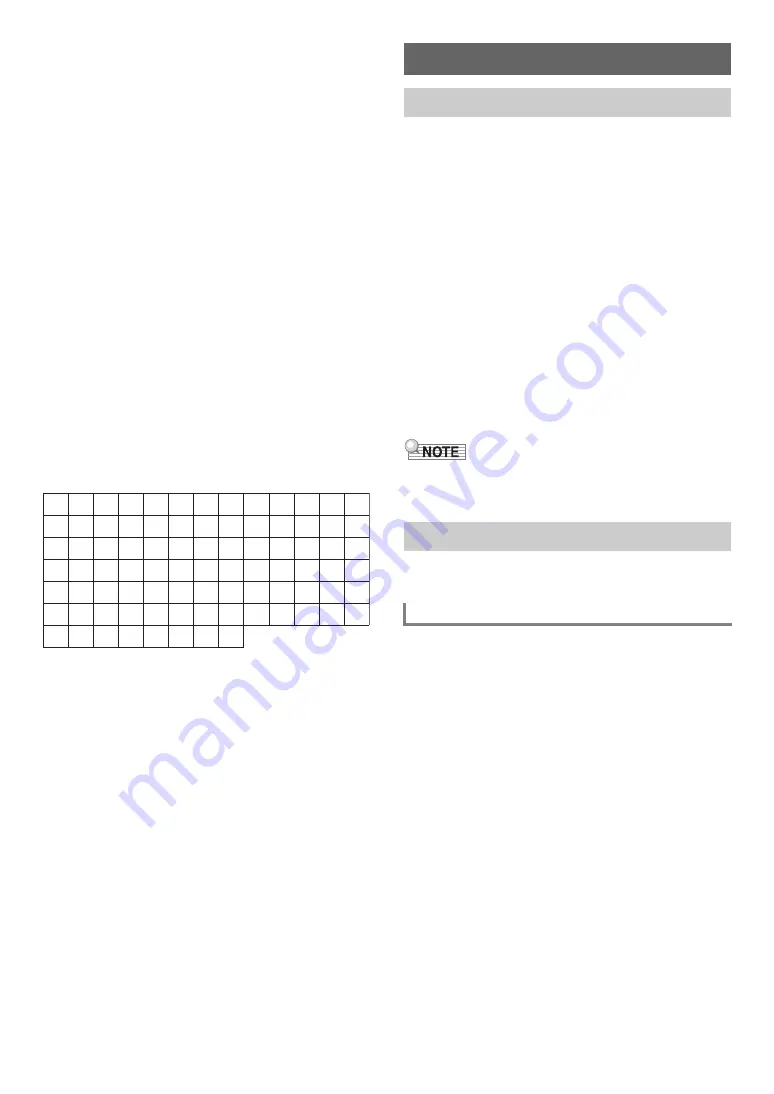
Supported Input Characters
Input of the characters shown in the table below is supported
when saving a file to a USB flash drive.
• When saving a file to a USB flash drive, you will be able to
use up to 231 characters for a file name.
• If you use this procedure to edit the file name of a file on a
FAT32 formatted USB flash drive, you will not be able to
input some of the characters shown above.
You can use the procedure below to play back the six built-in
demo songs in sequence.
1.
Hold down the
bp
^
button until “DEMO”
under the
bn
DEMO
button starts to flash.
2.
Touch
bn
DEMO
.
This causes the
bn
DEMO
button light and “DEMO”
indicator to turn off, which indicates demo play standby.
At this time, the display will show “1: Demo Song”.
• You can also use the
bk
–
and
bl
+
buttons to switch
between songs. This operation can be performed while
playback is in progress.
3.
To start demo play, touch
8
a
or
bm
ENTER
.
• After this, you can pause and resume demo play by
touching
8
a
or
bm
ENTER
.
4.
To exit demo play standby, touch
bp
EXIT
.
• If Auto Power Off (page
) is enabled, power will turn off
automatically at the applicable trigger time after a period of
non-use, even if demo play is being performed.
Your Digital Piano comes with a large collection of tones. You
can select a tone and play it on the keyboard.
■
Tone Categories
The tones of your Digital Piano are divided among six
categories, which you can access using TONE category
buttons
bq
through
cl
. Each of the six categories is divided
further into sub-categories, and touching the TONE category
button for a particular category will cycle in sequence between
its sub-categories.
For details about tone categories and sub-categories, and the
names of tones included in each sub-category, refer to the
separate “Built-in Music Data Lists”.
0
A
N
[
i
v
!
1
B
O
]
j
w
#
2
C
P
^
k
x
$
3
D
Q
_
l
y
%
4
E
R
`
m
z
&
5
F
S
a
n
{
'
6
G
T
b
o
}
(
7
H
U
c
p
~
)
8
I
V
d
q
+
9
J
W
e
r
,
;
K
X
f
s
-
=
L
Y
g
t
.
@
M
Z
h
u
Digital Piano Operations
Listening to Demo Play
Selecting a Tone
Selecting a Single Tone
Содержание Privia PX-S3000
Страница 94: ...MA1903 A PXS3000 E 3A ...


