24
25
■
■
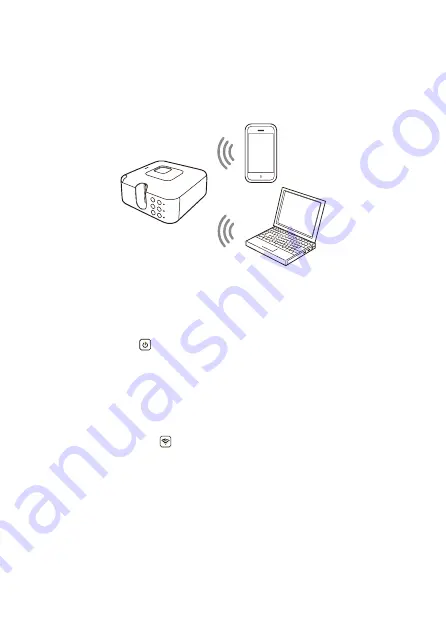
Access Point Mode
In this mode, you can establish a direct wireless LAN connection between the printer and
a computer or phone.
Since the printer functions as an access point, it can connect to another device even
when a wireless LAN router or another wireless LAN access point environment is not
available.
Getting Ready to Connect
1.
Connect the AC adaptor and power cord to the printer.
• See steps 2 through 4 under “Connecting with the USB Cable (Computer Only)”
(
2.
On the printer, press
to turn on power.
Connecting to a Computer
■
■
Connecting with the Client Mode
In this mode, you can connect the printer as a client in the wireless LAN environment you
are using. You can connect the printer to a computer via a wireless LAN router or wireless
LAN access point.
1.
On the printer, hold down
for at least three seconds.
• This puts the printer into simple connection standby, which is indicated by the
wireless LAN lamp flashing green, in two quick flash bursts (
).
2.
Within about the next two minutes, press the WPS (Wi-Fi Protected Setup) button of
the wireless LAN router/access point you are using.
• This puts the wireless LAN router/access point into WPS standby.
• For details about WPS button operation and other information, refer to the user
documentation for the wireless LAN router/access point you are using.
• When a connection is established, the printer’s wireless LAN lamp lights green.
• To configure settings manually, perform the following operation on your computer
with LABEL DESIGN MAKER:
Settings
-
Wireless LAN settings
-
Select connect
device
. Next, configure the settings that appear.


