28
Recording Images
You can shoot snapshots using one of the recording modes below.
Auto, Premium Auto Pro, Time Lapse
1.
Select Auto, Premium Auto Pro, or Time Lapse as the recording mode.
2.
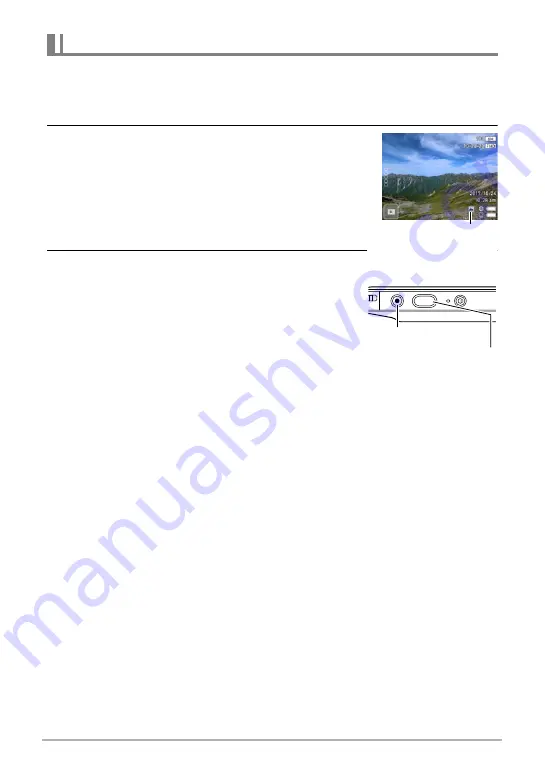
Point the camera at the subject.
If you are using Premium Auto Pro, an icon will appear
on the monitor screen describing the type of shot the
camera has detected.
3.
Press [
r
/SLOW].
The camera will automatically adjust exposure and
focus, and then shoot the snapshot.
• This will cause the camera [STATUS] lamp to
light red and then turn off.
Shooting with Premium Auto Pro
• Some menu items are not available while Premium Auto Pro is in use (page 38).
• When shooting with Premium Auto Pro, the message “Processing Premium Auto.
Please wait...” may appear on the monitor screen. If you feel the camera is taking
too long to process data, try shooting with standard Auto instead.
• In some cases, Premium Auto Pro may not be able to interpret the shooting
environment correctly. If this happens, shoot with standard Auto.
• If “HS” is displayed, the camera will shoot a series of CS images and merge them
into a final image. Take care to avoid any camera and subject movement until
shooting of all of the CS images is complete.
Shooting with Time Lapse
• Snapshots are recorded using the same settings as those in effect when the
recording mode is Auto. The recording mode settings that are in effect when Time
Lapse is selected are not used.
• The aspect ratio of the monitor image displayed on the controller screen is 16:9,
but snapshot image shooting is performed using an aspect ratio of 4:3.
Operation
• If unwanted light is shining onto the lens, shade the lens with your hand when
shooting an image.
Shooting Snapshots
Type of shot
[
r
/SLOW]
[
0
] (Movie)


