10
Camera Access Point Connection
6
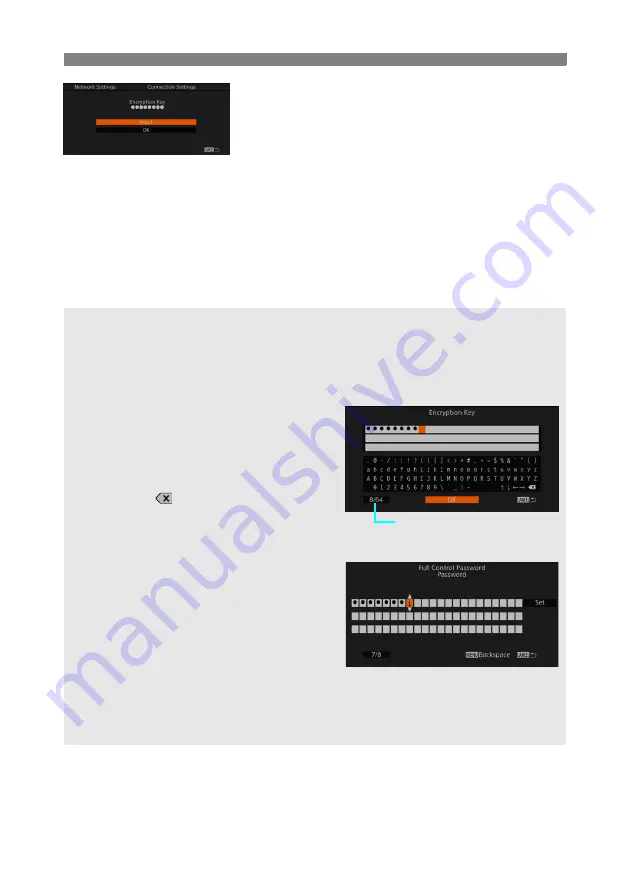
To change the [Encryption Key]
(password), select [Input] and then
press SET.
Enter the encryption key (password) the camera
will use as a Wi-Fi access point using the
keyboard screen.
The encryption key (password) is needed to
connect the Wi-Fi enabled device to the camera. If
necessary, write it down.
After confirming the encryption key (password),
continue with the procedure to configure the IP
address assignment (
A
Using the Virtual Keyboard Screen
When the monitor unit is attached to the camera and the LCD screen is used, the full
keyboard screen will appear on the screen. When the monitor unit is not attached to the
camera, a simplified screen for entering text will appear on the viewfinder.
1 Use the joystick to select a character and
then press SET to add it.
• On the full keyboard: Push the joystick up/
down/left/right to select the desired
character and press SET to enter it. Use
the arrows ( / /
/ ) to change the
position of the cursor and the backspace
character (
) to delete the last
character entered. You can also press the
MENU button to delete the last character.
On the simplified screen: Push the
joystick up/down or turn the SELECT dial
to select the desired character and press
SET to enter it. Press the MENU button to
delete the last character.
• If you are entering sensitive information,
like a password, the character you
entered will change to “
z
” after a moment
to protect the password.
• Repeat this step as necessary to enter the
desired text.
2 After entering the desired text, select [OK] in the full keyboard, or [Set] in the simplified
screen, and then press SET to close the keyboard screen.
Current character / Character limit
Full keyboard on the LCD screen
Simplified screen
Содержание WFT-E6
Страница 1: ...Wireless File Transmitter WFT E6 WFT E8 Guide for EOS C300 Mark II Users E DIE 0478 000A...
Страница 5: ...5 Network Settings Complete the network settings using the camera s menu screens...
Страница 22: ......
Страница 28: ......
Страница 29: ...29 Troubleshooting...


