1-24
Setting HTTP/FTP Upload and E-mail Notification (Upload)
(5) [Proxy Port]
Enter the port number of the proxy server (default = [
80
]).
(6) [Proxy User Name], [Proxy Password]
Enter the user name and password of the proxy server.
(7) [Parameter (query string)]
Enter an appropriate parameter (using up to 127 characters). The parameter can be entered
using "%" characters (
(8) [HTTP Upload Test]
Clicking the [
Exec
] button initiates an upload test based on the settings currently applied.
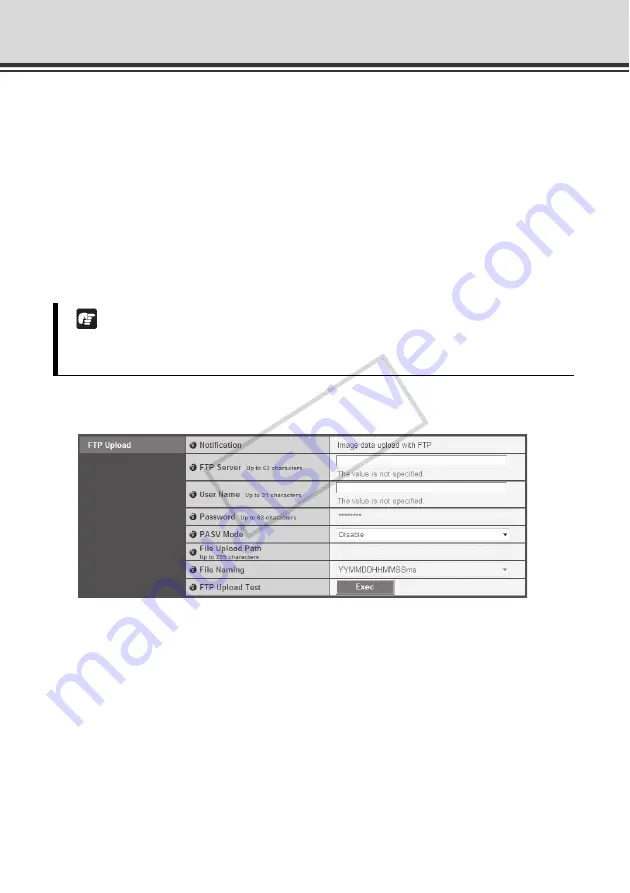
FTP Upload
(1) [Notification]
The content of content is set to [
Image data upload with FTP
].
(2) [FTP Server]
Enter the host name or IP address of the FTP server (using up to 63 characters).
(3) [User Name], [Password]
Enter the user name and password required for authentication.
(4) [PASV Mode]
Select [
Enable
] or [
Disable
] for the PASV mode when uploading via FTP.
(5) [File Upload Path]
Enter the path to the folder to upload the image file to (using up to 255 characters).
Note
Enter [
Proxy Server
], [
Proxy Port
], [
Proxy User Name
] and [
Proxy Password
] if connecting via
a proxy.
COP
Y
Содержание VB-C500D
Страница 62: ...1 48 Viewing Event Logs and Current Settings and Performing Maintenance Maintenance COPY ...
Страница 127: ...Appendix COPY ...
Страница 159: ...5 33 Index Appendix COPY ...


